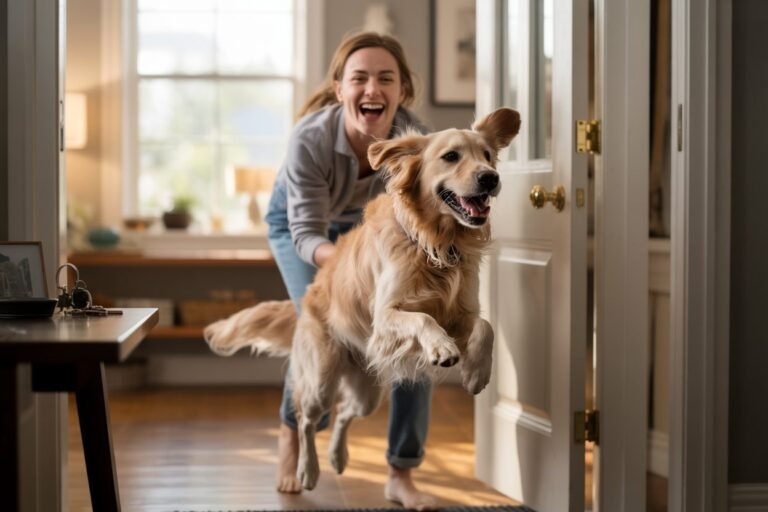
One second he was sitting sweetly in golden light and the next, he was sprinting across the yard like a furry rocket.
I would look down at my camera screen, expecting magic and instead see blur, blown-out highlights, dark shadows, or eyes that just weren’t sharp enough.
It was frustrating. And honestly? It made me doubt myself for a while.
But over time after hundreds (okay, probably thousands) of photos I started noticing something: the difference between a “meh” pet photo and a breathtaking one usually came down to a few simple camera settings.
Not fancy gear.
Not expensive lenses.
Not editing tricks.
Just knowing how to adjust five very important settings.
Today, I want to share the exact camera settings that truly changed everything for me the ones I rely on every time I photograph my dog.
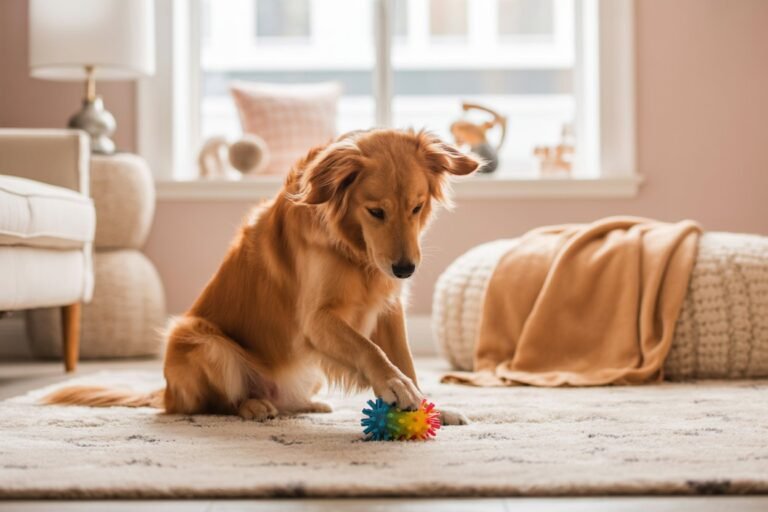
Whether he’s playing, sleeping, running, or giving me that heart-melting head tilt, these are the settings that consistently work.
If you’ve ever felt like your camera just doesn’t “get” your pet the way you see them with your eyes, this post is for you.
Let’s get into it.
1. Shutter Speed: The Secret to Freezing (or Embracing) Movement
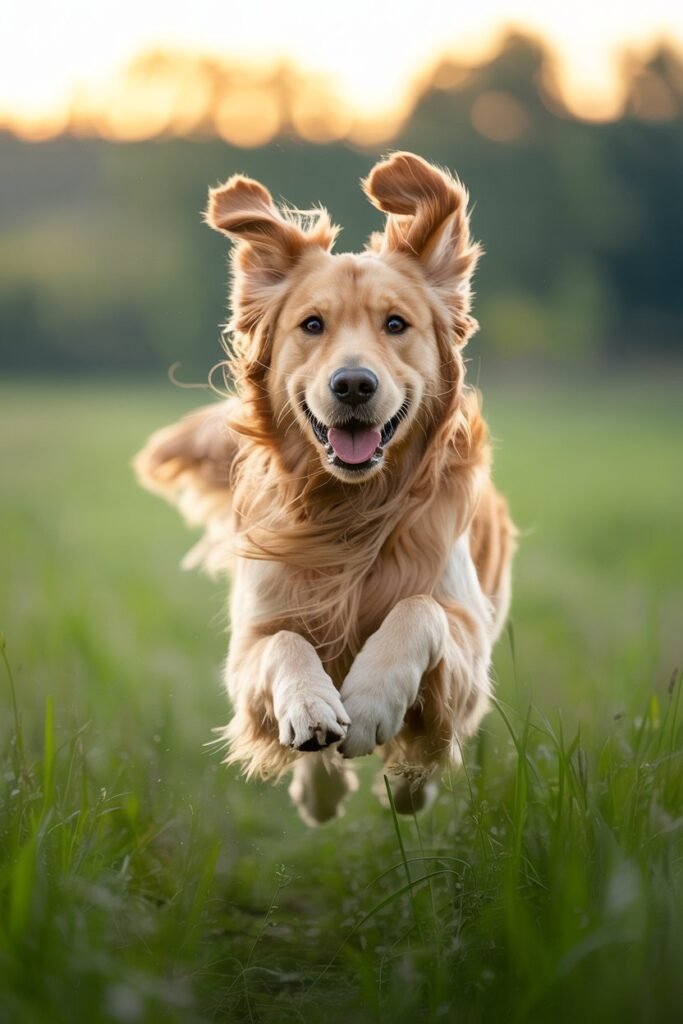
If I could only adjust one setting when photographing pets, it would be shutter speed.
Pets move. Constantly.
Even when they look still, their tails twitch, their ears flick, their heads tilt. And if you don’t have the right shutter speed, you’ll end up with blur especially around the eyes.
What Shutter Speed Actually Does
Shutter speed controls how long your camera sensor is exposed to light. The faster the shutter speed, the less motion blur you’ll get.
For pets, motion blur can either:
- Ruin a shot
- Or create beautiful action energy
The key is choosing intentionally.
What Works for Me
Here are the shutter speeds I personally use most often:
- 1/1000s – 1/2000s → For running, jumping, zoomies
- 1/500s – 1/800s → For playful movement
- 1/250s – 1/400s → For sitting or slower movement
- 1/125s and below → Only for calm, sleepy moments
If my dog is outside and moving even slightly, I rarely go below 1/500s.
When I first started, I kept shooting at 1/125s without realizing why my photos weren’t sharp. The moment I increased my shutter speed, everything changed. The eyes became crisp. The fur detail popped. The images finally looked professional.
A Little Trick I Use
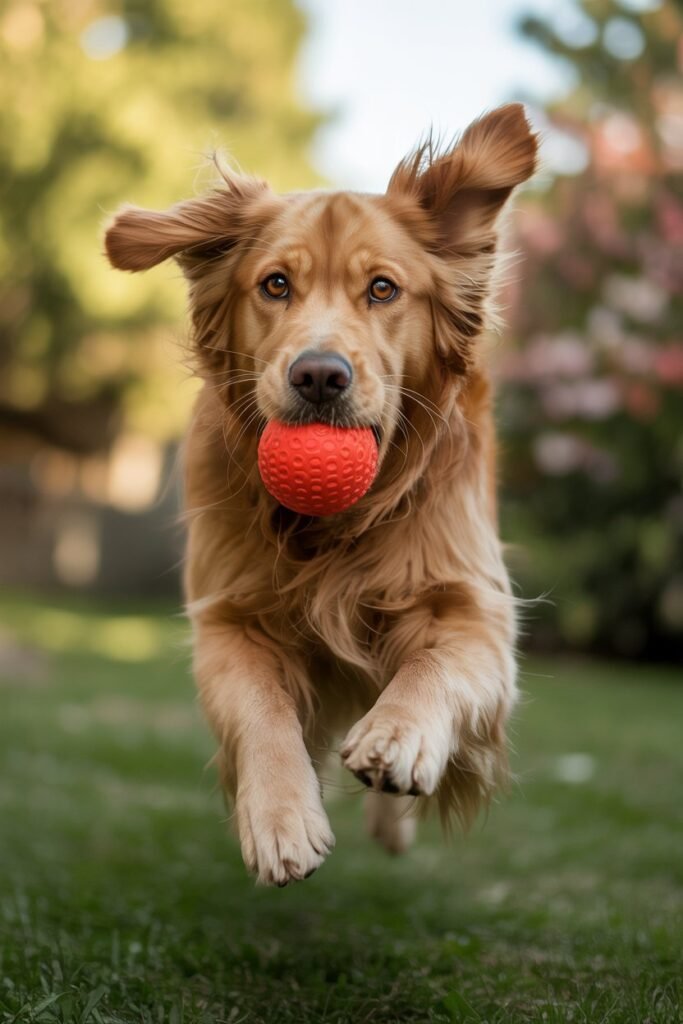
When I know my dog is about to run (for example, when I throw his favorite toy), I switch to:
- Shutter Priority Mode (Tv or S mode)
- Set shutter to at least 1/1000s
- Let the camera adjust the rest
It gives me confidence that motion won’t ruin the shot.
If your pet is energetic, this setting alone will transform your photos.
2. Aperture: Creating That Soft, Dreamy Background
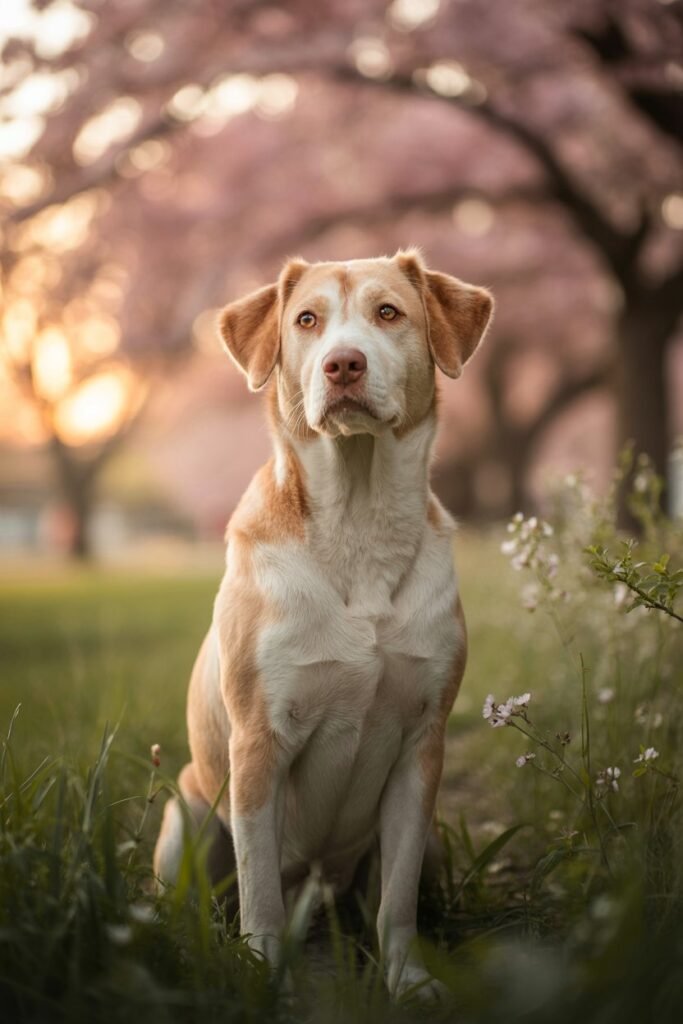
Soft, blurry backgrounds make pet photos feel magical.
That creamy blur also known as bokeh isolates your pet and makes them the star of the image. It’s one of my favorite stylistic tools.
What Aperture Does
Aperture controls:
- How much light enters your lens
- How much of the image is in focus
A lower f-number (like f/1.8 or f/2.8) means:
- More background blur
- More light
- Shallower depth of field
A higher f-number (like f/8 or f/11) means:
- More of the image is in focus
- Less blur
What I Personally Use
For portraits of my dog, I usually shoot between:
- f/1.8 – f/2.8 for close-up portraits
- f/3.2 – f/4 for slightly wider shots
However, I learned something the hard way.
Shooting at f/1.8 can sometimes make one eye sharp and the other slightly soft especially if your dog’s face is angled.
So when I want both eyes perfectly sharp, I move up to f/2.8 or f/3.2. It gives just enough depth while still keeping that beautiful blur.
A Tip That Changed My Photos
Distance matters.
The farther your pet is from the background, the blurrier the background will look — even if you don’t shoot at f/1.8.
Now, I always:
- Position my dog several feet away from walls or trees
- Shoot at a lower aperture
- Get down to his eye level
That combination creates magic every single time.
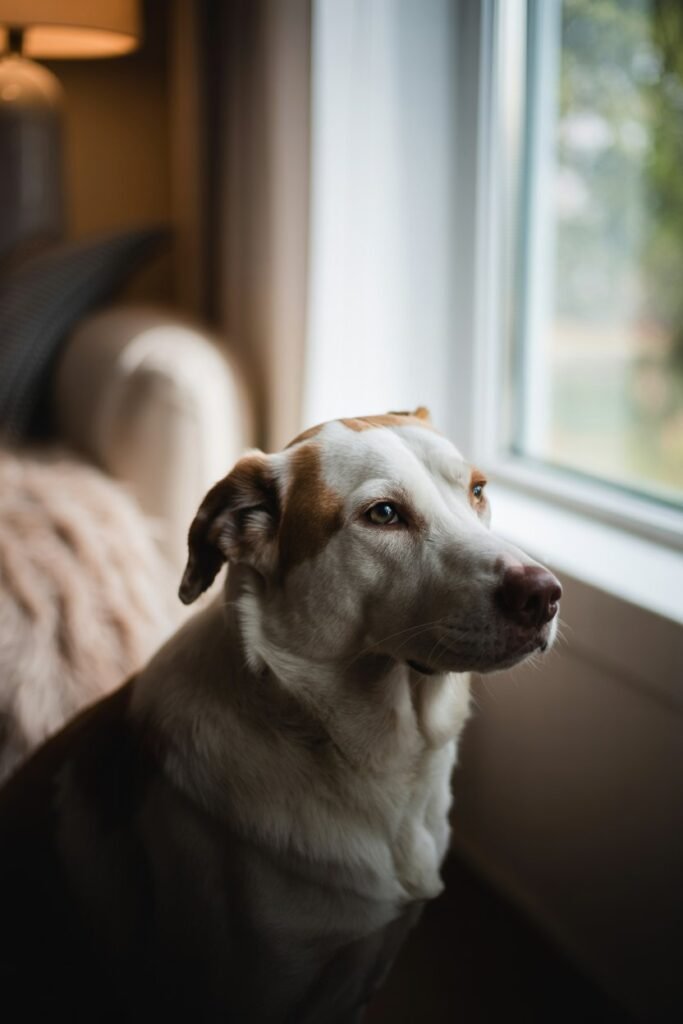
3. ISO: Balancing Light Without Destroying Quality
ISO used to intimidate me.
I was terrified of increasing it because I heard “high ISO = grainy photos.” So I kept it low even when the lighting wasn’t strong enough.
The result? Dark, underexposed photos.
Over time, I realized something important:
A slightly grainy photo is better than a blurry one.
What ISO Does
ISO controls how sensitive your camera is to light.
- Low ISO (100–200) → Clean images, lots of light required
- Medium ISO (400–800) → Good for cloudy days or indoor spaces
- High ISO (1600+) → Low-light situations
What I Use in Real Life
Here’s how I adjust ISO:
- Bright outdoor sunlight → ISO 100–200
- Cloudy outdoor light → ISO 400–800
- Indoor near windows → ISO 800–1600
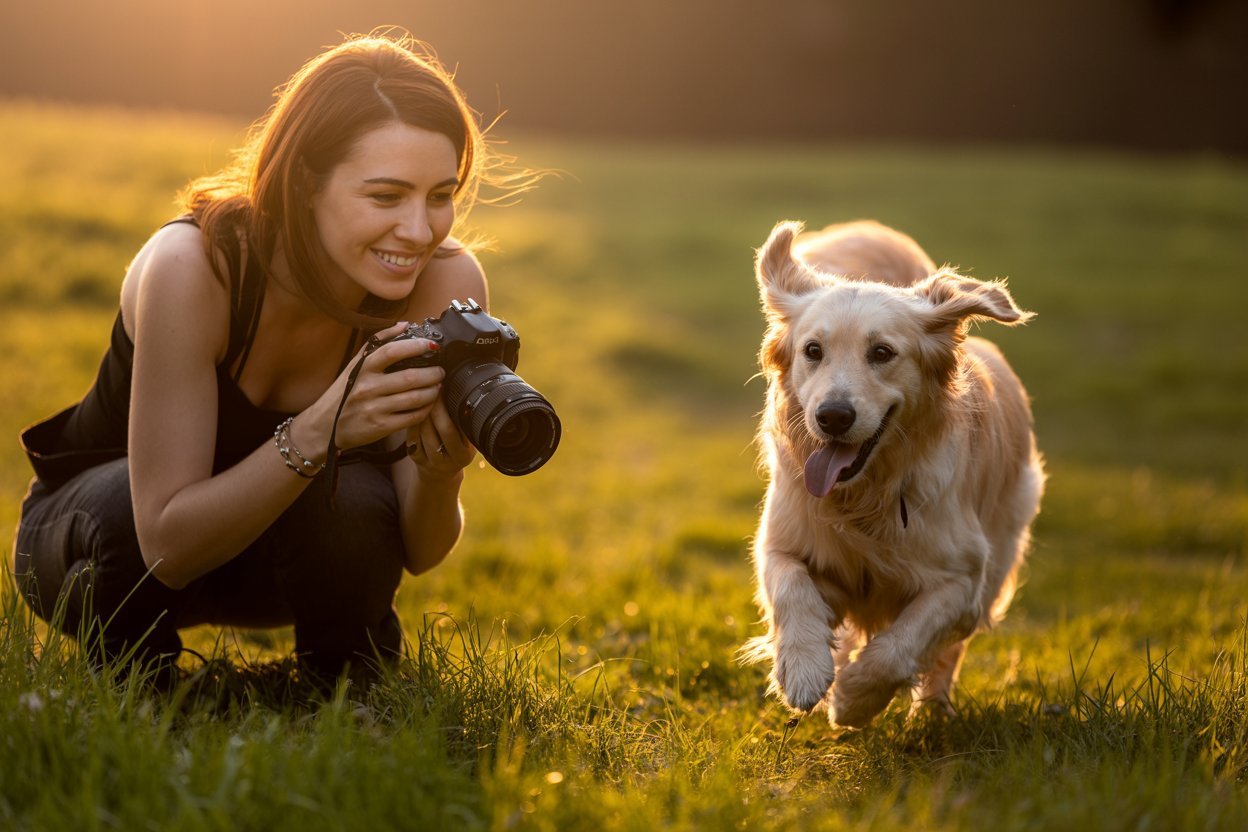
- Late evening golden hour → ISO 400–800
Modern cameras handle ISO much better than older models. I regularly shoot at ISO 800 without any issue.
If I need to raise ISO to maintain a fast shutter speed for action shots, I do it without hesitation.
Because sharp eyes matter more than perfectly noise-free fur.
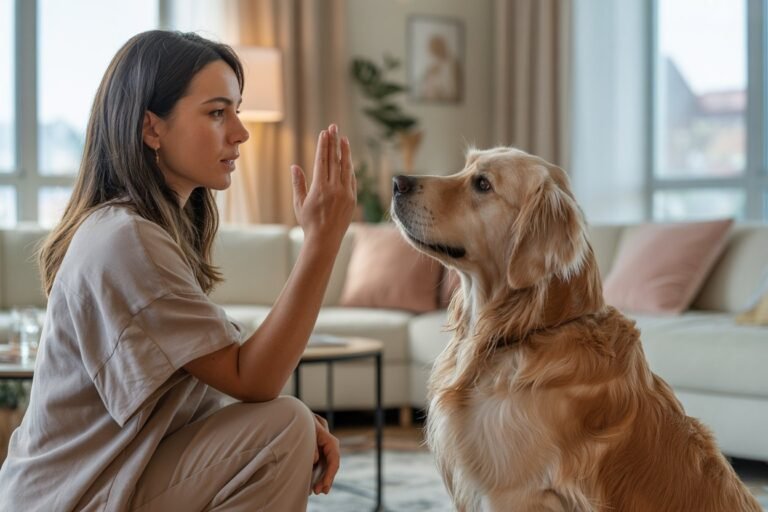
4. Autofocus Mode: The Difference Between Sharp Eyes and Missed Moments
Pet photography taught me one very humbling lesson:
Single-shot autofocus is not your friend when your subject moves.
For a long time, I kept missing focus because my camera wasn’t tracking movement properly.
The Game-Changer: Continuous Autofocus
On most cameras, this is called:
- AI Servo (Canon)
- AF-C (Nikon & Sony)
This mode continuously tracks moving subjects while you hold the shutter halfway.
Once I switched to AF-C, my keeper rate improved dramatically.
Focus on the Eyes
In pet photography, the eyes must be sharp.
If the eyes are sharp, almost everything else can be forgiven.
If the eyes are soft, the image feels flat.
If your camera has:
- Animal Eye Autofocus → Use it
- Face Detection → Turn it on
If not, select a single focus point and manually place it over the eye.
Burst Mode Is Your Best Friend
Pets blink.
They turn their heads.
Their ears move.
I always shoot in continuous burst mode when my dog is active.
Instead of taking one photo, I take 5–10 in quick succession. That increases my chances of getting the perfect expression.
And honestly? The perfect expression is everything.
5. White Balance: Getting Natural, Beautiful Fur Tones

Nothing ruins a pet photo faster than strange color tones.
Indoor lighting can make fur look orange.
Shade can make it look blue.
At first, I relied entirely on Auto White Balance. And while it works most of the time, it doesn’t always get fur tones right.
What I Do Instead
- Outdoor sunlight → Daylight setting
- Cloudy days → Cloudy preset
- Indoor window light → Custom Kelvin (around 5200–6000K)
If I’m shooting RAW (which I highly recommend), I fine-tune white balance in editing.
Fur color is emotional. It carries personality. Getting it right makes the image feel honest.
Bonus Settings That Help Me Every Time
Even though we’re focusing on five main settings, I want to quickly share a few extra adjustments that have helped me tremendously.
1. Shoot in RAW
RAW files retain more detail and allow better color correction.
When my dog’s black fur looked too dark in early photos, switching to RAW helped me recover shadow detail beautifully.
2. Get Down to Their Level
This isn’t a camera setting, but it changes everything.
Shooting from above can feel distant.
Shooting at eye level feels intimate.
I kneel. I sit. Sometimes I lie on the ground.
And the connection in the photo becomes powerful.
3. Expose for the Highlights
If your pet has light fur, slightly underexpose to avoid blown highlights.
I sometimes dial in:
- -0.3 to -0.7 exposure compensation
Especially in bright sunlight.
My Go-To Pet Photography Setup (Real-Life Example)
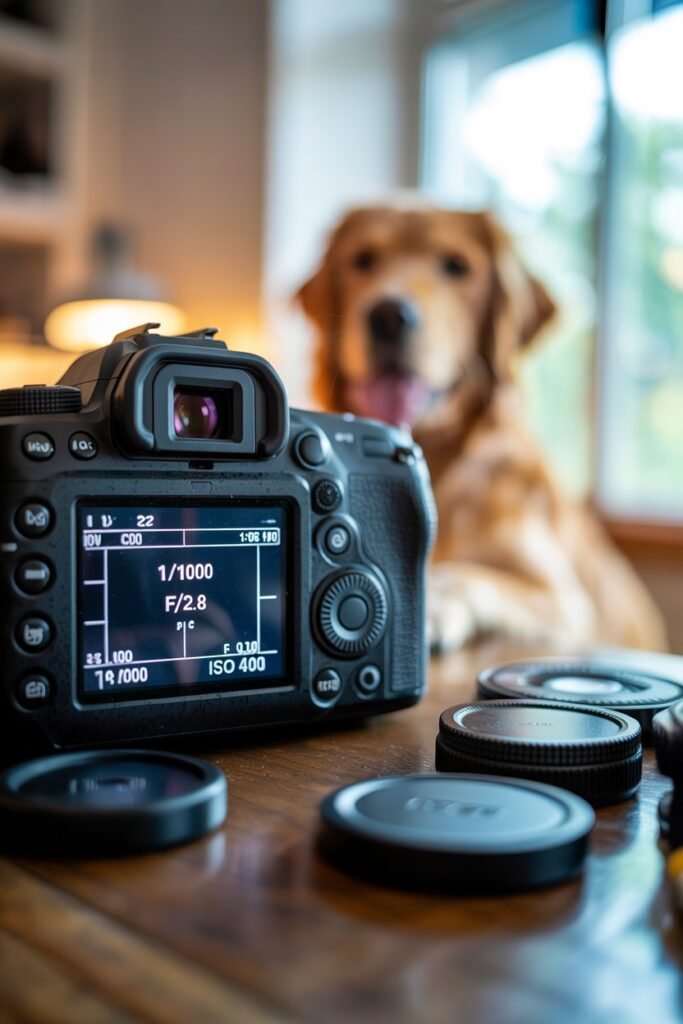
If you’re curious, here’s one of my most common outdoor setups when photographing my dog in natural light:
- Mode: Aperture Priority
- Aperture: f/2.8
- Minimum shutter speed: 1/500s
- ISO: Auto (capped at 800)
- Autofocus: AF-C
- Drive mode: Continuous burst
- White Balance: Daylight
This setup allows flexibility while keeping motion sharp.
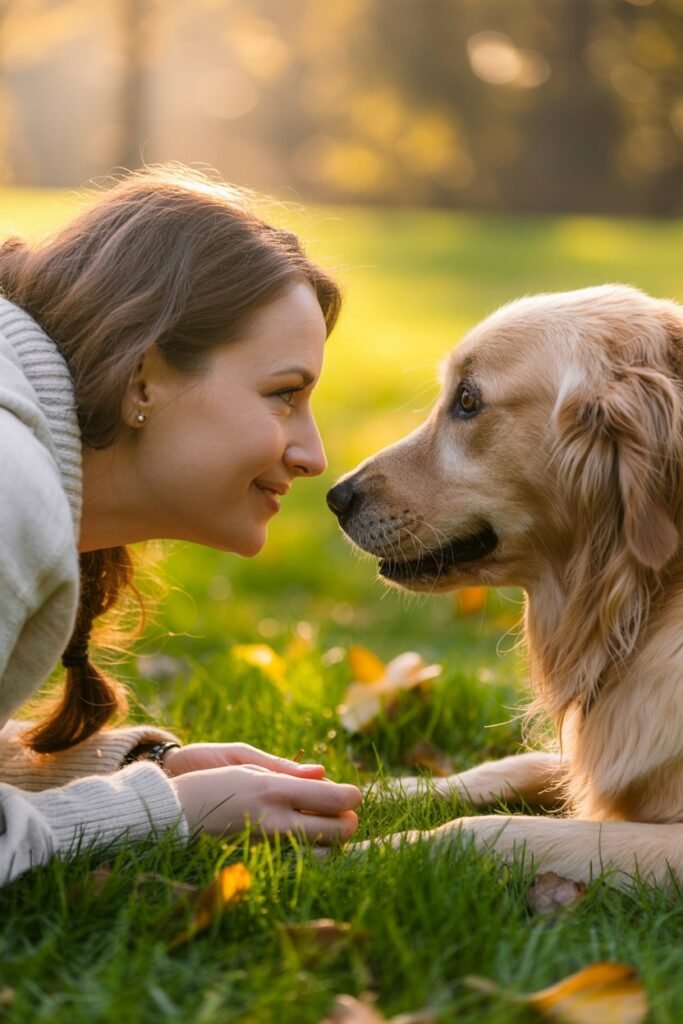
Final Thoughts: It’s Not About Perfection — It’s About Connection
Learning camera settings didn’t just improve my photos. It deepened my bond with my dog.
When I understand how to freeze his playful sprint…
When I capture the softness in his sleepy eyes
When I get the exact warmth of his fur in golden hour…
It feels like I’ve preserved a piece of him.
That matters to me more than anything.
You don’t need expensive gear. You don’t need years of experience. You just need to understand how your camera responds — and how your pet moves.
Start with these five settings. Practice. Adjust. Observe.
And most importantly — be patient with yourself.
Pet photography isn’t just technical. It’s emotional. It’s unpredictable. It’s beautiful chaos wrapped in fur.
And when you finally nail that perfect shot?
It feels like magic.
If you’d like, I can also: