
I didn’t plan on becoming that dog parent the one who reads ingredient labels like a detective and side-eyes every “natural” treat on the pet store shelf. But here we are.
It started the day I handed my dog a popular chew stick and watched him devour it in under two minutes. Two minutes.
This was supposed to be a “long-lasting” chew. Instead, I was left holding an empty wrapper filled with ingredients I couldn’t pronounce and a dog looking at me like, “Cool got another one?”
That moment stuck with me.
I wanted something better something chewy, satisfying, nourishing, and made with ingredients I could actually recognize.
I wanted a treat that didn’t just keep my dog busy but fed his body well. And honestly? I wanted the peace of mind that comes from knowing exactly what’s going into his mouth.
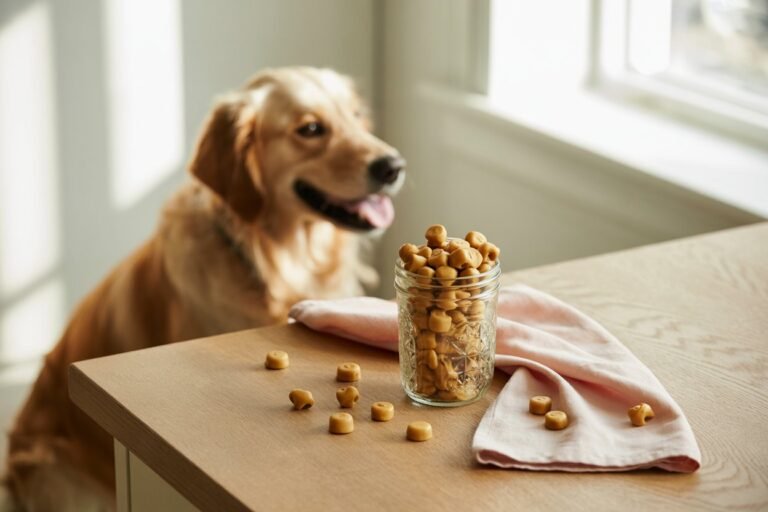
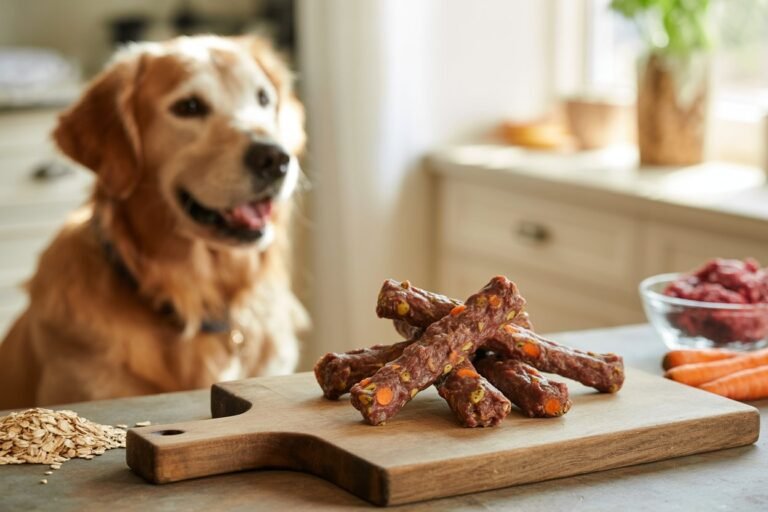
That’s how these Beef and Vegetable Chew Sticks for Dogs became a staple in my kitchen.
They’re hearty without being heavy, chewy without being dangerous, and packed with simple, wholesome ingredients. My dog doesn’t just like them he waits for them.
And every time I make a batch, I’m reminded that sometimes the best care we give our dogs starts right in our own kitchens.
If you’ve ever wanted to make a chew treat that feels nourishing, intentional, and genuinely worth the effort, this one’s for you.
What Makes Beef and Vegetable Chew Sticks Different From Regular Dog Treats?
These chew sticks are not crunchy biscuits, and they’re not hard bones. They live in that sweet middle space where chewing is satisfying without being risky.
The Purpose of a Chew Stick
Chew sticks are designed to:
- Satisfy your dog’s natural urge to chew
- Keep them mentally engaged
- Encourage slower eating and focus
- Offer gentle dental stimulation
Unlike brittle treats, these sticks soften slightly as your dog chews, which makes them much safer for regular use.
Why Homemade Changes Everything
When you make chew sticks at home, you’re not guessing.
You know:
- What protein is used
- How fresh the ingredients are
- How firm the final texture becomes
- Whether the recipe suits your dog’s size and chewing style
That control makes all the difference.
Why Beef Is the Foundation of This Recipe
Beef isn’t just popular with dogs it’s biologically appropriate and nutritionally rich.
Nutritional Benefits of Beef for Dogs
Beef provides:
- High-quality animal protein for muscle maintenance
- Iron to support healthy blood and energy
- Zinc for immune health and skin integrity
- B vitamins that support metabolism and nervous system health
Using lean ground beef ensures your dog gets the benefits without excessive fat that could upset digestion.
Why Beef Works So Well in Chew Recipes
From a texture standpoint, beef:
- Holds its shape when baked slowly
- Creates natural chew resistance
- Blends smoothly with vegetables and binders
It’s sturdy without being harsh exactly what a chew stick needs.
Why Vegetables Matter More Than You Think
Vegetables aren’t fillers here. They’re functional ingredients.
Digestive Support
Vegetables add fiber, which helps:
- Support healthy digestion
- Regulate stool consistency
- Reduce heaviness from meat-based treats
Moisture and Texture Balance
Vegetables also:
- Prevent the chew sticks from drying out too quickly
- Help maintain flexibility during baking
- Reduce the risk of overly hard treats
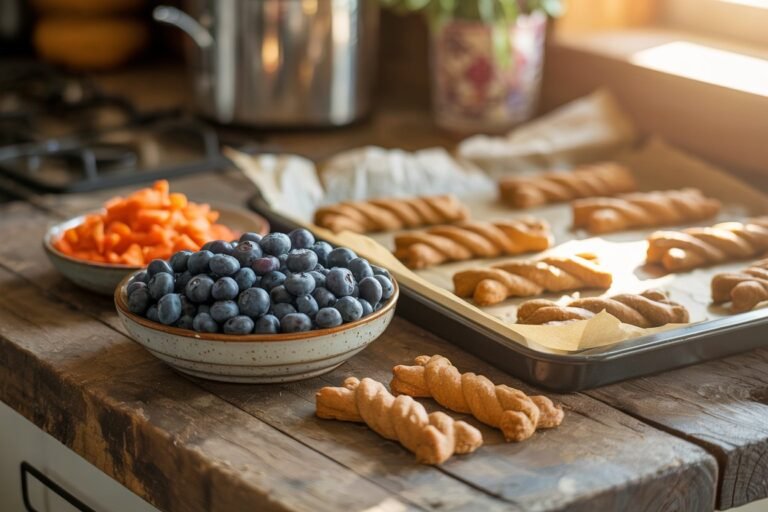
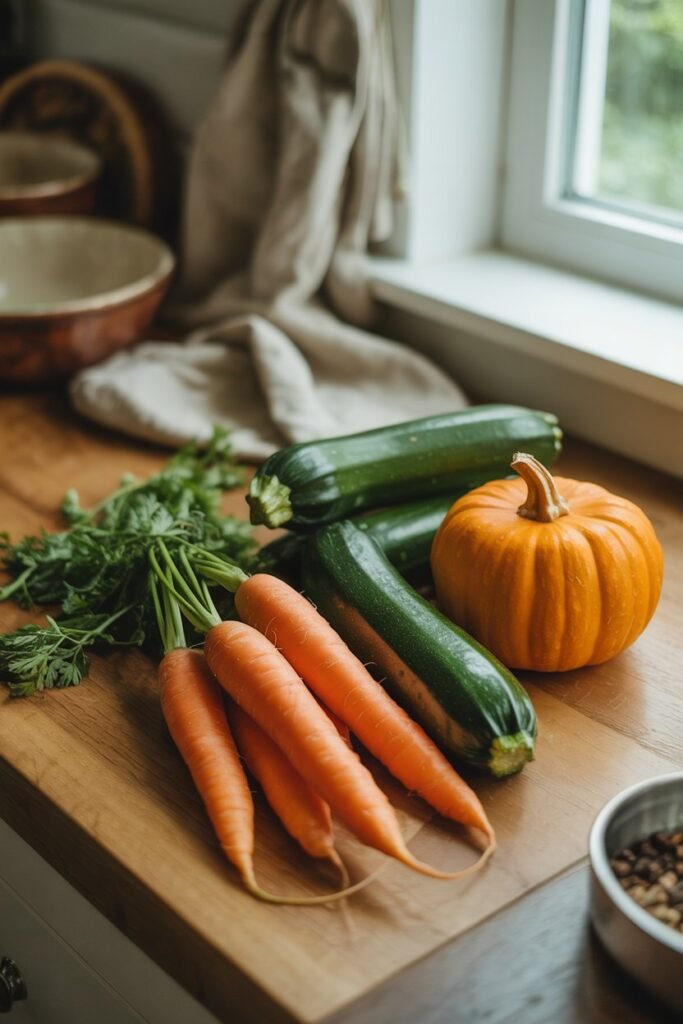
Best Vegetables for Beef Chew Sticks
Stick to mild, dog-safe options:
- Carrots – Fiber, beta-carotene, gentle sweetness
- Zucchini – Hydrating and easy to digest
- Pumpkin (plain) – Excellent for gut health
- Spinach (small amounts) – Adds micronutrients
Always cook or finely grate vegetables to improve digestibility.
Full Ingredient Breakdown (With Purpose Explained)
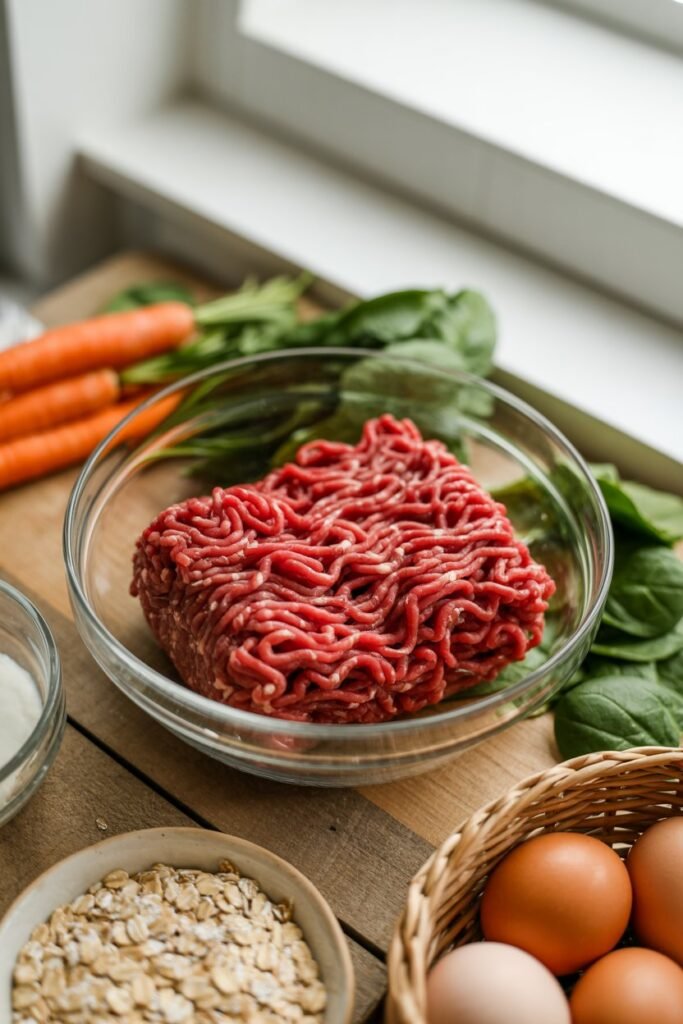
Main Ingredients
- 500g (1 lb) lean ground beef (85–90%)
Provides protein, structure, and chew density - 1 cup finely grated carrots
Adds fiber, mild sweetness, and moisture - ½ cup pumpkin purée or blended zucchini
Supports digestion and softens texture - 2 large eggs
Acts as a binder and boosts protein - 1–1½ cups oat flour (or blended rolled oats)
Creates structure while remaining gentle on digestion
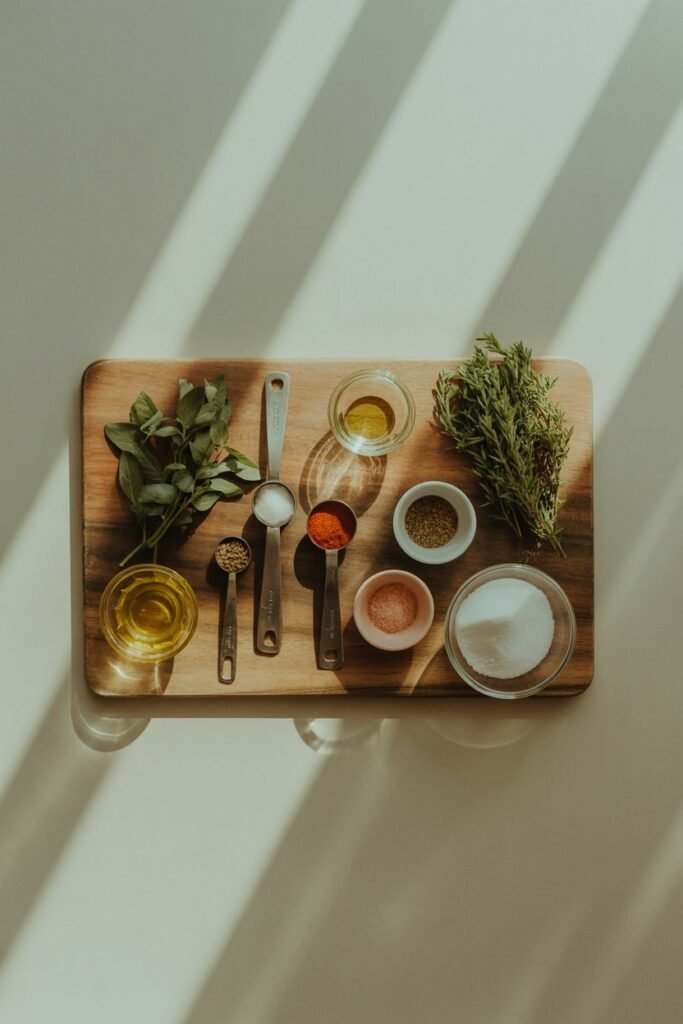
Optional Enhancements
- 1 tablespoon chopped fresh parsley – Natural breath freshener
- ½ teaspoon turmeric – Anti-inflammatory support
- 1 tablespoon coconut oil – Adds healthy fats and aroma
Step-by-Step Instructions (Deeply Detailed)
This is the heart of the recipe. Take your time here each step matters.
Step 1: Prepare Your Workspace and Ingredients
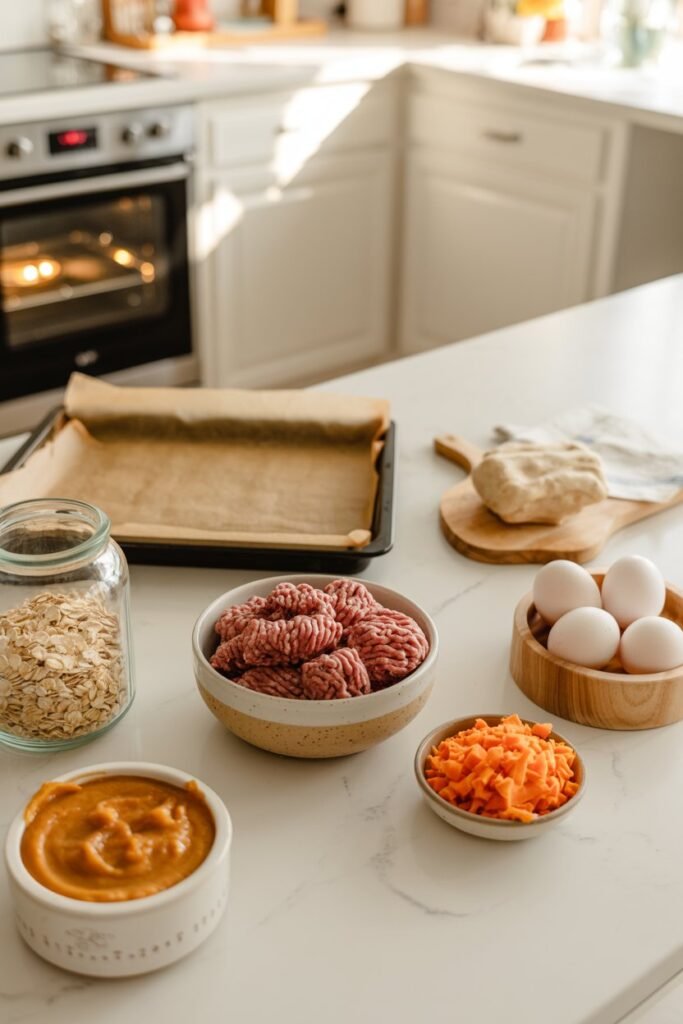
Before you mix anything:
- Preheat your oven to 160–170°C (325°F)
- Line a baking tray with parchment paper
- Wash, peel, and grate your vegetables finely
Why this matters:
Fine vegetable texture ensures even baking and prevents weak spots in the chew sticks that could cause crumbling.
Step 2: Prepare the Vegetables Properly
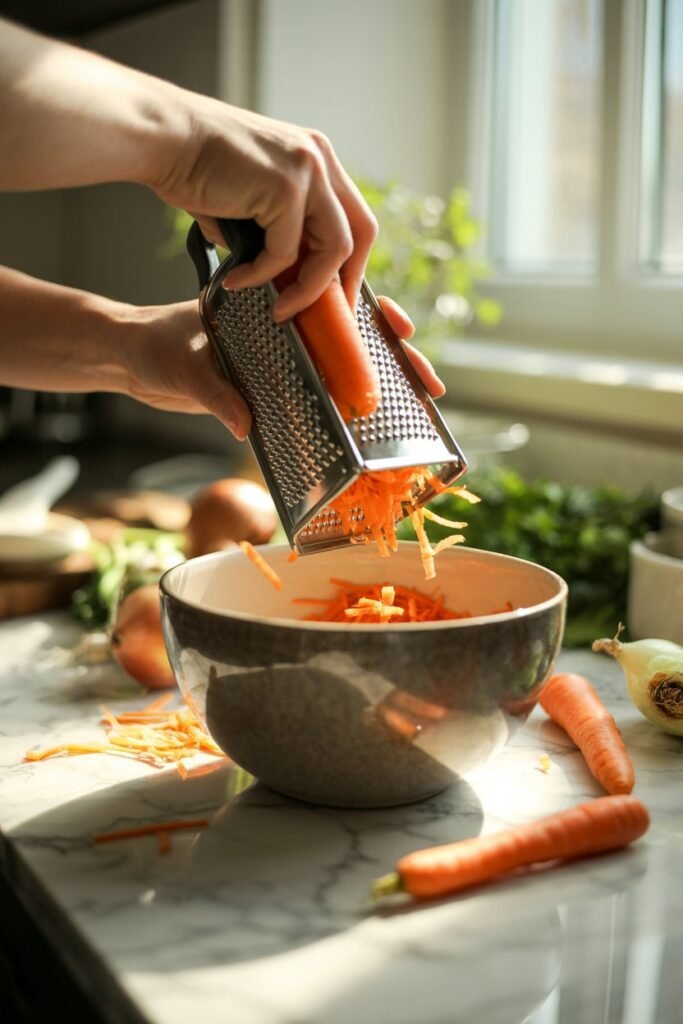
Grate carrots finely using a small-hole grater.
If using zucchini, squeeze out excess water using a clean cloth.
If using pumpkin, make sure it’s plain and unsweetened.
What you’re aiming for:
Soft, moist vegetables not watery, not chunky.
Too much moisture = soggy chew sticks
Too little moisture = dry, hard texture
Step 3: Mix the Protein Base
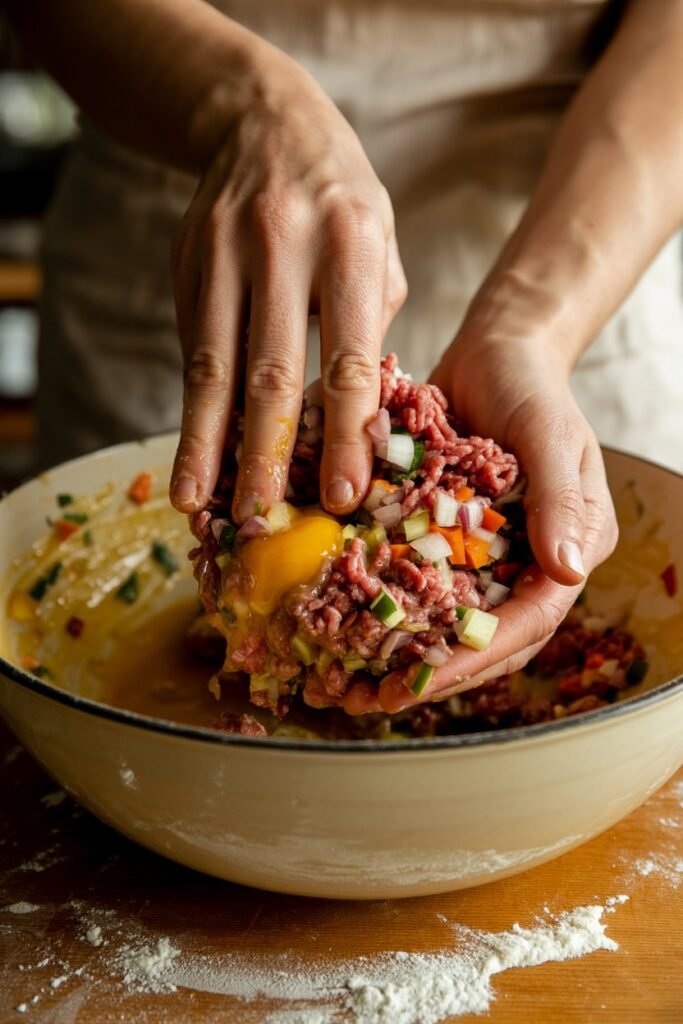
In a large bowl:
- Add ground beef
- Crack in the eggs
- Add grated vegetables
Use your hands or a sturdy spoon to gently combine.
Texture check:
The mixture should feel sticky and cohesive, not wet or loose.
Step 4: Gradually Add Dry Ingredients
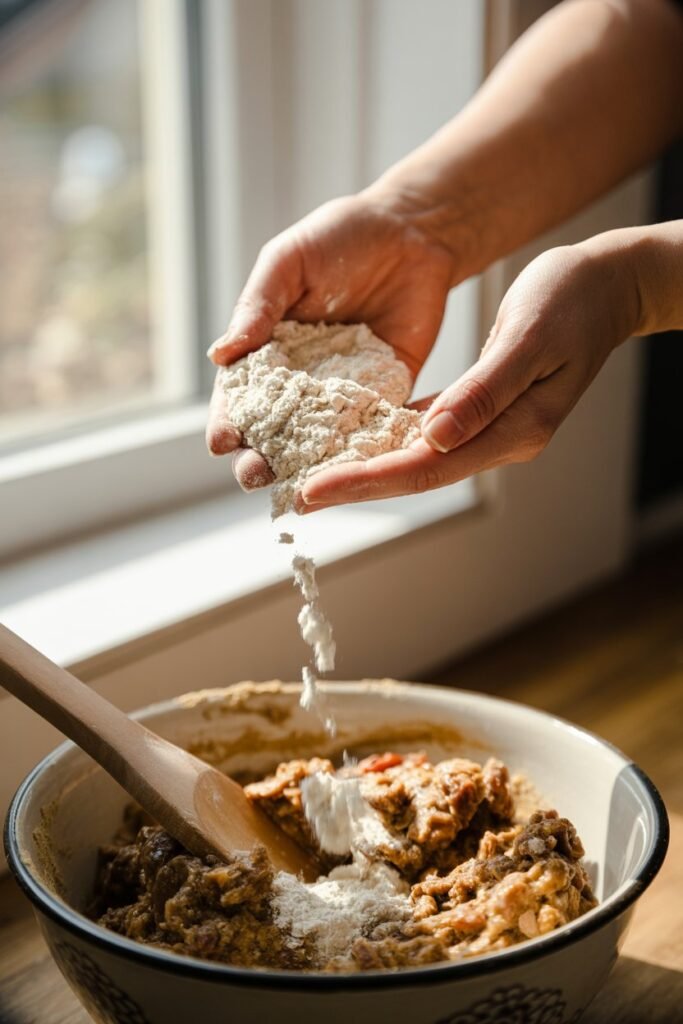
Add oat flour ½ cup at a time, mixing thoroughly after each addition.
Stop when:
- The dough holds together
- It no longer sticks aggressively to your hands
- You can roll it without cracking
Important:
Too much flour will dry the sticks and reduce chew quality. Always err on the softer side you can firm them up during baking.
Step 5: Let the Dough Rest (Yes, This Matters)
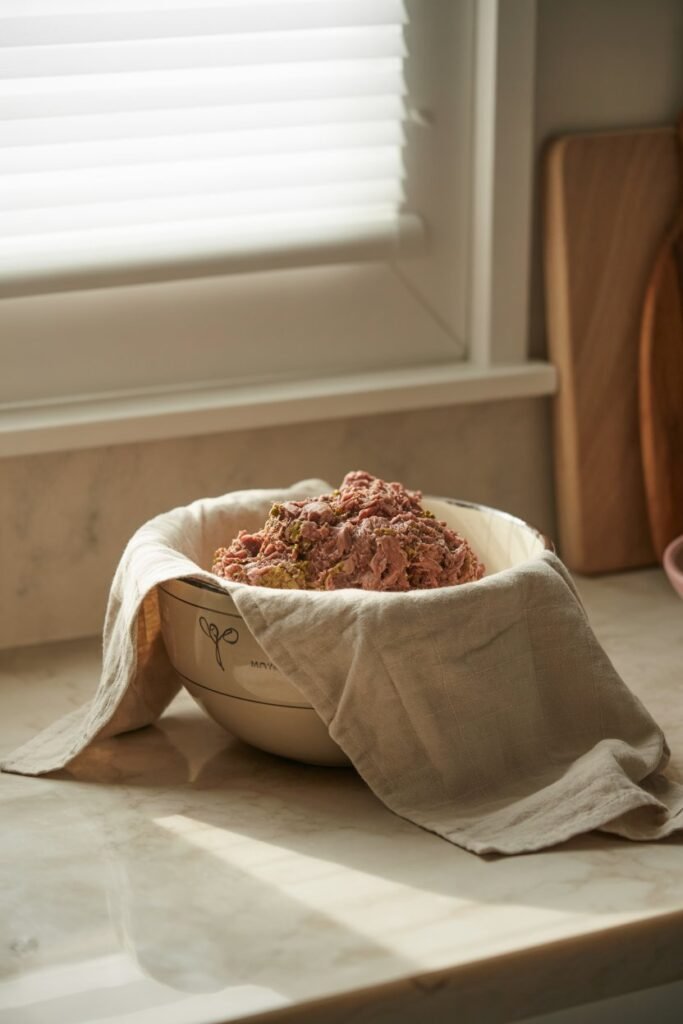
Cover the bowl and let the dough rest for 10–15 minutes.
Why rest time is important:
- Oats absorb moisture
- Dough becomes more stable
- Final texture improves significantly
Skipping this step often leads to uneven baking.
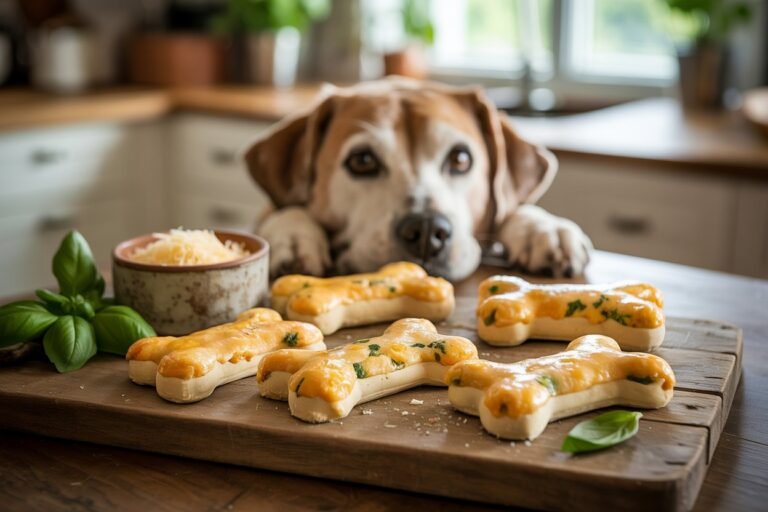
Step 6: Shape the Chew Sticks Thoughtfully
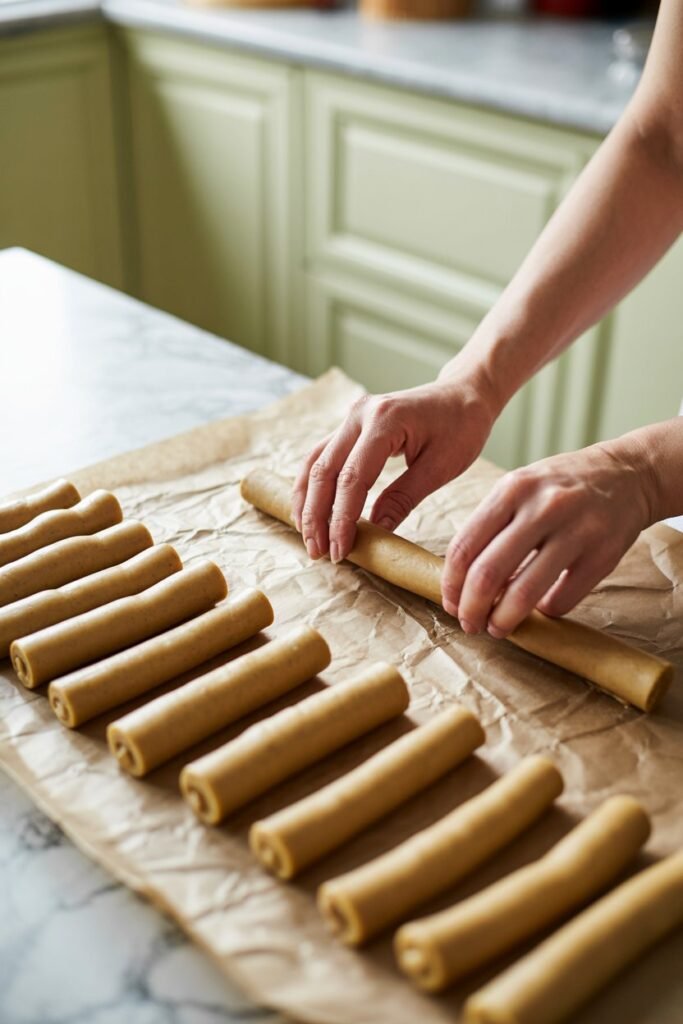
Divide dough into portions based on your dog’s size.
Roll into:
- Long sticks for medium–large dogs
- Short, thin sticks for small dogs
Aim for:
- Even thickness throughout
- No sharp edges
- Smooth surfaces
Pro tip:
Uneven thickness causes uneven drying some parts hard, others soft.
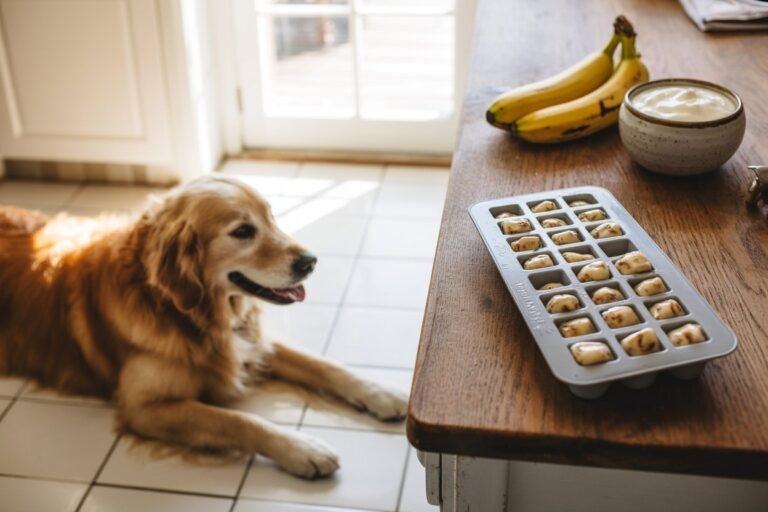
Step 7: Arrange on Baking Tray
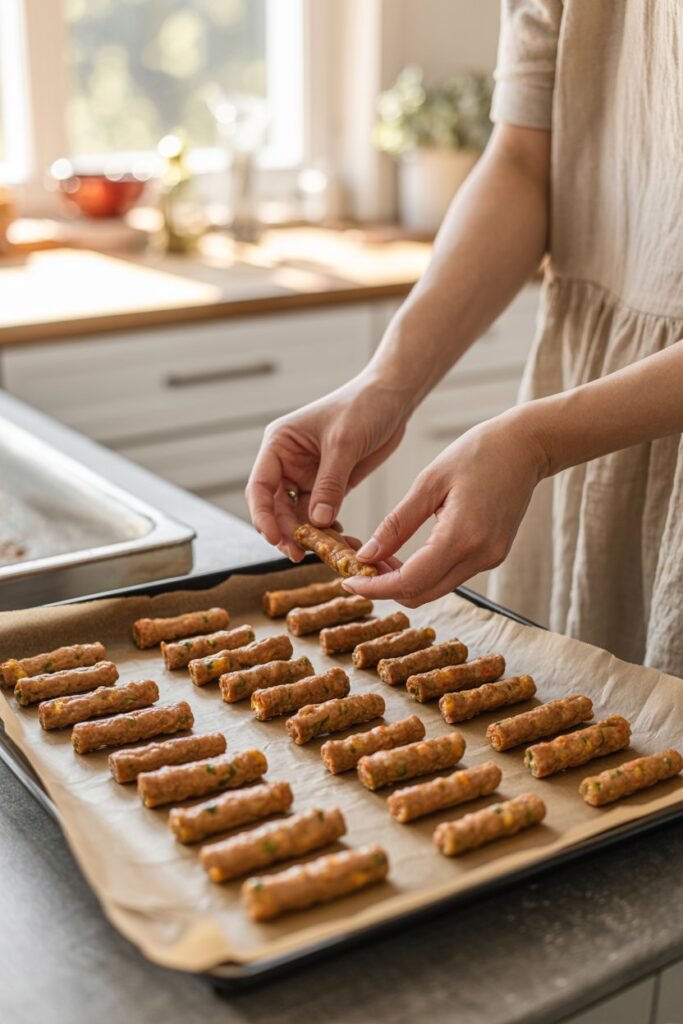
Place chew sticks on parchment-lined tray with space between each one.
Do not overcrowd.
Airflow matters for even baking.
Step 8: Bake Low and Slow (The Most Important Step)
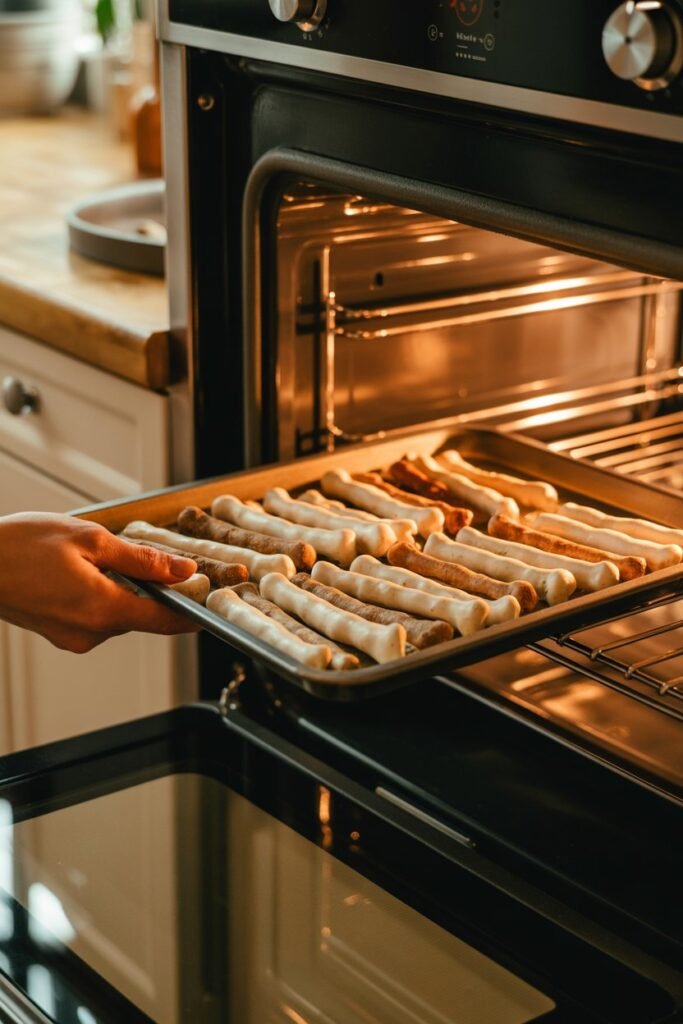
Bake at 160–170°C (325°F) for 45 minutes.
Halfway through:
- Flip each chew stick carefully
- Rotate the tray if needed
For firmer chews:
- Reduce oven to 140°C (285°F)
- Bake an additional 20–30 minutes
Never rush this step.
High heat creates hard exteriors and soft interiors.
Step 9: Cool Completely Before Serving

Remove from oven and let cool at least 1 hour.
As they cool:
- Moisture redistributes
- Texture firms naturally
- Final chew resistance develops
Serving too early can mislead you about texture.
How to Adjust Texture for Different Dogs
- Gentle chewers → Shorter bake time
- Strong chewers → Longer, lower bake
- Senior dogs → Thicker sticks, softer finish
- Puppies → Short sticks, supervised chewing
Always test one stick before offering.
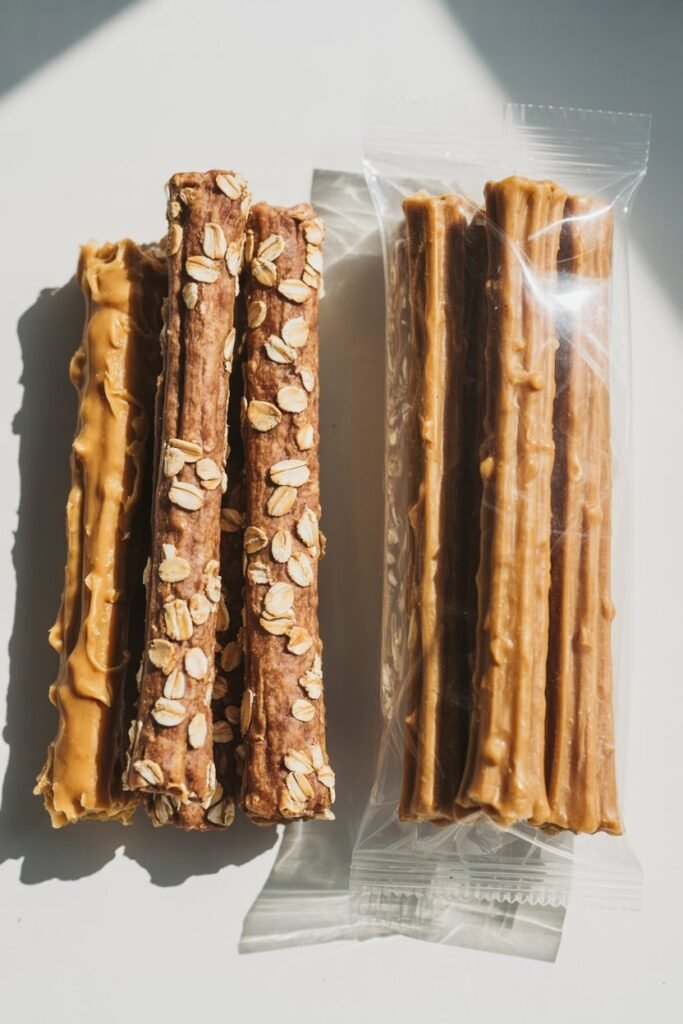
Storage, Shelf Life, and Freezing
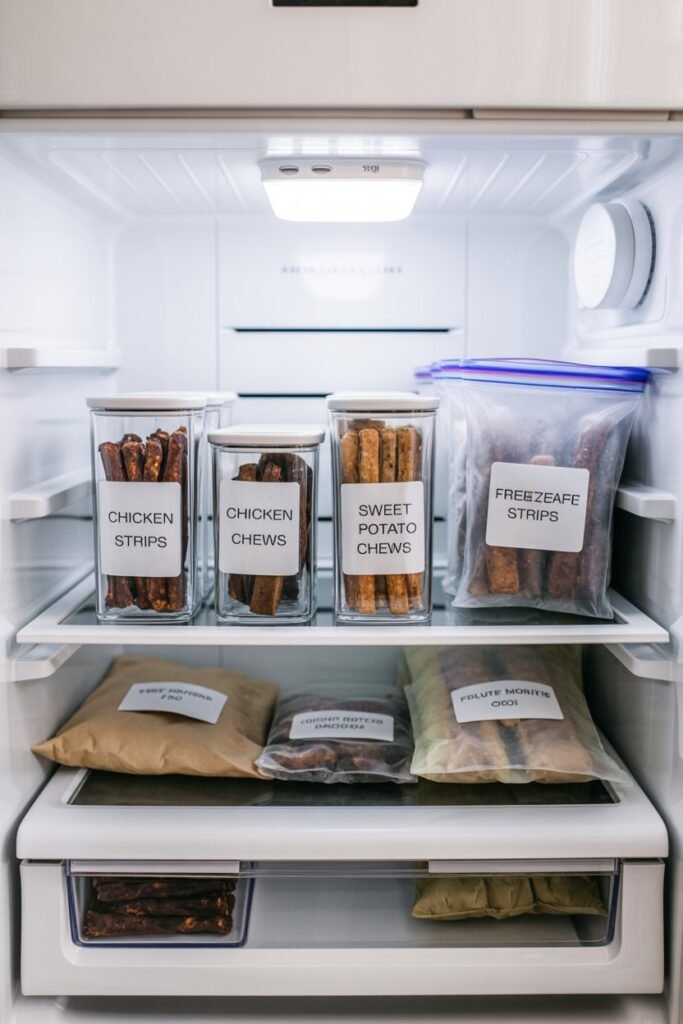
Because these are preservative-free:
- Refrigerator: 5–7 days
- Freezer: Up to 3 months
Freeze in portions and thaw overnight in the fridge.
How Often Should Dogs Have These Chew Sticks?
These are treats—not daily meals.
General guideline:
- Small dogs: ½ stick, 2–3 times weekly
- Medium dogs: 1 stick, 2–3 times weekly
- Large dogs: 1–2 sticks weekly
Always monitor digestion.
Why This Recipe Is Worth the Effort
Every time I make these chew sticks, I’m reminded that love often looks like patience. Like choosing better ingredients. Like paying attention to what actually works for your dog.
These aren’t just treats.
They’re reassurance.
They’re intention.
They’re care you can feel good about.
And when your dog settles down with one of these focused, content, tail softly wagging you’ll know exactly why you made them.