If you’ve ever looked at your dog lounging around and thought, “I really should find something fun for you to do,” you’re not alone. Keeping your pup mentally and physically active doesn’t always mean long walks or expensive toys.
Sometimes, the most entertaining and heartwarming activities are the ones made with your own hands.
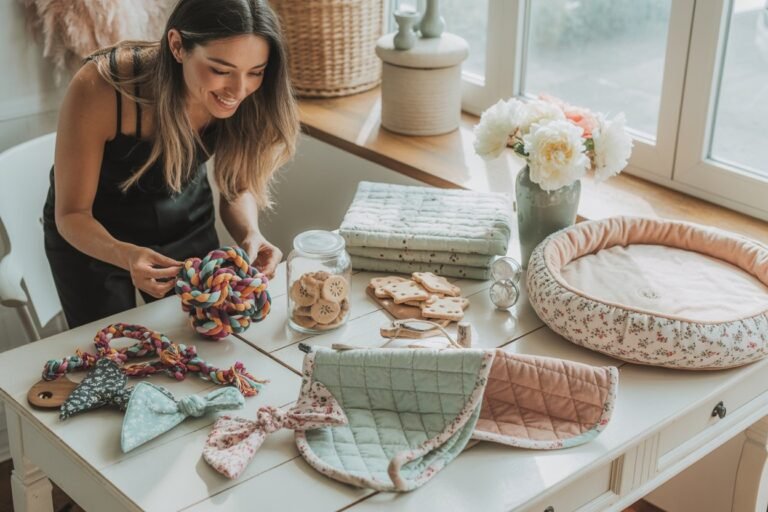
The best part? You don’t have to be a professional crafter. These 16 DIY dog crafts are simple, creative, and budget-friendly.
They’ll help your dog stay busy, happy, and engaged while letting you enjoy that little spark of pride when you say, “I made that.”
Whether you’re reusing materials around the house or spending a cozy Sunday afternoon crafting, each of these projects adds a personal touch to your dog’s day and maybe even a stylish addition to your home.
1. Braided T-Shirt Tug Toy

Materials:
- Old cotton T-shirts or fleece fabric
- Scissors
Instructions:
Cut your T-shirts into long, even strips around 2 inches wide. Gather three strips, knot them together at one end, then braid them tightly. Once you reach the end, tie another strong knot. For a chunkier toy, braid multiple sets together.
Pro Tip: “Use both fleece and T-shirt fabric for a softer yet more durable texture perfect for playful tuggers.”
2. Frozen Treat Lick Mats
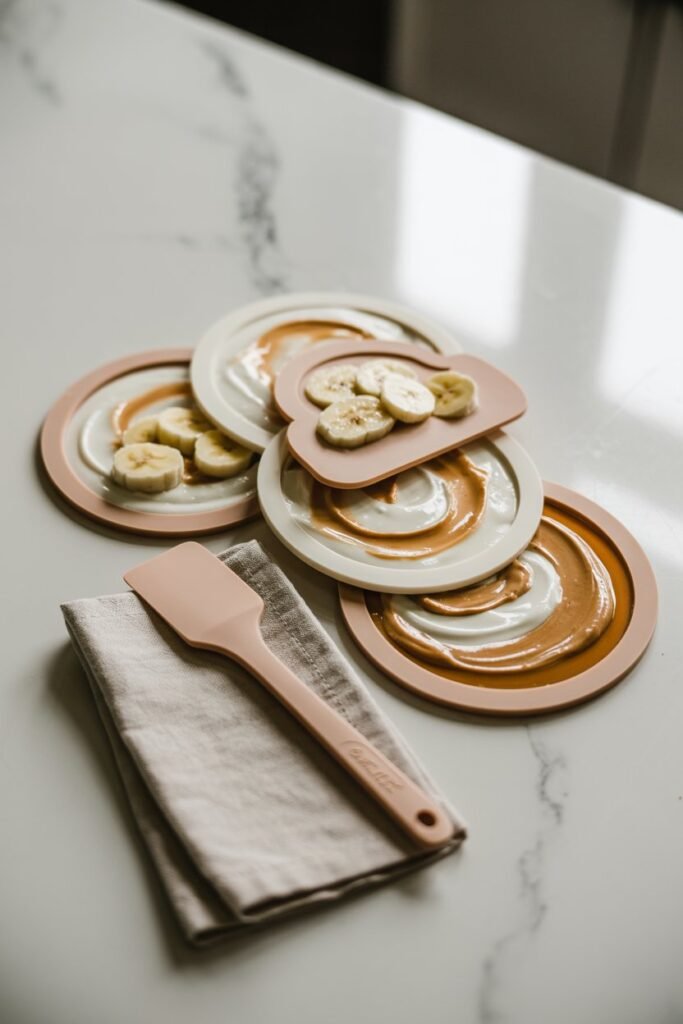
Materials:
- Silicone lick mat or small tray
- Plain yogurt, mashed banana, or pumpkin purée
- Dog-safe toppings (like peanut butter or broth)
Instructions:
Spread a base layer of yogurt or banana over the lick mat, smoothing it into all the grooves. Add a second layer with peanut butter or broth for flavor variety. Freeze for 1–2 hours.
Pro Tip: “Layer flavors before freezing to keep your dog engaged longer it’s like a popsicle puzzle for pups.”
3. Snuffle Mat Adventure
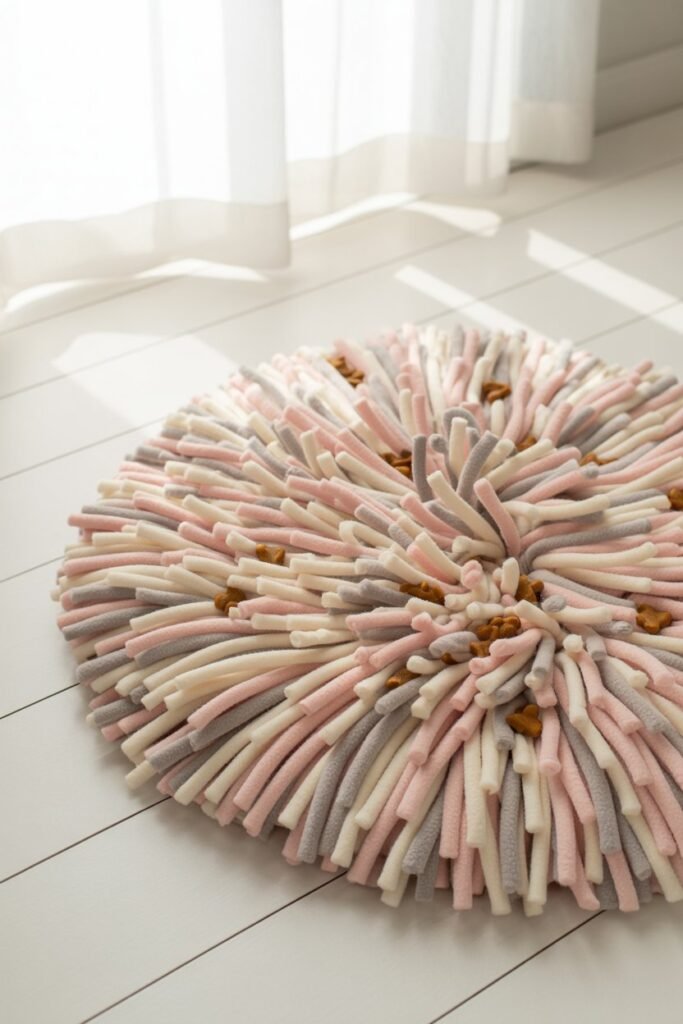
Materials:
- Rubber sink mat or doormat with holes
- Fleece fabric (cut into strips)
- Scissors
Instructions:
Thread each fleece strip through the mat’s holes and tie securely. Continue until the surface is full and fluffy. Sprinkle kibble or treats into the folds, and let your dog sniff them out.
Pro Tip: “Choose fleece colors that match your home décor so your dog’s new toy doesn’t clash with your living room.”
4. DIY Scent Game Jars
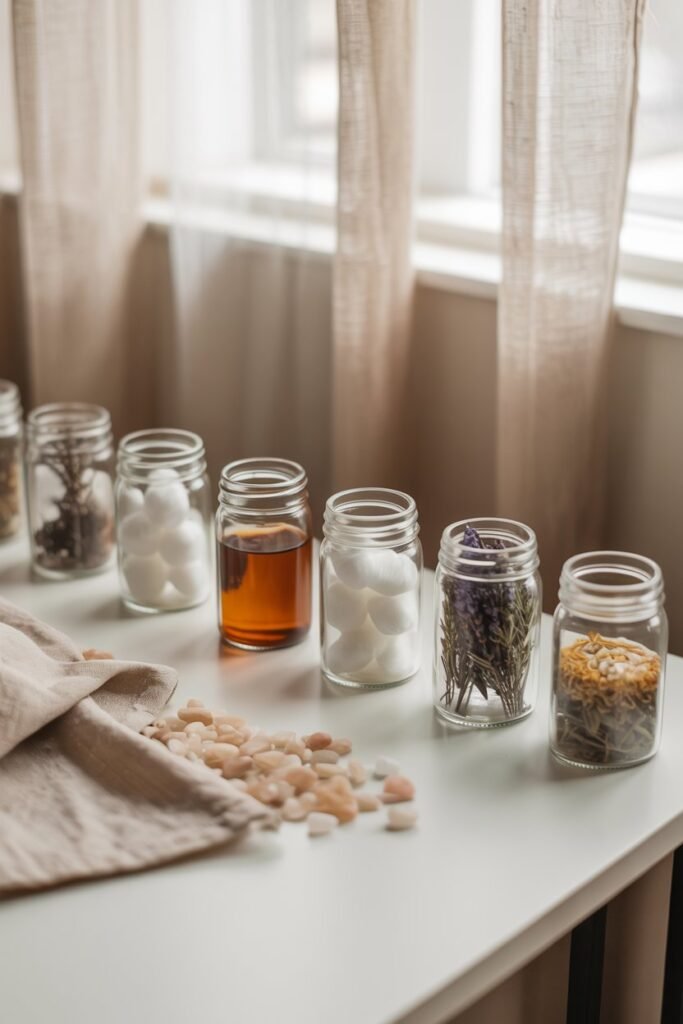
Materials:
- Small jars or plastic containers with lids
- Cotton balls
- Dog-safe scents (like vanilla, bacon bits, or lavender)
Instructions:
Poke a few holes in the jar lids. Place different scents on the cotton balls, one per jar. Let your dog sniff each and find the “winning” scent. Reward them when they choose correctly.
Pro Tip: “Start with stronger scents and reduce intensity over time to keep the game challenging.”
5. Homemade Rope Ball Toy

Materials:
- Thick cotton rope
- Scissors
- Lighter (for sealing ends)
Instructions:
Cut a long piece of rope and tie a tight overhand knot, looping multiple times until you form a solid ball. Trim any frayed edges and lightly melt them with a lighter to seal.
Pro Tip: “Soak the rope in chicken broth and freeze it for a cold, chewy treat that doubles as a toy.”
6. No-Sew Fleece Blanket
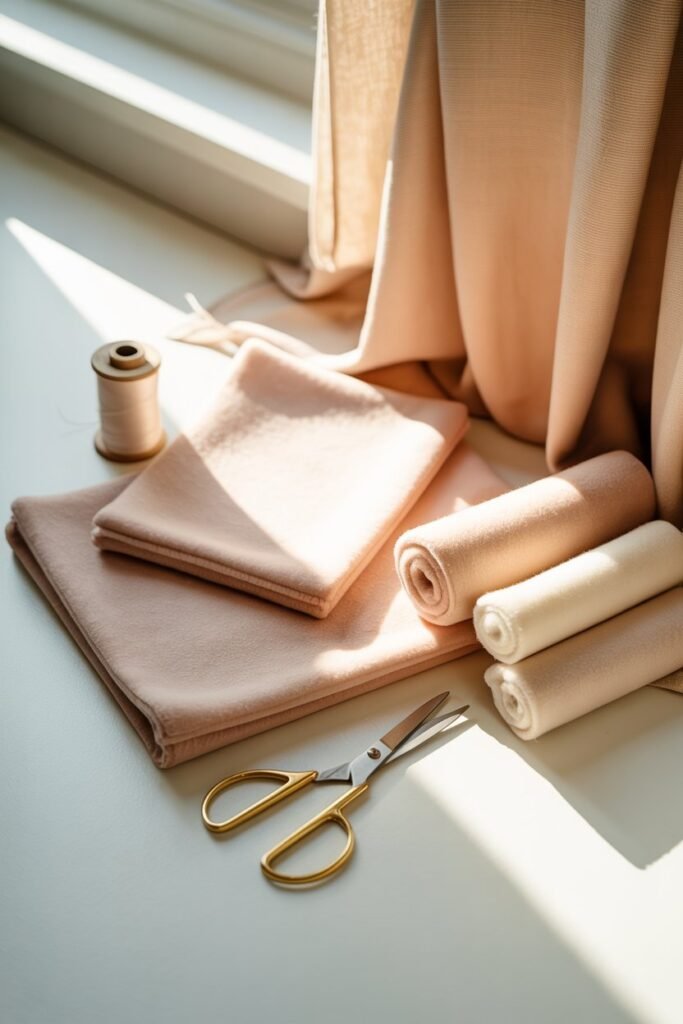
Materials:
- Two fleece fabric pieces (same size)
- Scissors
Instructions:
Lay both fleece pieces on top of each other. Cut 3-inch slits around the edges to create fringe. Tie each top strip to its bottom strip all the way around.
Pro Tip: “Choose soft, warm colors your dog will love the texture, and it looks great draped on your sofa.”
7. Treat-Dispensing Bottle Game
Materials:
- Empty plastic bottle (label removed)
- Dog treats or dry kibble
- Scissors or craft knife
Instructions:
Cut small holes around the bottle big enough for a treat to slip through. Fill the bottle halfway and close the cap tightly. As your dog rolls it, the treats fall out slowly.
Pro Tip: “Wrap masking tape around sharp edges for safety.”
8. DIY Paw Print Keepsake
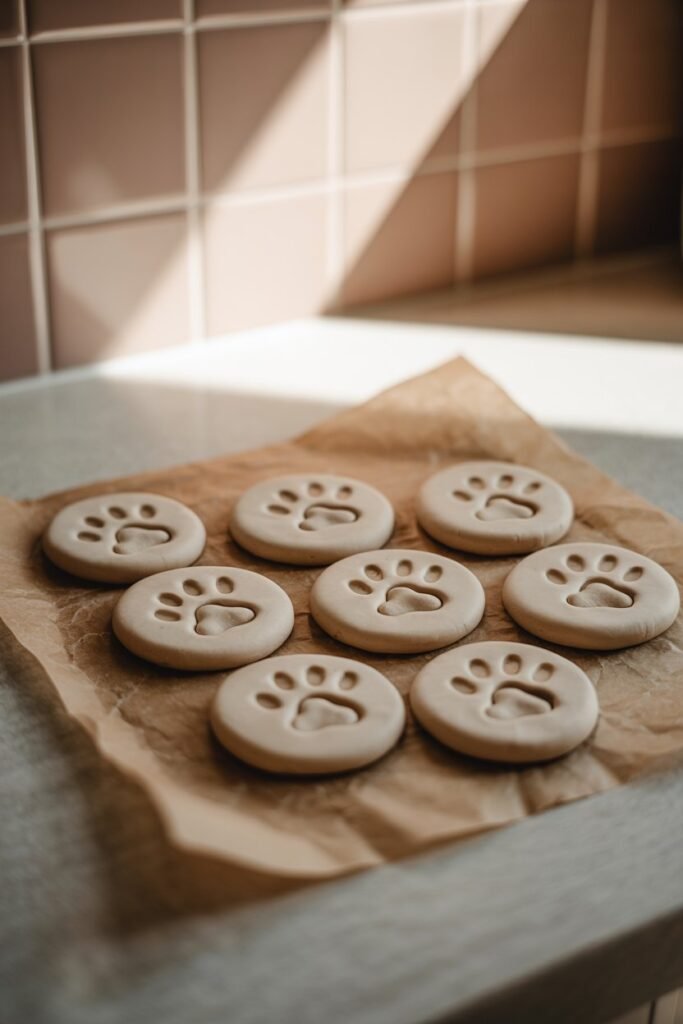
Materials:
- 1 cup flour
- ½ cup salt
- ½ cup water
- Rolling pin
- Cookie cutter (optional)
Instructions:
Mix flour, salt, and water into a soft dough. Roll it out and press your dog’s paw gently into the surface. Cut into a circle, then bake at 200°F (93°C) for 2–3 hours until hardened. Once cool, paint and label it.
Pro Tip: “Write your dog’s name and the date before baking to preserve the memory beautifully.”
9. Tennis Ball Puzzle

Materials:
- Old tennis ball
- Small dog treats
- Sharp knife
Instructions:
Cut an “X” shape into one side of the ball. Squeeze to open it slightly, insert treats, and release. Your dog will roll, nudge, and chew until the snacks come out.
Pro Tip: “Supervise during play if your dog tends to shred toys.”
10. Dog Toy Storage Basket
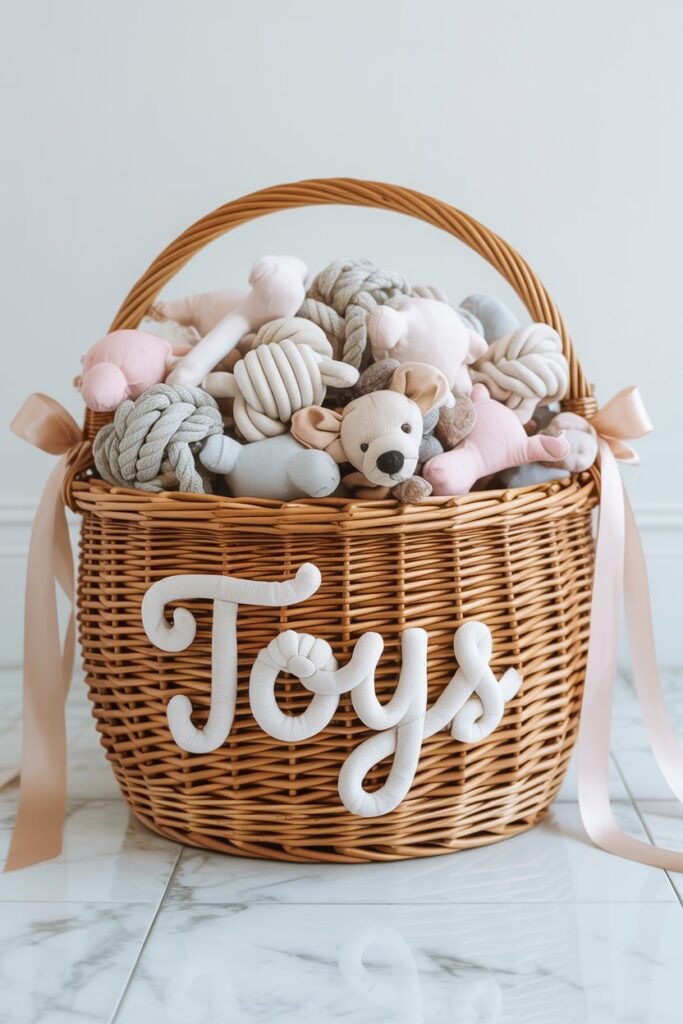
Materials:
- Plain woven basket
- Fabric paint or vinyl decal
- Stencil and brush
Instructions:
Paint or stencil your dog’s name or the word “Toys” onto the basket. Let it dry completely. Use it to organize your handmade crafts and toys in one cute spot.
Pro Tip: “Add small rope handles or pastel accents to give it a boutique touch.”
11. Natural Paw Balm
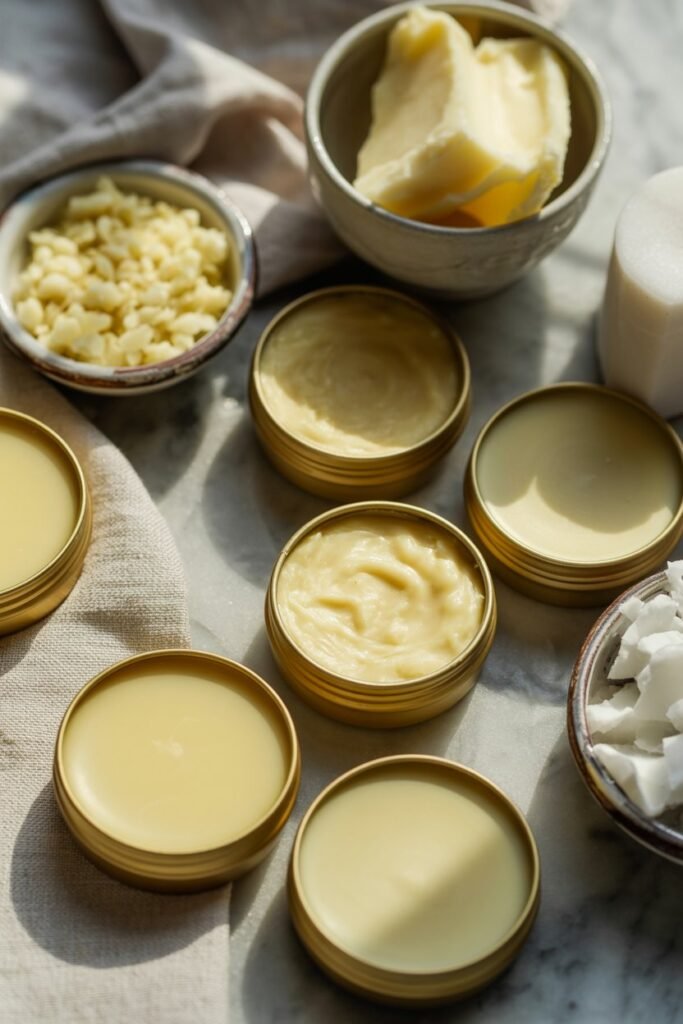
Materials:
- 2 tbsp coconut oil
- 1 tbsp beeswax pellets
- 1 tbsp shea butter
- Optional: few drops of lavender oil
Instructions:
Melt all ingredients in a heatproof bowl over low heat. Once smooth, pour into tins or small containers and let it cool. Apply a thin layer to your dog’s paws when dry or cracked.
Pro Tip: “Store in a cool, dry place it’ll stay fresh for up to three months.”
12. Rope-Handled Toy Bin
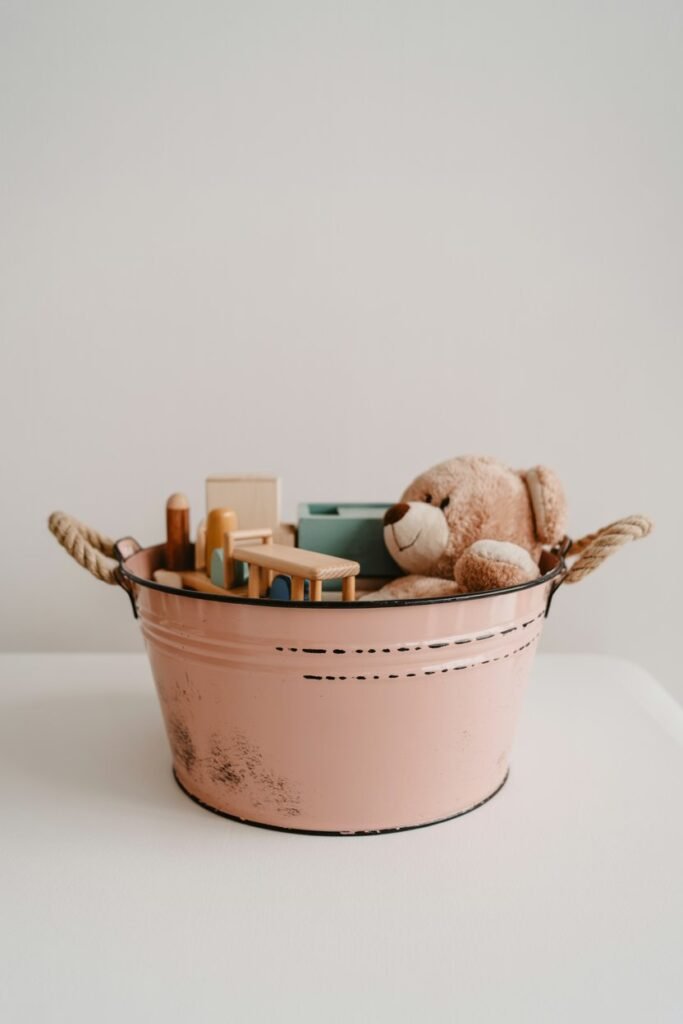
Materials:
- Metal or wooden bucket
- Thick rope
- Drill and glue
Instructions:
Drill two holes near the top of the bucket, thread the rope through, and secure with knots or glue. Use as a decorative storage bin for your dog’s toys.
Pro Tip: “Spray-paint the bucket white or blush pink for a modern, feminine look.”
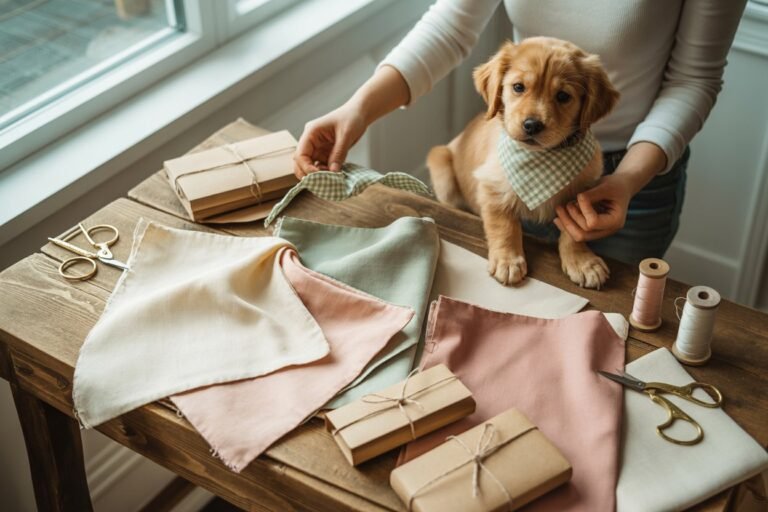
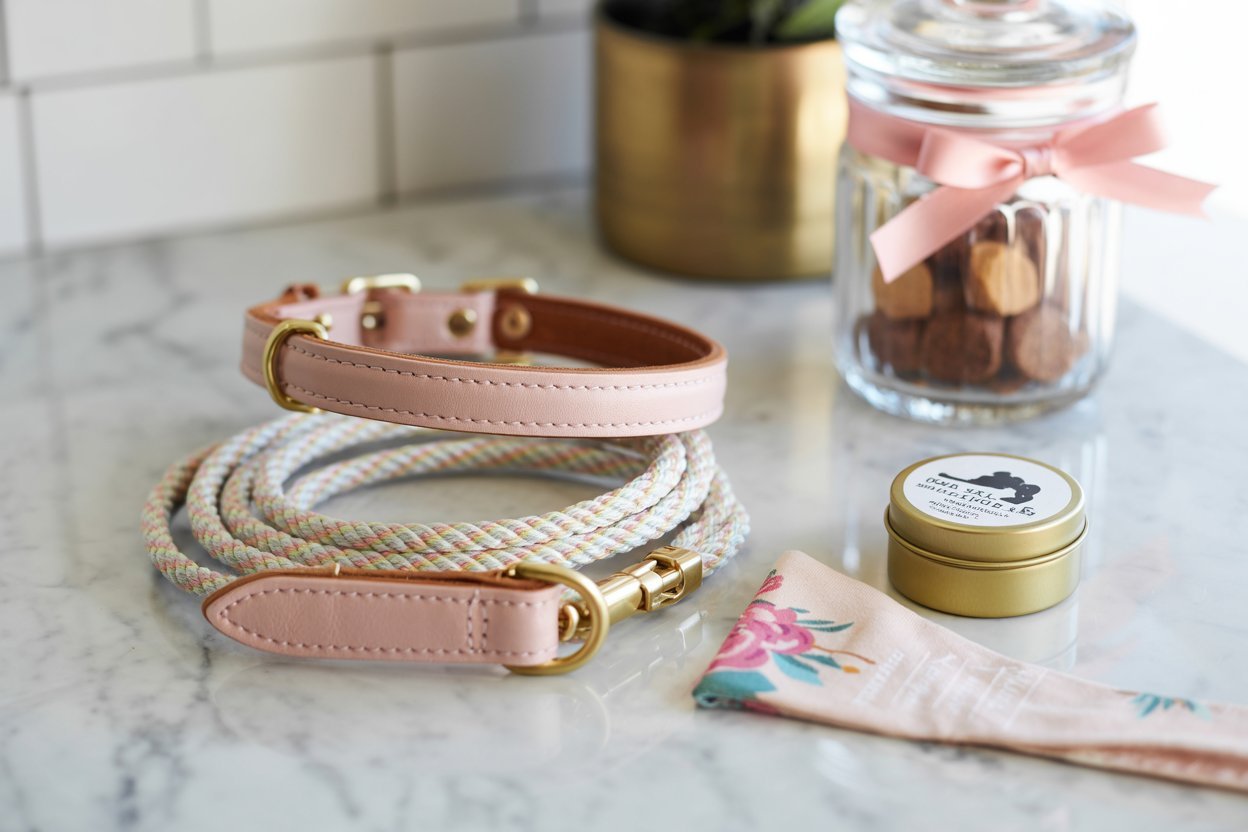
13. Personalized Bandana
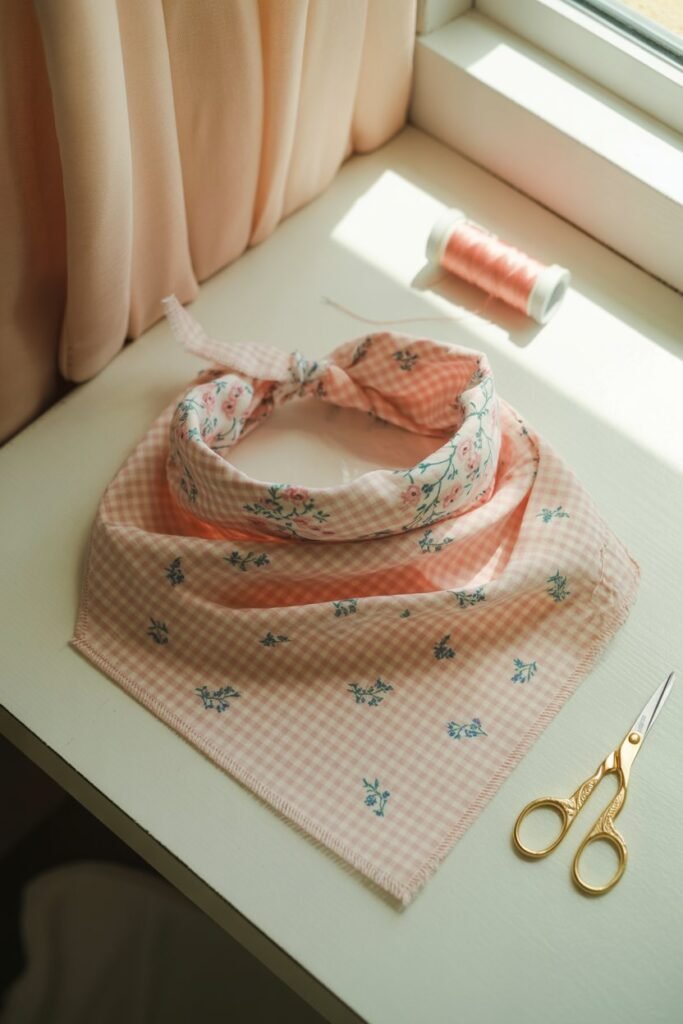
Materials:
- Cotton or flannel fabric
- Scissors and sewing kit or fabric glue
- Embroidery thread (optional)
Instructions:
Cut the fabric into a large square, fold it diagonally, and sew or glue the edges. Add your dog’s name with embroidery or an iron-on patch for that boutique feel.
Pro Tip: “Use soft fabrics in patterns that match your style floral, gingham, or pastel solids look amazing.”
14. Upcycled Denim Dog Bed
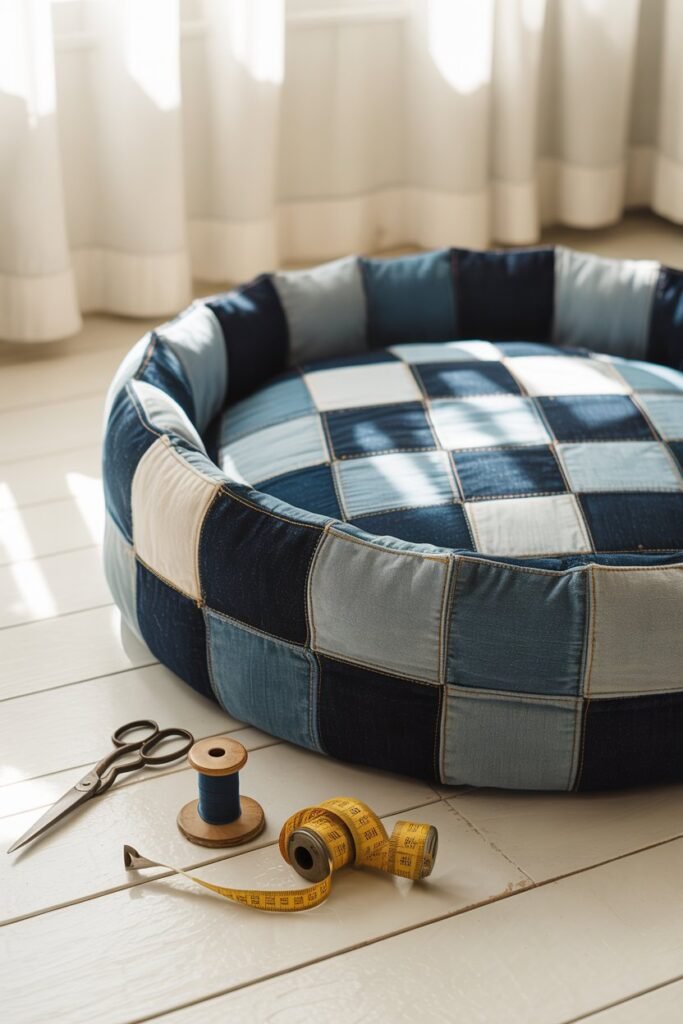
Materials:
- Old jeans or denim scraps
- Needle and thread or sewing machine
- Stuffing or old pillows
Instructions:
Cut denim into equal panels, stitch them together, and leave an opening. Fill with soft stuffing, then sew it closed. The result: a durable, washable, and stylish dog bed.
Pro Tip: “Mix light and dark denim for a patchwork look that hides wear over time.”
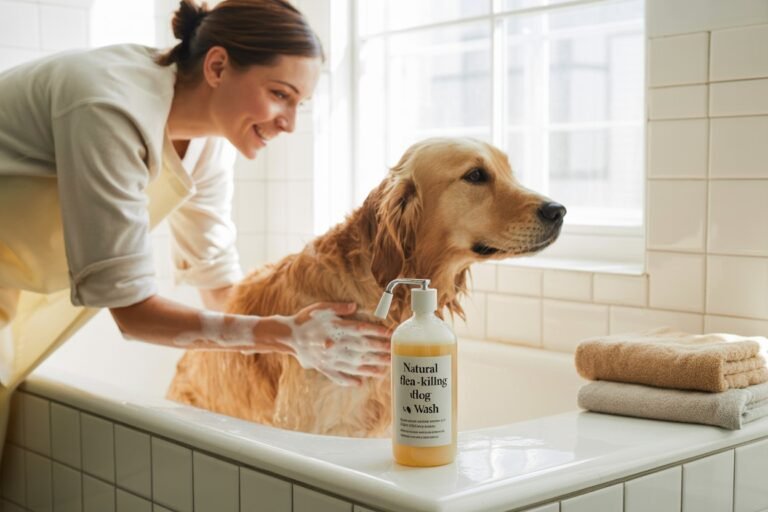
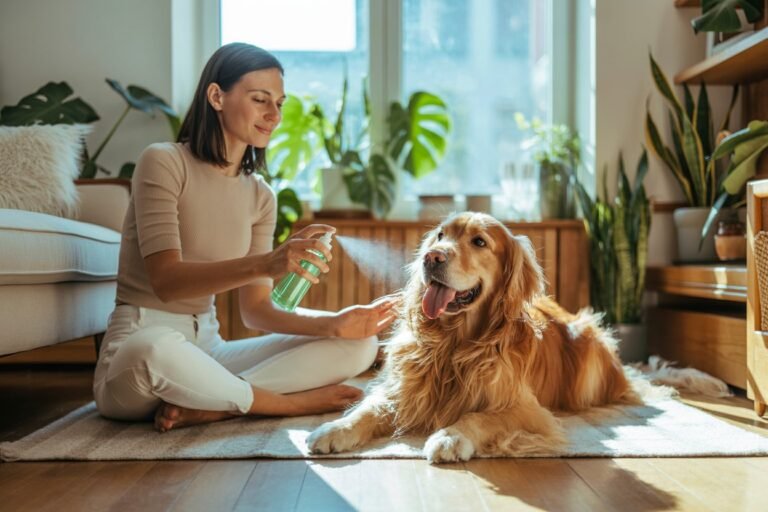
15. Refreshing Coat Spray
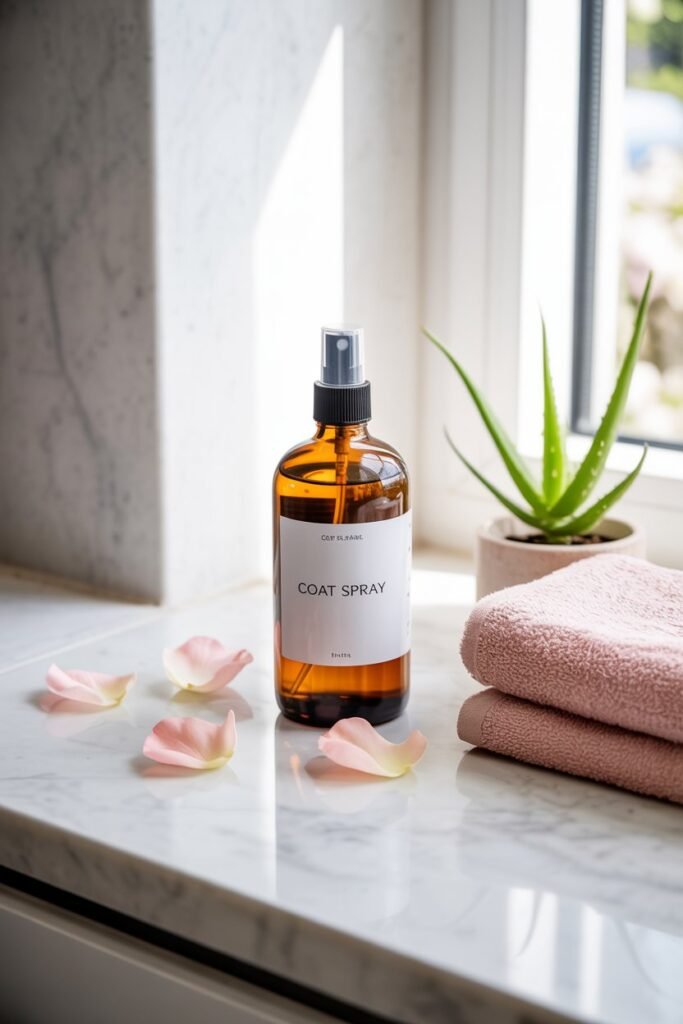
Materials:
- 1 cup distilled water
- 1 tbsp aloe vera juice
- 1 tsp coconut oil
- Spray bottle
Instructions:
Mix all ingredients in a spray bottle and shake well. Lightly mist over your dog’s coat, avoiding the face. Brush through for a shiny, refreshed look.
Pro Tip: “Add a drop of chamomile extract for a calming scent.”
16. DIY Treat Jar
Materials:
- Glass jar with lid
- White chalk paint or spray paint
- Ribbon or label sticker
Instructions:
Paint the lid in your favorite color and let it dry. Wrap a ribbon around the rim and add a label like “Treats.” Fill with your homemade snacks and display it proudly.
Pro Tip: “For a boutique touch, use blush, cream, or gold accents that match your kitchen aesthetic.”
Final Thoughts
Crafting for your dog is more than a hobby it’s a small act of love that shows up in the everyday moments. These DIY projects are simple, satisfying, and stylish enough to blend into your home.
The next time you’ve got an hour and some leftover fabric, turn it into a toy, a blanket, or a keepsake. Your dog may not understand the effort, but they’ll definitely feel the care. And that’s what makes handmade so special.