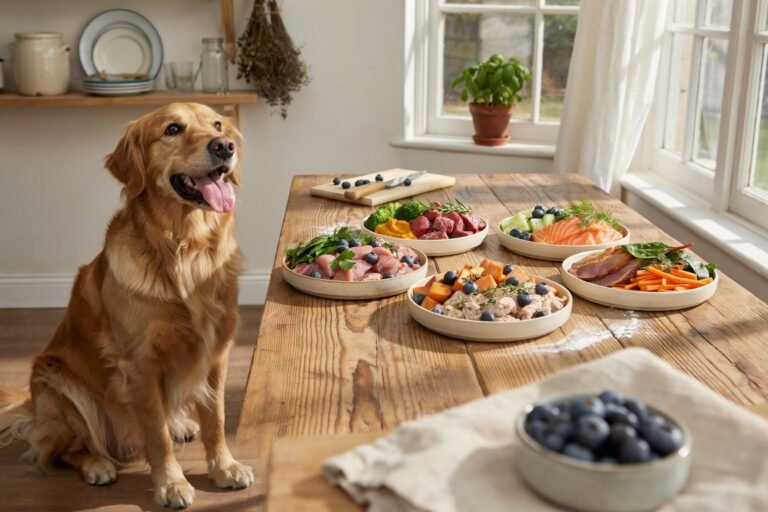
If you’re anything like me, your dog isn’t just a pet they’re family. The kind of family member who waits by the door, tilts their head when you talk, and somehow always knows when you’ve had a bad day.
For years, I relied on store-bought kibble and canned food, assuming they were “good enough.” But one afternoon, as I read the ingredients list on my dog’s favorite food, I realized I could barely pronounce half of it.
That was my turning point. I wanted my dog to eat real food fresh, balanced, wholesome meals that were as nourishing as what I put on my own table.
After a few weeks of research, some advice from our vet, and a couple of messy kitchen experiments, I found a rhythm. And today, this homemade dog food recipe has become a weekly staple in our home.
It’s budget-friendly, easy to prepare, and most importantly, my dog licks the bowl clean every single time.
Why You’ll Love This Recipe
- Healthier ingredients: No fillers, preservatives, or mystery “meat meals.”
- Customizable: Perfect for picky eaters or dogs with allergies.
- Vet-approved balance: Includes protein, complex carbs, and vegetables for full nutrition.
- Meal prep friendly: Store or freeze in batches for easy feeding.
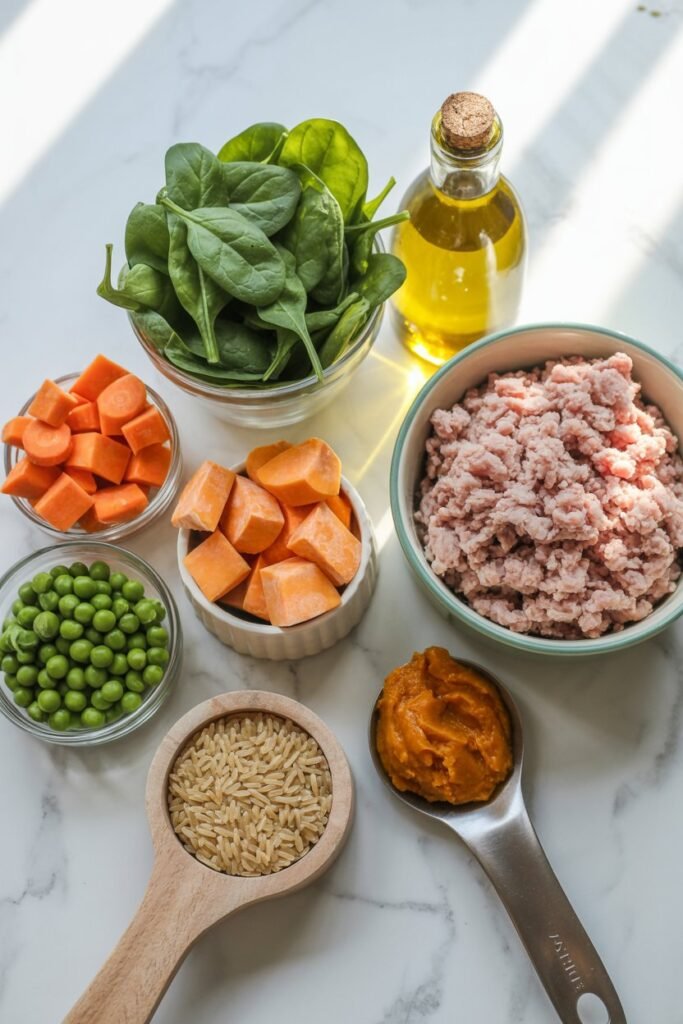
Ingredients You’ll Need
You don’t need fancy tools or gourmet ingredients — just wholesome basics you probably already have.
Main Ingredients:
- 1 lb lean ground turkey or chicken (you can substitute beef or salmon)
- 2 cups brown rice (or quinoa for a higher protein option)
- 1 tbsp olive oil or coconut oil
- 3 cups mixed vegetables (carrots, peas, spinach, zucchini, or green beans)
- 1 medium sweet potato, peeled and diced
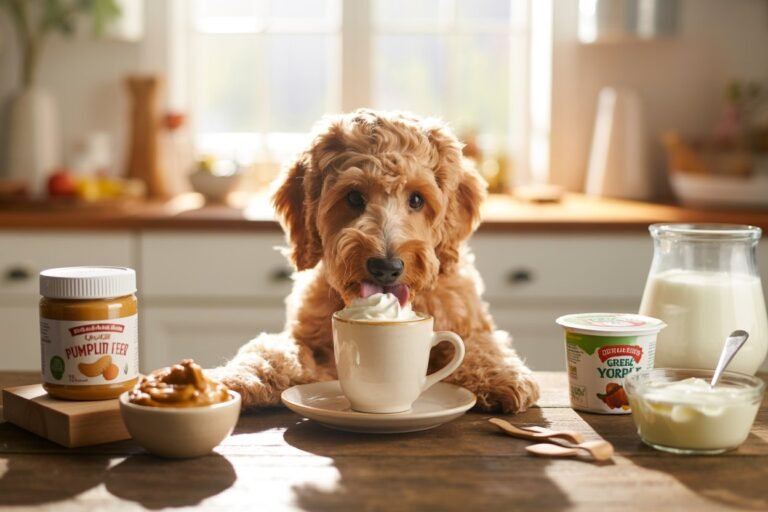
- ½ cup pumpkin puree (great for digestion)
- ½ tsp turmeric (optional, supports joint health)
- ½ cup bone broth or water (unsalted)
- 1 boiled egg, chopped (optional for extra protein and shine)
Step-by-Step Instructions
Step 1: Prepare Your Ingredients
Wash and chop your vegetables into small, bite-sized pieces so they’re easy to digest. Rinse your rice or quinoa thoroughly before cooking.
Tip: “Cut veggies into smaller pieces — it helps your dog digest nutrients better and prevents choking on firmer foods like carrots or sweet potatoes.”
Step 2: Cook the Grains
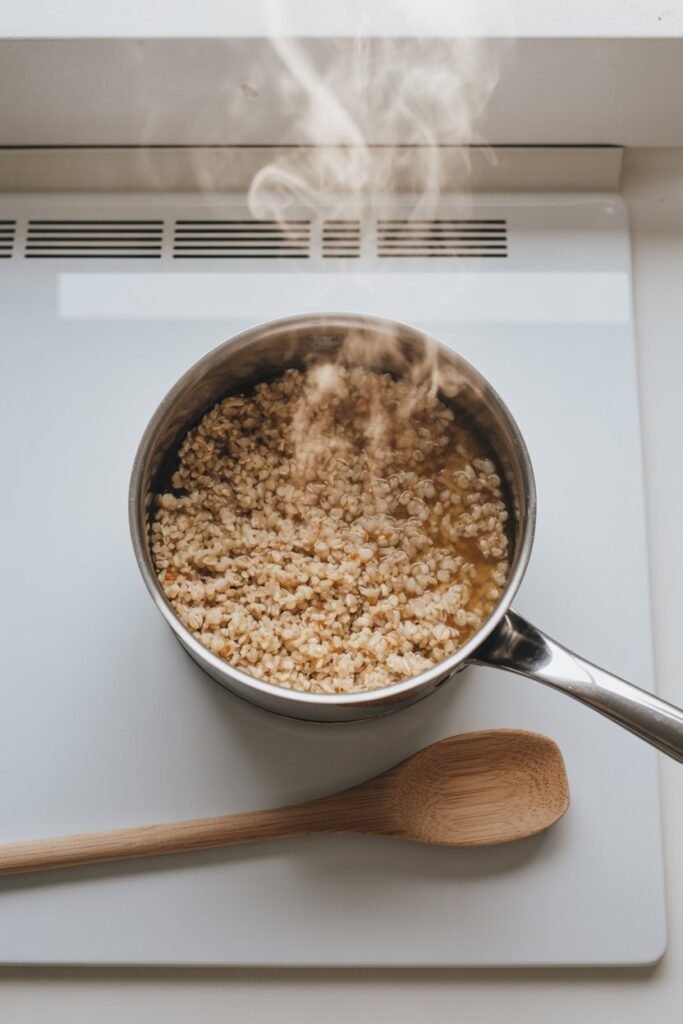
In a large pot, cook the rice or quinoa according to the package directions. Avoid using salt, butter, or any seasonings — dogs don’t need them, and some can be harmful.
Once cooked, fluff with a fork and set aside.
Step 3: Cook the Protein
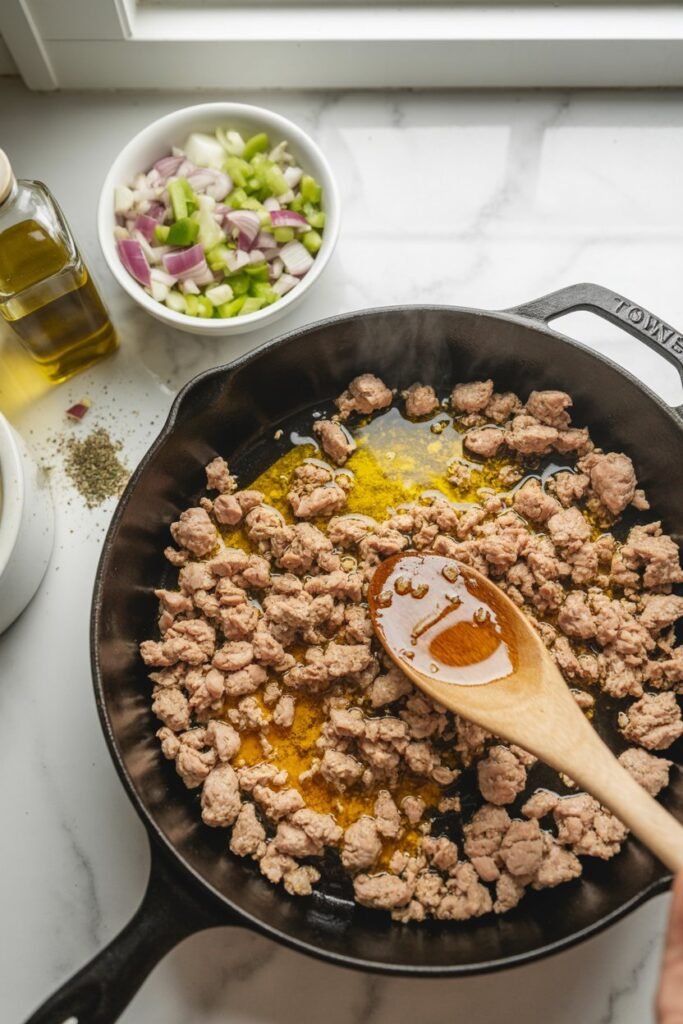
In a large skillet, heat the olive oil over medium heat. Add the ground turkey (or your chosen protein) and cook until no longer pink. Use a wooden spoon to break up the meat as it cooks.
If you’re using salmon or chicken breasts instead of ground meat, make sure they’re fully cooked through, then shred or flake into small pieces.
Tip: “Always drain excess fat after cooking the meat — it keeps the meal lean and easier on your dog’s stomach.”
Step 4: Add the Veggies
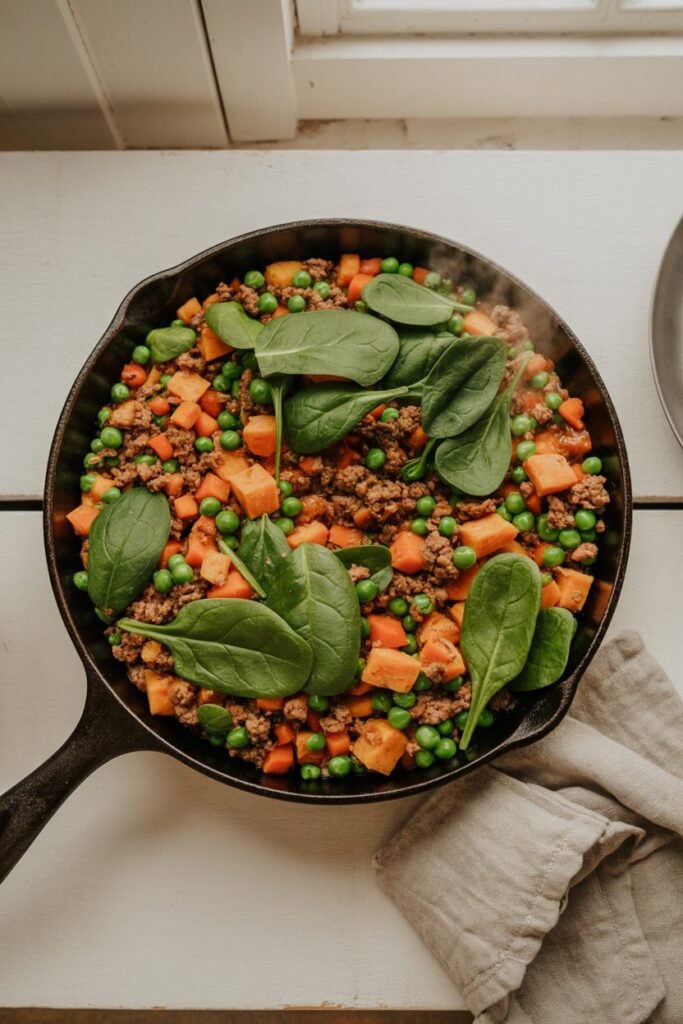
Add the chopped veggies and diced sweet potatoes to the skillet. Pour in the bone broth or water, then cover and let it simmer for about 10 minutes, until the vegetables are tender.
Stir occasionally to prevent sticking. The kitchen will start to smell like a comforting Sunday stew — and yes, your dog will probably sit by your feet waiting.
Step 5: Combine Everything

In a large mixing bowl, combine your cooked rice, sautéed veggies, and protein. Stir in the pumpkin puree and turmeric (if using). Mix well until everything is evenly distributed and slightly cooled.
If you’re adding a chopped boiled egg, fold it in gently at the end.
Tip: “Let the food cool completely before serving — dogs’ tongues are more sensitive to heat than ours.”
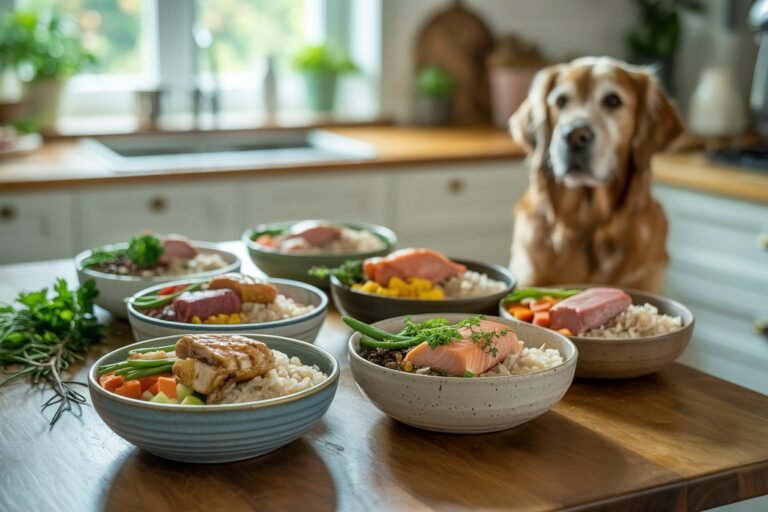
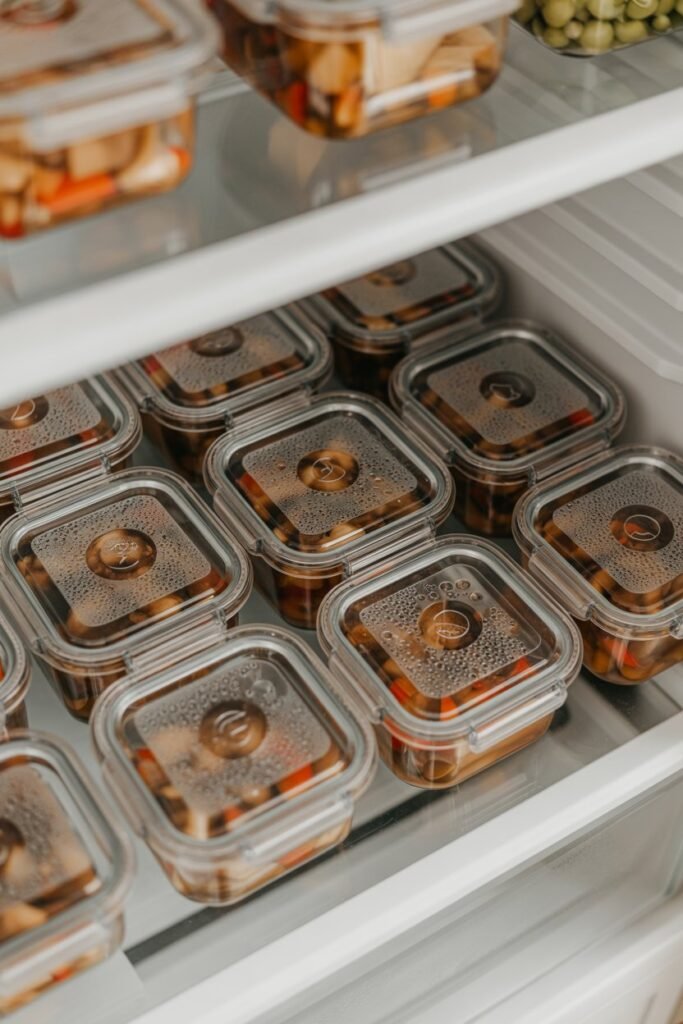
Step 6: Portion and Store
Once cooled, divide the dog food into storage containers or reusable silicone freezer trays.
Refrigerate for up to 4 days or freeze for up to 2 months.
Each serving can be reheated gently in the microwave for 20–30 seconds or served cold, depending on your dog’s preference.
Nutritional Breakdown (Per 1 Cup Serving)
| Nutrient | Approximate Amount |
|---|---|
| Calories | 320 kcal |
| Protein | 24g |
| Carbohydrates | 28g |
| Fat | 9g |
| Fiber | 4g |
These values are estimates and can vary depending on ingredient brands and portions.
Why Homemade Dog Food is Worth It
When you make your dog’s food from scratch, you know exactly what’s going in their bowl — no mystery fillers, dyes, or animal byproducts. Plus, you’ll notice the difference within weeks: shinier coat, better digestion, more energy, and that unmistakable spark in their eyes after mealtime.
And honestly? It’s just as satisfying for you. Knowing you’re doing something extra for your pup’s health feels good — like an act of love they can taste.
Vet-Approved Tips for a Balanced Diet
I worked with our local vet to ensure this recipe provides a strong nutritional foundation. Here’s what she recommends keeping in mind:
- Protein is key. Dogs need lean meats as their main energy source. Rotate between turkey, chicken, beef, and fish for variety.
- Don’t skip healthy fats. A small drizzle of olive or fish oil supports coat health and brain function.
- Add calcium. Crushed eggshells or a vet-approved calcium supplement can help maintain strong bones.
- Watch portion sizes. Overfeeding even healthy food can lead to weight gain.
- Avoid toxic foods. Never include onions, garlic, grapes, raisins, chocolate, or xylitol.
Tip: “Always consult your vet before changing your dog’s diet — every dog’s needs are a little different.”
Storage & Serving Tips
- Refrigerator: Store in airtight containers for 3–4 days.
- Freezer: Freeze portions in resealable bags or silicone trays for up to 2 months.
- Thawing: Defrost overnight in the fridge, then warm gently before serving.
For small dogs, serve ½–1 cup per meal. For medium dogs, 1–1½ cups, and for large dogs, 2–3 cups depending on activity level.
Batch Cooking & Freezer Prep
If you’re a busy mom or pet parent juggling work, kids, and pets, batch cooking will be your best friend. Dedicate one hour on Sunday to prepare a double batch.
I use labeled freezer bags with dates, so I always know which batch to use first. It’s not only time-saving but also cost-effective — I save nearly 40% compared to buying premium dog food brands.
Tip: “Mix up your proteins every other batch — it keeps your dog excited for mealtime and supports a wider range of nutrients.”
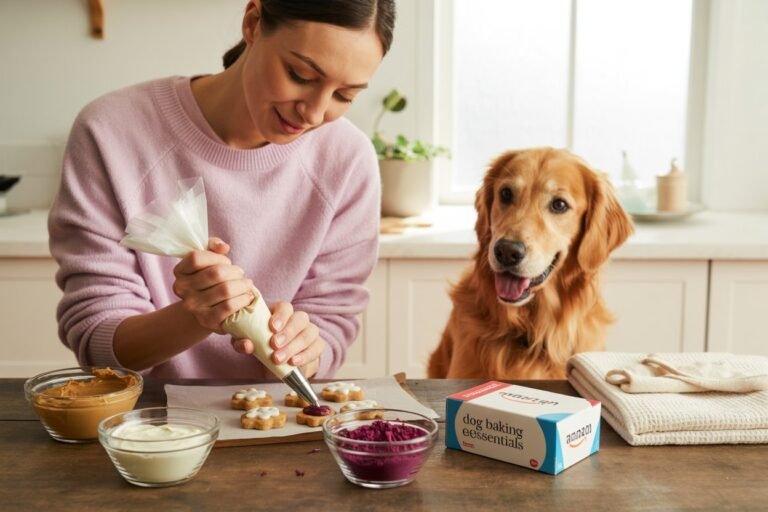
Personal Story: From Kibble to Kitchen Love
When I first started making homemade meals for my dog, I worried it would be too time-consuming or expensive. But what I didn’t expect was how much joy it would bring.
Cooking for my pup became a little ritual — my daughter helps measure the rice, my son chops the veggies (with supervision, of course), and our dog watches the whole show like he’s the judge on a cooking show.
It became part of our family rhythm — one of those simple, happy things that connect us all.
FAQs – Common Questions About Homemade Dog Food
1. Can I substitute rice for something else?
Absolutely! Quinoa, barley, or oats work great as alternatives for variety and texture.
2. Can I add fruit?
Yes, but in moderation. Try apples, blueberries, or banana slices — they’re great natural treats.
3. Do I need to add supplements?
If your dog eats homemade food regularly, talk to your vet about a multivitamin or omega-3 supplement to fill any gaps.
4. Can I feed this every day?
Yes — this recipe is balanced enough for daily feeding, but rotating proteins and veggies weekly is ideal.
5. How long does homemade dog food last in the fridge?
Up to 4 days. Always smell and inspect before serving — fresh food means happy bellies!
Calories & Portion Guide
For most adult dogs:
- Small dogs (10–20 lbs): ¾–1½ cups per day
- Medium dogs (20–50 lbs): 1½–2½ cups per day
- Large dogs (50–90 lbs): 2½–4 cups per day
Calories per cup: around 320 kcal
Always adjust based on your dog’s activity level, age, and weight goals.
Final Thoughts
Homemade dog food isn’t just about feeding your pet — it’s about giving them love in the purest form. Every ingredient, every stir of the pot, is a way of saying, “You matter to me.”
Once you start, it quickly becomes second nature — and your dog will thank you with wagging tails, brighter eyes, and maybe even a little dance every time you open the fridge.
You don’t have to be a chef, just a pet parent who cares. And that’s exactly what makes this recipe special.