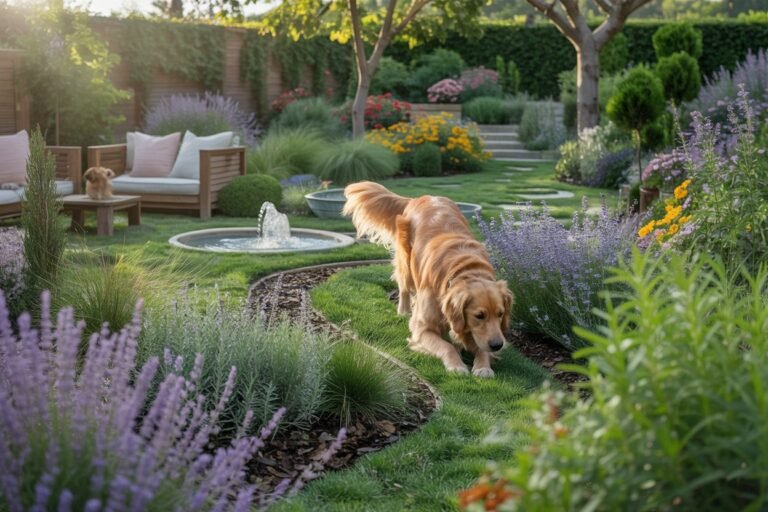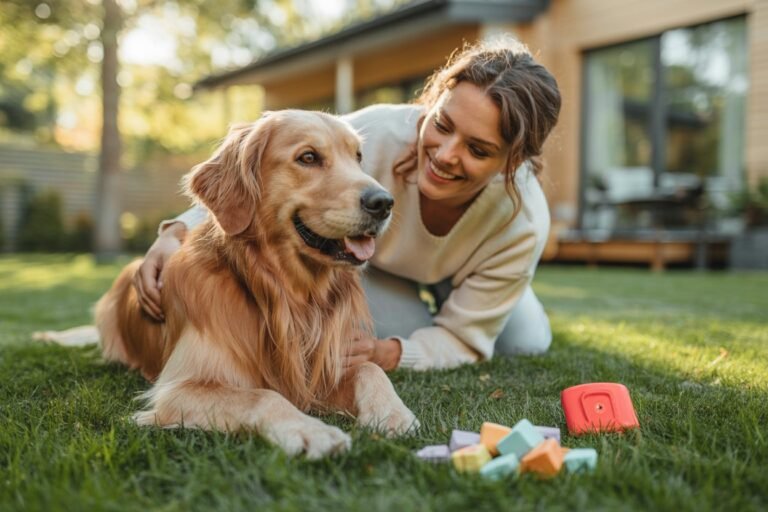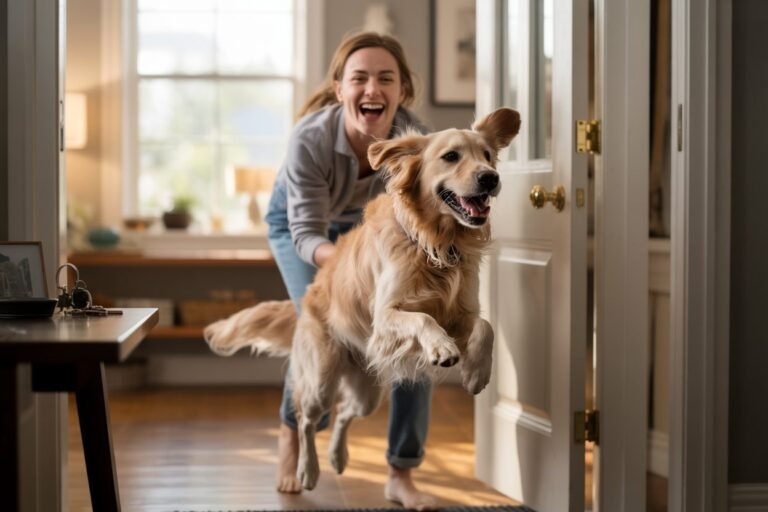
If there’s one thing I’ve learned after years of raising dogs from wiggly puppies to sweet seniors it’s that communication goes far beyond the words we speak. Dogs watch us constantly.
They study our body language, our facial expressions, and yes even the tiniest movement of our hands.
And honestly? Learning hand signals completely transformed the way I connect with my dogs.
When I first started training with hand cues, I thought it was just an “extra skill,” something fancy trainers used in YouTube videos. But the deeper I got into it, the more I realized how powerful, calming, and intuitive hand signals are for dogs.
It’s like discovering a quiet language the two of you share one that cuts through distractions, helps with obedience, and strengthens trust in a way spoken words alone never could.
Before long, my dogs were responding to me in busy parks, loud rooms, and even when my voice was tired or hoarse. It felt like magic… but really, it was clarity. Dogs naturally understand physical gestures far better than human speech.
And that’s why this guide exists.
Today, I’m walking you through 11 essential hand signals every dog owner should know the same ones I personally use in my own home, and the ones that completely transformed daily life with my pups.
Whether your dog is shy, overly excitable, stubborn, or brand-new to training, these cues will help you open up a new channel of communication that feels effortless and deeply connected.
Why Hand Signals Are Absolutely Necessary
Hand signals aren’t just “cute tricks.” They play an essential role in balanced, modern dog training—one that’s grounded in communication, confidence-building, and calm behavior.
Here’s why they’re so important:
1. Dogs Naturally Respond Better to Visual Cues
Dogs evolved to watch human gestures long before they learned to interpret words. Visual signals are processed faster and more clearly than spoken commands.
2. They Cut Through Noise and Distractions
Whether you’re at the park, near traffic, or inside a loud home, hand signals ensure your dog still understands you—no yelling needed.
3. Perfect for Senior Dogs or Dogs With Hearing Loss
Hand signals are crucial for dogs who:
- are aging
- have partial or full hearing loss
- are breeds prone to ear issues
Training them early prepares your dog for a smoother future.
4. They Create a Calmer Training Environment
Using your hands requires you to be calm, intentional, and focused—and your dog mirrors that energy beautifully.
5. Strengthens Trust & Emotional Connection
A dog who understands non-verbal cues looks to you for guidance with confidence and security. It builds a bond that feels less like “training” and more like a partnership.
6. They Make Commands More Precise
Spoken cues can sound similar.
“Sit,” “set,” “stay,” “stand”—you get the idea.
Hand signals eliminate confusion.
7. You Can Train Quietly
Great for:
- apartment living
- early mornings
- multi-pet homes
- avoiding overstimulation
Sometimes silence is exactly what your dog needs.
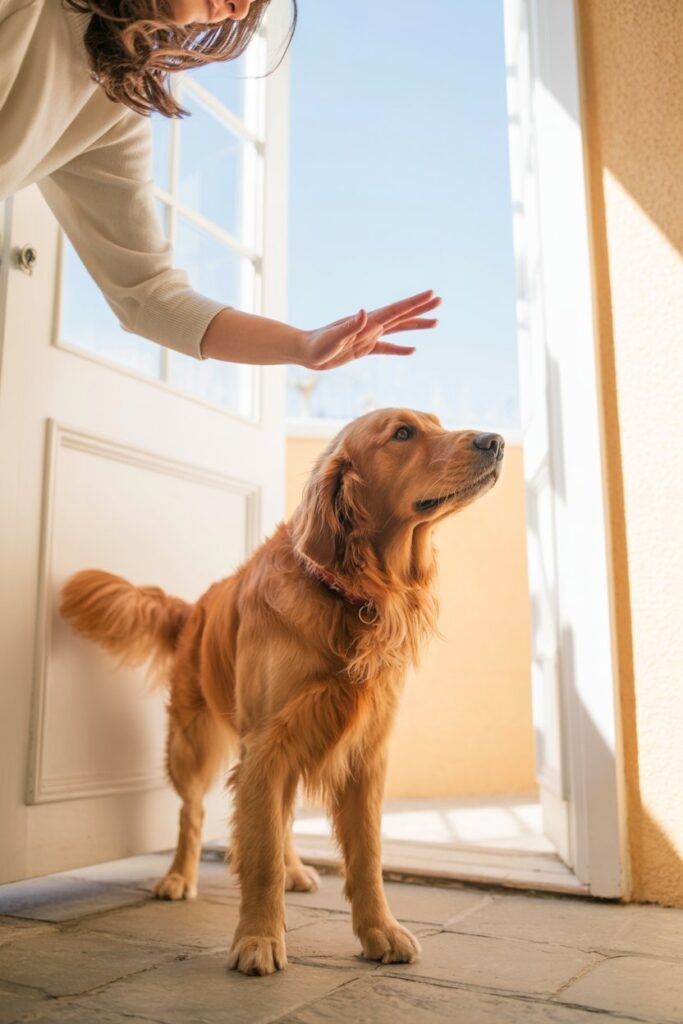
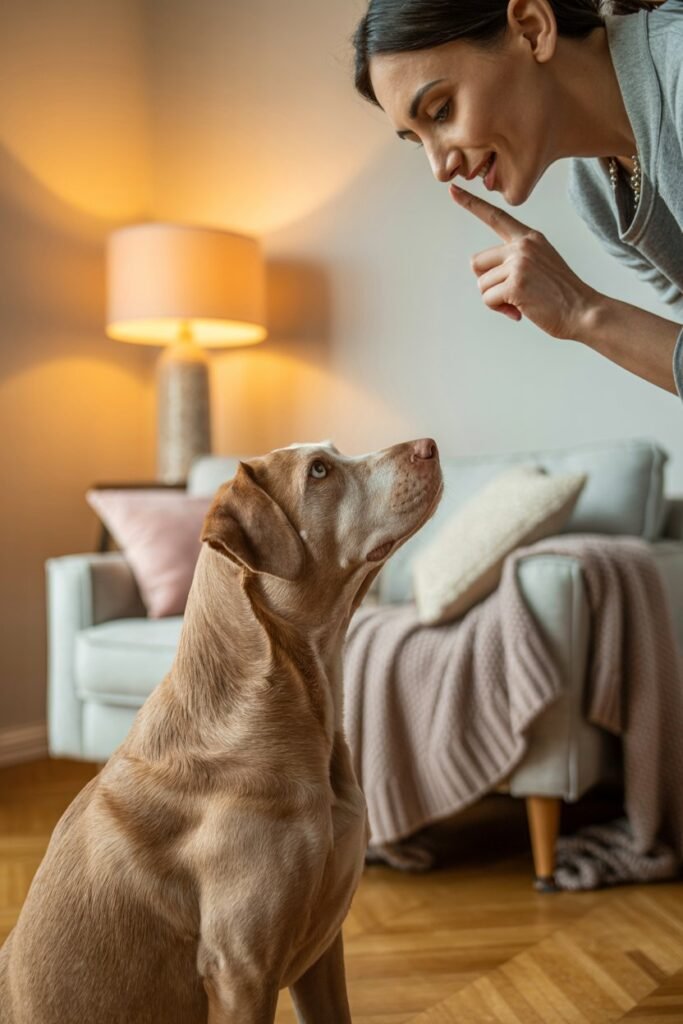
1. “Sit” — The Calm Foundation
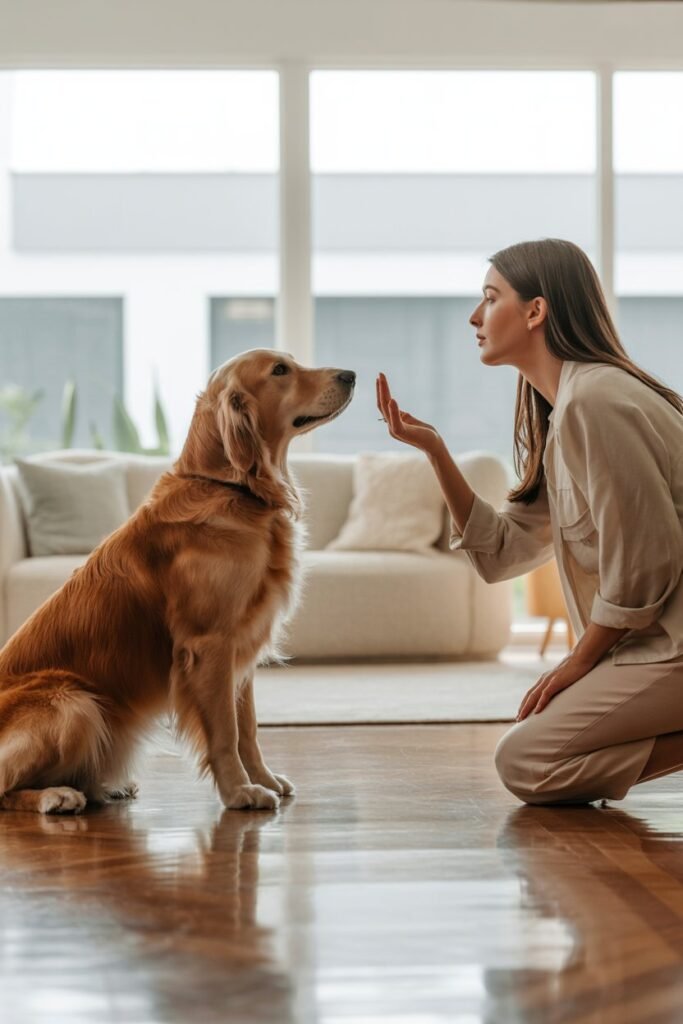
This is the single most useful cue I teach because it creates a calm starting point for everything: greetings, grooming, putting on a leash, photos — you name it.
Gesture (clean & consistent): palm-up near your chest, then lift your hand slightly in a soft scooping motion. Keep the wrist relaxed; imagine gently guiding the dog’s eyes up and back.
Step-by-step teaching routine:
- Start in a quiet room. Have small high-value treats ready.
- Show the treat in your closed hand so your dog watches but can’t grab it.
- Use the scooping motion while bringing the treat just above their nose. As their head follows, their hindquarters naturally lower.
- The instant their bottom touches the floor, mark (click or say “Yes!”) and reward. Praise warmly.
- Repeat 6–10 short reps per session. End on a success.
Progression & fading treats: after consistent success (several sessions across days), hold an empty hand in the same motion and reward from your other pocket. Slowly increase time between gesture and reward.
Troubleshooting:
- If the dog backs up instead of sitting, bring the treat closer to their chest so their weight naturally shifts back.
- If they lunge, use smaller, flatter treats and lower your hand so the motion is subtler.
- If they rush, slow your movement and reward only the clean sit (don’t reward jumping).
Common mistakes: inconsistent gesture (different height/angle), over-using the treat so the cue becomes “follow food” rather than “sit.” Keep sessions short and sweet — 3–5 minutes, 2–3 times daily.
Personal tip: I say the word quietly only after they reliably sit to the hand. That keeps the hand cue primary and the voice as backup.
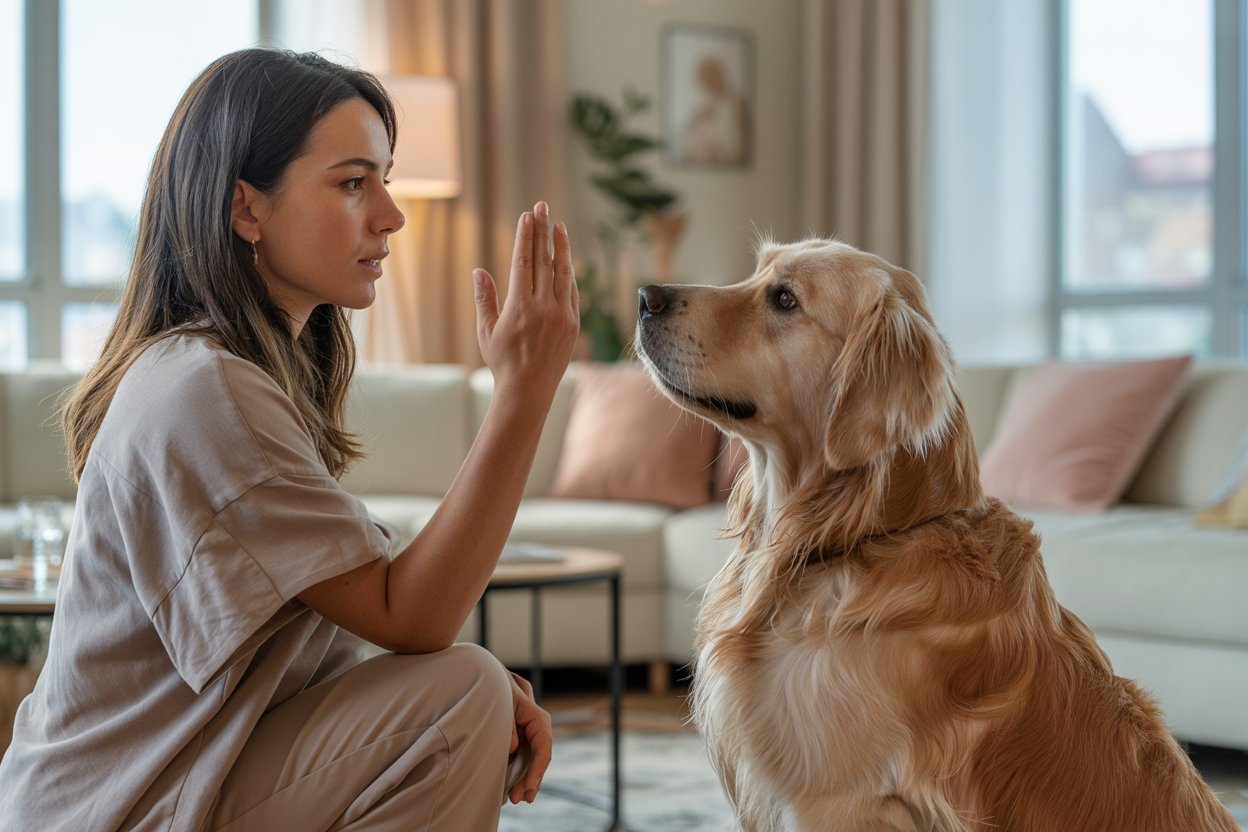
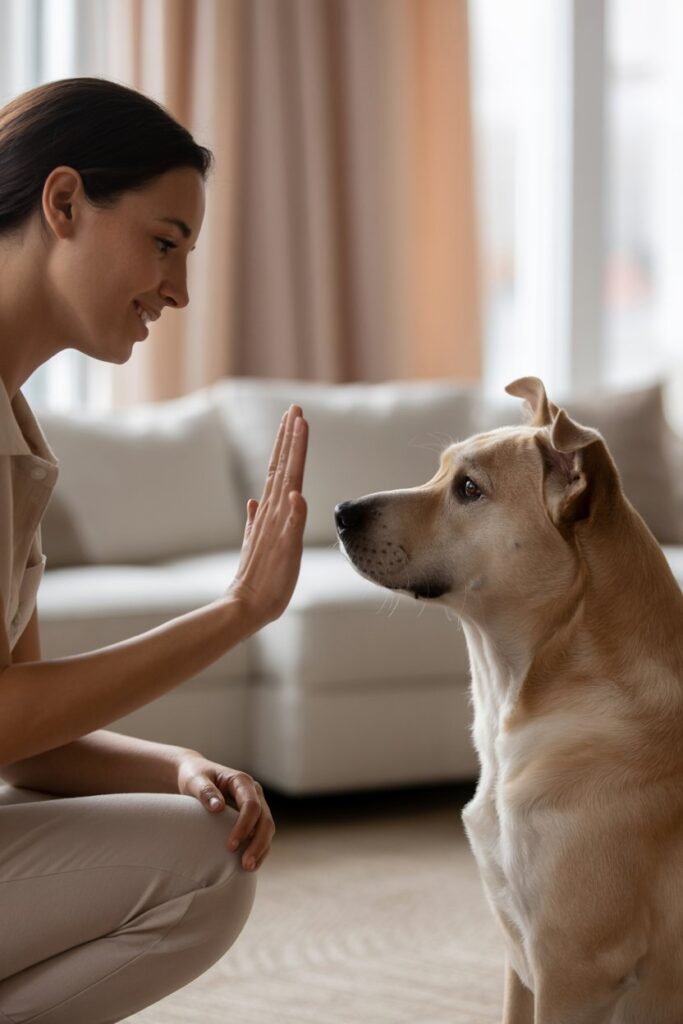
2. “Stay” — Teaching Impulse Control and Safety

“Stay” builds patience and safety. It’s less about distance at first and more about the idea: “I will wait until you release me.”
Gesture (clear & firm): arm extended, palm facing the dog (like a gentle stop sign). Keep your fingers together and your arm at shoulder height, steady—not bouncing.
Step-by-step teaching routine:
- Put your dog in a sit or down. Show a relaxed face—calm leadership matters.
- Give the palm-out signal while saying “Stay” in the same calm voice. Hold for 1–2 seconds, then immediately mark and reward.
- Gradually increase the hold to 5–10 seconds, then add a tiny step back. Return, mark, reward.
- Increase distance and duration slowly — tiny wins.
Progression & release: teach a separate release word (my go-to is “Okay!” said cheerfully). Always reward at release, not while they’re holding, so they learn to wait for permission.
Troubleshooting:
- If they break early, reduce distance/time and practice more repetitions.
- If they look anxious, shorten the hold and use higher-value treats to make staying pleasant.
- If they stare at the treat, keep rewards hidden until release.
Common mistakes: advancing distance too quickly, using punishment when they break (this creates fear). Patience is key.
Personal tip: practice “stay” during everyday moments — while you zip a coat or put away keys — so it generalizes beyond training sessions.
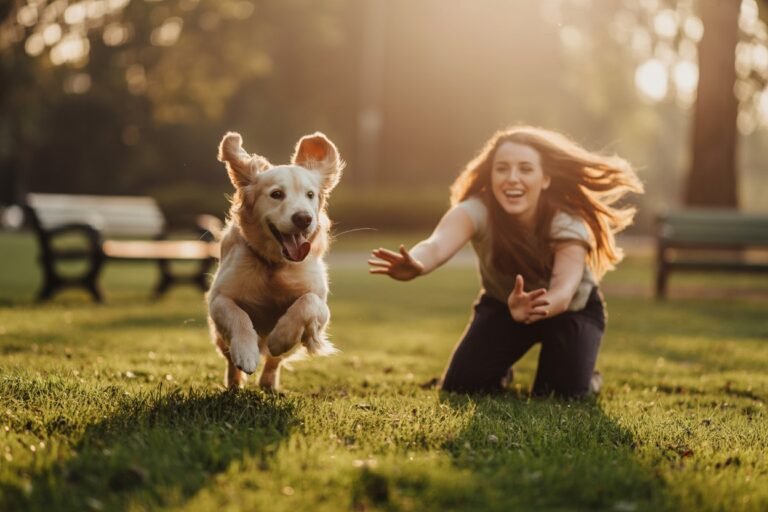
3. “Come” (Recall) — The Lifesaver Cue
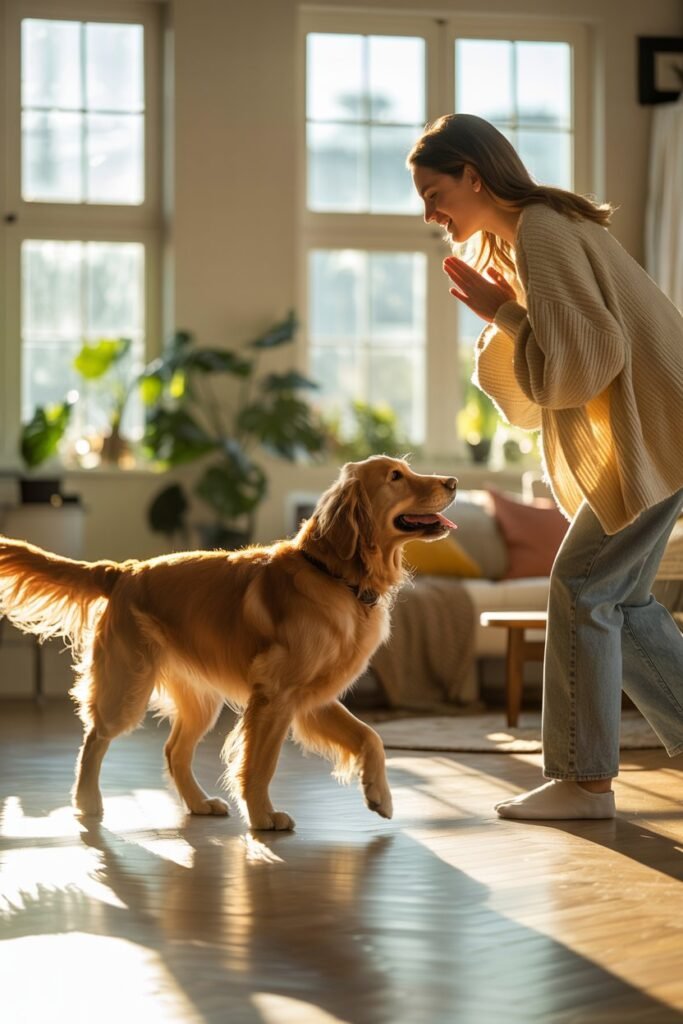
A joyful, reliable recall is priceless. I teach recall as an invitation, never a scolding.
Gesture (inviting & large): start with your arm out to the side and sweep it inward toward your chest in a broad, warm motion—like opening your arms for a hug.
Step-by-step teaching routine:
- Begin indoors or in a fenced yard with low distractions. Crouch (less intimidating) and use an enthusiastic tone.
- Make the sweep, say your recall word (“Come!”), and then reward with an irresistible treat and animated praise when they arrive.
- Do short radius recalls first (2–4 feet), then gradually increase distance.
- Use games: hide-and-seek, or call and run away a couple steps to make coming fun.
Progression & reinforcement: always reward returns—especially in the beginning—even if it took a while. Avoid punishing for slow returns; it destroys trust.
Troubleshooting:
- If the dog ignores you outdoors, reduce distractions and practice in a quieter spot, or use a long line so they can roam but still be called back.
- If they bolt past you, practice making coming the most exciting option: treats, toys, and exaggerated praise.
Common mistakes: using recall only for negative outcomes (bath, scolding) — dogs learn to avoid it. Make recall ALWAYS good.
Personal tip: I keep a special “recall only” treat pouch with the highest-value snacks I reserve just for recall practice. That way, coming to me always feels like a party.
4. “Down” — Grounding Your Dog With Calmness
“Down” is a relaxation cue. It requires the dog to drop their body, which is more submissive and calming than a sit.
Gesture (slow & intentional): with palm facing down, lower your hand smoothly from chest level toward the floor, moving slightly forward so the dog follows the path.
Step-by-step teaching routine:
- Start from a sit. Hold a treat at chest level, then slowly lower it down and forward. Their head follows and the body follows the head.
- The instant they’re fully down, mark and reward. Use soft praise.
- Repeat in short sessions. Add a verbal cue after the gesture has been learned consistently.
Progression & shaping: if your dog won’t lie down, reward approximations (nose lowering, elbows touching) and gradually require closer approximations until they’re fully down.
Troubleshooting:
- If they stand instead of lowering, move the treat closer to the ground and a bit forward.
- If they bounce into a sit again, reward only steady, calm downs—wait a full second before marking.
Common mistakes: rushing the motion, which confuses the dog; rewarding too early for partial downs. Also, never force the dog into position—that undermines trust.
Personal tip: use “down” in brief moments when you want calm energy (like before visitors enter). My dogs now settle quickly at a soft hand signal and feel pleasantly reassured rather than controlled.
5. “Leave It” — Teaching Boundaries & Self-Control
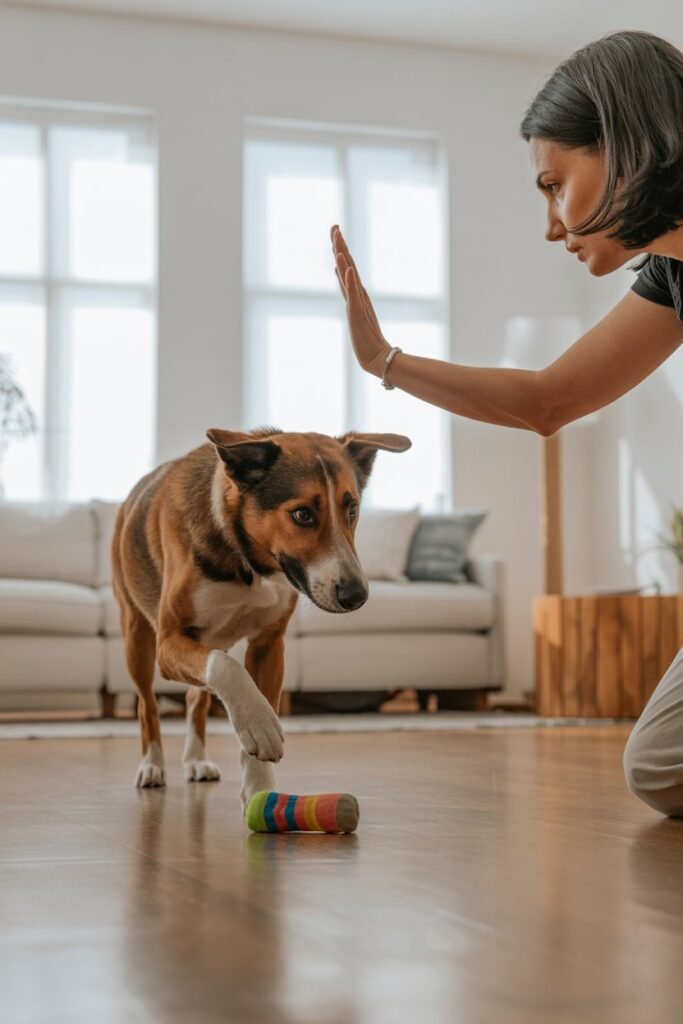
This is one of the most valuable cues in real life. Whether it’s food on the floor, another dog’s toy, or something unsafe outside, a solid “leave it” can prevent fights, block bad habits, and keep your pup safe.
Gesture (sharp but gentle):
Hold your hand out to the side and flick your wrist inward, almost like closing a small invisible door. The movement should be clean and quick so your dog instantly recognizes the signal.
How to Teach It (step-by-step):
- Start by placing a treat in your closed fist. Present your fist to your dog.
- When they sniff, lick, or paw — say nothing. Wait patiently.
- The moment they pull away, mark and reward from your other hand (never from the one they were trying to get).
- Add the hand signal: as soon as they move toward the off-limits item, flick your inward “leave it” motion.
- Reward immediately when they back off.
Progression:
Eventually practice with:
- dropped food
- toys
- items on tables
- low-value vs. high-value distractions
Always reward with something better than what they left behind.
Troubleshooting:
- If your dog lunges for the item, increase distance.
- If they freeze and stare, gently call them away then reward.
- If they ignore the signal outdoors, go back one step and build value again.
Personal tip:
I always celebrate “leave it” like it’s the smartest thing they’ve ever done — this keeps the cue positive instead of feeling like a punishment.
6. “Watch Me” — Re-Focusing Your Dog in Seconds

This signal is my secret weapon for dogs who struggle with distraction, reactivity, or general overstimulation.
Gesture (soft & centered):
Bring your index finger up and point to your own eyes, keeping your face relaxed. This draws your dog’s attention upward to you.
Why It’s Powerful:
Eye contact helps a dog reset emotionally. It pulls their attention away from distractions and helps them regulate themselves.
How to Teach It:
- Hold a treat near your face (right next to your eyes).
- When your dog looks at your eyes — even for a split second — mark and reward.
- Add the gesture: point to your eyes before they look up.
- Slowly phase out the treat so the dog responds to the signal alone.
Progression:
Practice during increasing distractions:
- TV noise
- Someone entering the room
- Other dogs passing by outside
- Walks or park environments
Troubleshooting:
- If your dog avoids eye contact, reward for just glancing upward. Build slowly.
- If they stare at the treat, hide it behind your back between reps.
- If they still won’t focus outdoors, reduce distance from distractions.
Personal tip:
I use “watch me” before we pass other dogs on walks. It keeps my dog calm, confident, and tuned in to me — not the environment.
7. “Wait” — A Pause Cue (Different From Stay)
“Wait” is not a long hold like “stay.”
It’s more like: “Pause right there, something’s about to happen.”
I use it constantly — at doors, curbs, gates, and even before feeding.
Gesture (short pause motion):
Hold your hand low and move your palm slightly outward, as if saying, “Hold on a second.”
How to Teach It:
- Approach a threshold (door, crate, gate).
- Just before your dog crosses, give the low outward palm gesture and say “Wait.”
- If they pause — even a tiny pause — mark and reward.
- Open the door slowly. If they rush, close it calmly and try again.
- Only release when they’re calm. I personally use “Okay!” as the release.
Why This Matters:
It prevents bolting through doors and teaches your dog patience without the rigidity of a long formal stay.
Progression:
Practice in situations like:
- stopping at sidewalks
- before jumping out of the car
- when moving from room to room
- before feeding time
Troubleshooting:
- If your dog is extremely excitable, practice with a leash first.
- If they push through, go back to rewarding the very first pause.
- Be consistent — dogs learn patterns around thresholds VERY quickly.
Personal tip:
“Wait” is my favorite morning ritual cue. My dogs pause at the door while I open it, and it makes every day start peacefully rather than chaotic.
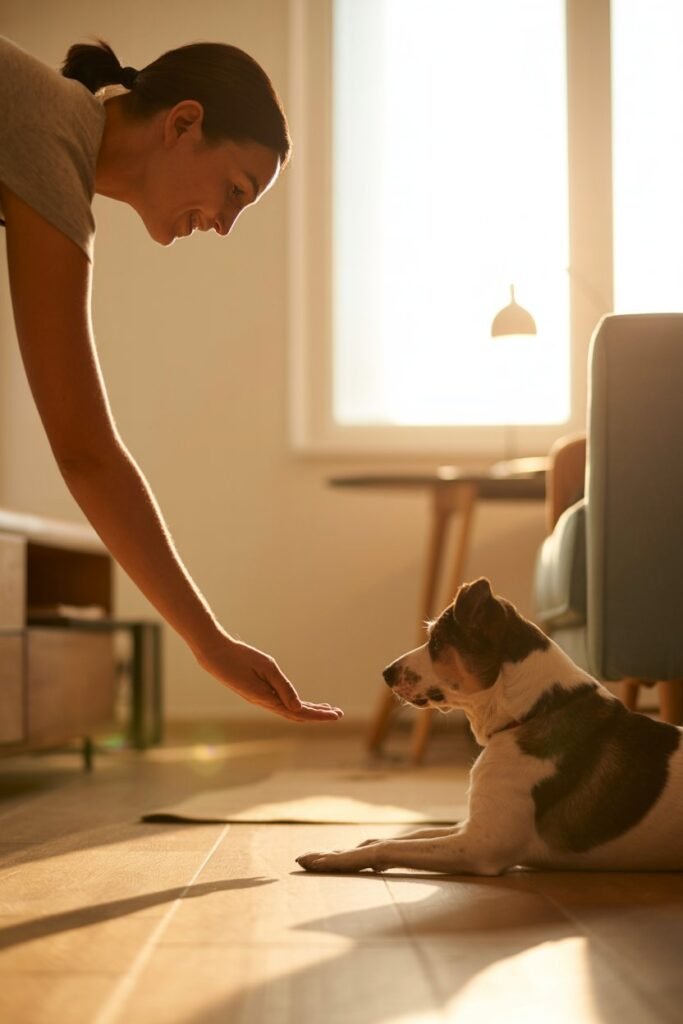
8. “Take It” — Teaching Controlled Permission
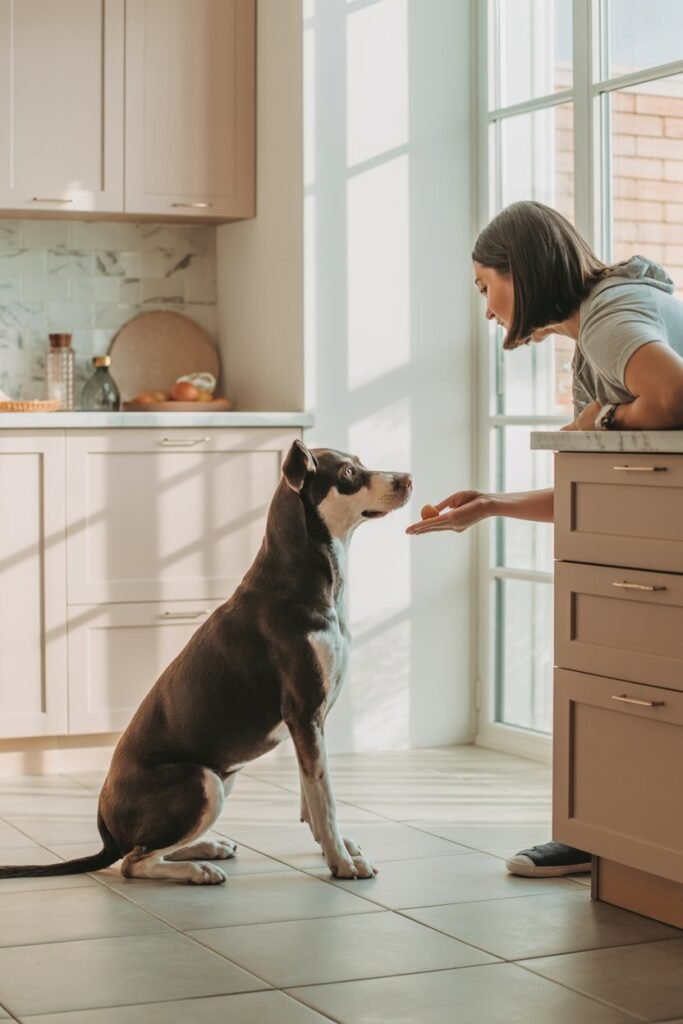
This hand signal teaches your dog to take food, toys, or objects only when you give permission. It prevents grabbing, snatching, and resource-related behaviors.
Gesture (open, offering motion):
Hold your hand palm-up and slightly move it forward as if offering something politely.
How to Teach It:
- Hold a treat in your fist in front of your dog. They will sniff and paw — wait calmly.
- When they stop trying, open your palm slowly. If they dive in, close it again.
- When they hesitate or look at you, offer the open hand and say “Take it” softly.
- Mark and let them gently take the treat.
Progression:
Practice with:
- toys
- chew bones
- treats
- enrichment items
- household objects you want them to retrieve
Make sure the item is only delivered after the hand signal.
Troubleshooting:
- If your dog grabs too hard, pull your hand back and reset. Reward only gentle mouths.
- If they ignore the cue, practice with higher-value items.
- If they get frustrated, switch to easier reps and slow your movements.
Why It’s Important:
A dog who waits for permission before taking items becomes calmer, less impulsive, and more respectful around people — especially kids.
Personal tip:
I use “take it” before handing my dogs anything exciting, like a stuffed Kong. It prevents chaotic energy and teaches emotional control.
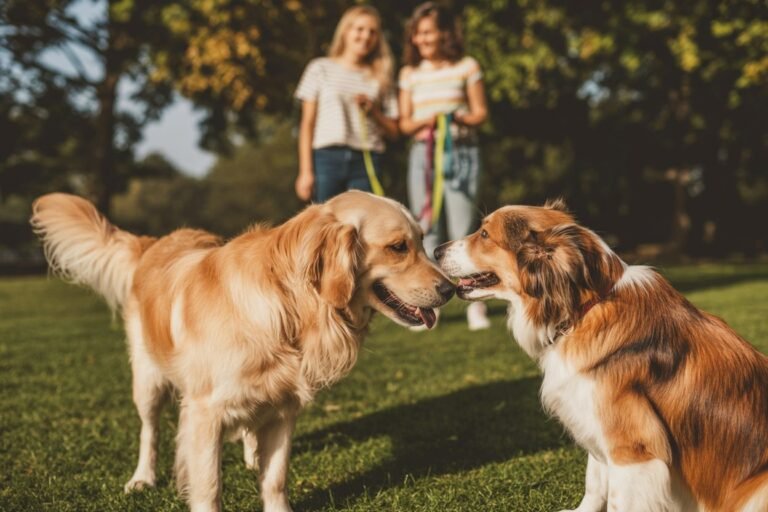
9. “Heel / Let’s Walk” — Teaching Calm, Polite Walking
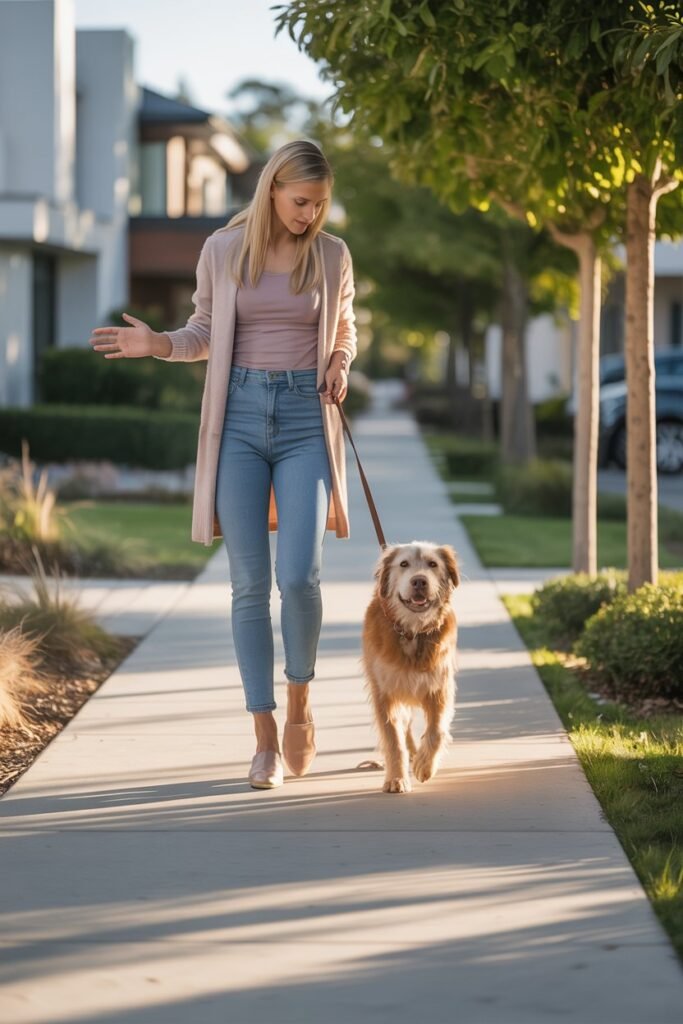
This cue teaches your dog to walk beside you instead of pulling ahead, weaving around, or dragging behind. It’s one of the most transformative signals for daily life because it turns chaotic walks into peaceful routines.
Gesture (smooth guiding motion):
Start with your arm relaxed at your side, then tap your thigh or sweep your hand backward beside your leg in a small, inviting gesture. The movement should be gentle — not exaggerated — so your dog learns to stay close to your hip.
How to Teach It (step-by-step):
- Begin indoors or in your yard with your dog on a loose leash.
- Stand still. When your dog naturally comes near your left side (or whichever side you prefer), mark and reward.
- Add the gesture: tap your thigh lightly and take one step forward.
- If your dog stays beside you, reward again after 1–2 steps.
- Slowly increase steps before rewarding.
- Use soft, happy praise — not excited, high-energy chatter that might get them too wound up.
Progression:
Transition gradually to:
- hallway walking
- backyard walking
- quiet street walking
- busier locations
- sidewalks with distractions
Never jump from calm environments straight into overwhelming ones — that’s the most common mistake.
Troubleshooting:
- If they pull ahead, stop walking and reset. Don’t yank the leash.
- If they lag behind, use your thigh tap to re-invite them.
- If they zig-zag, slow your pace and keep your body relaxed and predictable.
Personal tip:
I always keep treats in my non-leash hand at my hip level. Quietly rewarding the exact position I want teaches dogs that walking calmly feels rewarding, not restrictive.
10. “Drop It” — Immediate Safety Release
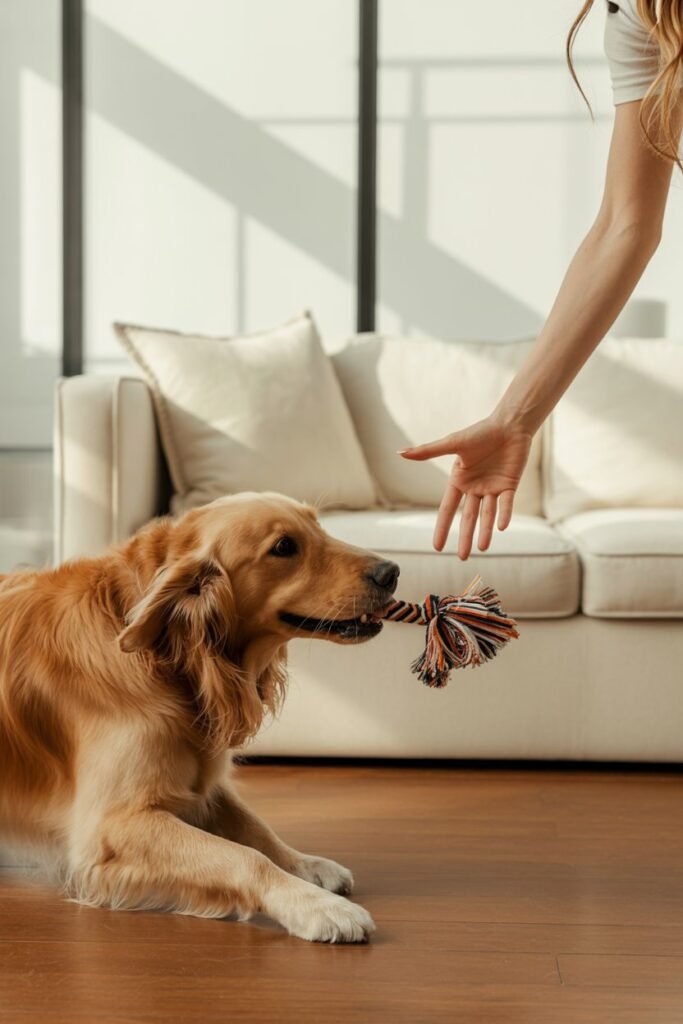
This cue teaches your dog to release anything in their mouth toys, food, sticks, household items, and yes the mysterious “things” they find on walks. It’s essential for safety and prevents guarding, stealing, and resource struggles.
Gesture (clean downward release):
Hold your hand out and drop your fingers straight downward, like you’re releasing something from your own palm. The motion should be clear, calm, and slightly firm.
How to Teach It:
- Start with a toy your dog loves but isn’t obsessed over.
- Offer the toy, let them take it.
- Present a high-value treat near their nose.
- As they open their mouth to take the treat, give the downward “drop it” hand signal.
- The moment the toy drops, mark and reward.
- Give the toy back after — this prevents guarding and teaches that releasing items doesn’t mean losing them forever.
Progression:
Practice with different objects:
- rope toys
- balls
- sticks
- chew toys
- everyday household items
- eventually, surprise finds outdoors
Troubleshooting:
- If your dog runs away with items, attach a lightweight house line indoors so you can calmly guide them back without chasing.
- If they guard objects, switch to low-value items and reward heavily for releasing.
- Never tug something out of their mouth — it teaches resistance, not release.
Personal tip:
My golden rule: anything I want a dog to drop, I reward with something better. This keeps the cue friendly, safe, and non-confrontational.
11. “All Done / Finished” — Ending a Session Calmly
This last cue signals to your dog that something is over — the training session, a game of fetch, petting, playtime, or an interaction. Dogs who know when something ends feel less frustrated, less clingy, and far more secure.
Gesture (soft sweeping motion):
Hold both hands slightly out to your sides and sweep your palms outward, like gently washing the air clean. It’s a calm, closing gesture.
Why This Cue Is Important:
Dogs naturally get confused when things stop abruptly:
- “Why did the game end?”
- “Why aren’t we training anymore?”
- “Why can’t I have more attention?”
“All done” prevents anxiety and confusion. It creates emotional clarity.
How to Teach It:
- At the end of a training session, show both palms and sweep them outward. Say “All done.”
- Turn your body slightly sideways — this creates a natural boundary.
- Put treats away and calmly walk to another area.
- Repeat this after several sessions so the dog starts to link the gesture with the end of engagement.
Progression:
Use the cue during:
- grooming
- nail trims
- petting sessions
- training
- stopping play
- ending mealtimes
- bedtime routines
Over time, your dog learns to self-regulate when they see the gesture.
Troubleshooting:
- If your dog continues pawing or begging, redirect them gently to a mat or bed and reward once they settle.
- If they look confused, keep the gesture slow and consistent.
Personal tip:
“All done” gave my home so much peace. My dogs understand when attention ends, so they don’t get frustrated or overly demanding. It creates such a calm emotional rhythm in the house.
Conclusion
Training your dog with hand signals isn’t just about teaching commands it’s about creating a deeper, calmer, and more intuitive bond with your pup.
When your dog can understand you without a single word, communication becomes smoother, distractions become easier to manage, and your training sessions feel more connected and confident.
The beautiful thing about hand-signal training is that it works for every dog shy dogs, energetic dogs, senior dogs, and even dogs with hearing challenges.
With consistency, patience, and a little grace, your dog learns to watch you, trust you, and respond to you in a whole new way.
At the end of the day, these signals aren’t just commands they’re a shared language between you and your best friend.
If you’re ready, take it one signal at a time and watch the magic happen.