There’s something deeply comforting about baking for the ones we love.
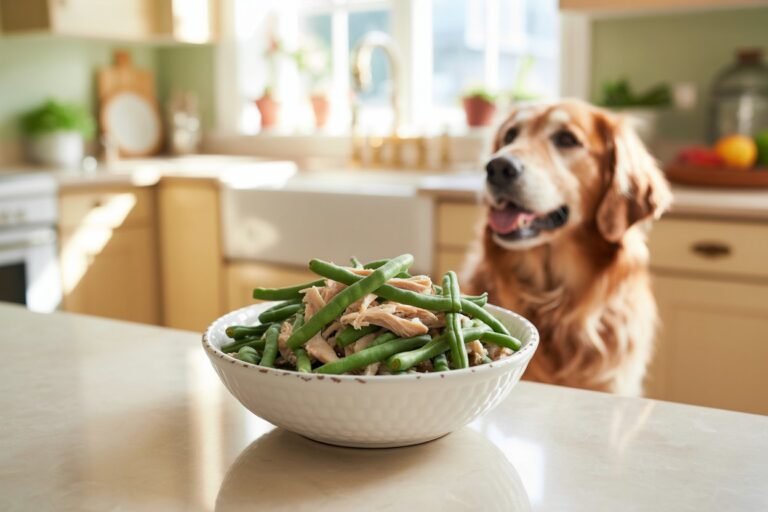
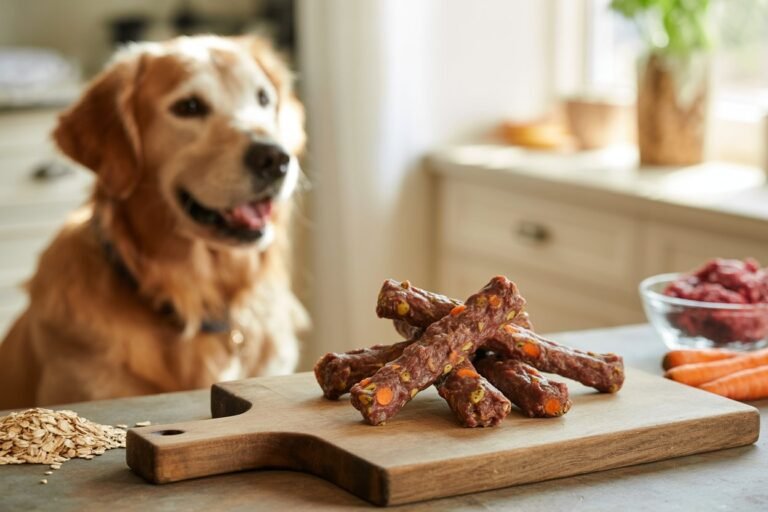
For me, it started one quiet afternoon when my dog sat at my feet, watching every move I made in the kitchen tail wagging, eyes hopeful, patiently waiting for a little taste of whatever magic was happening in the oven.
That moment reminded me that our dogs don’t just eat for fuel; they experience food as joy, comfort, and connection.
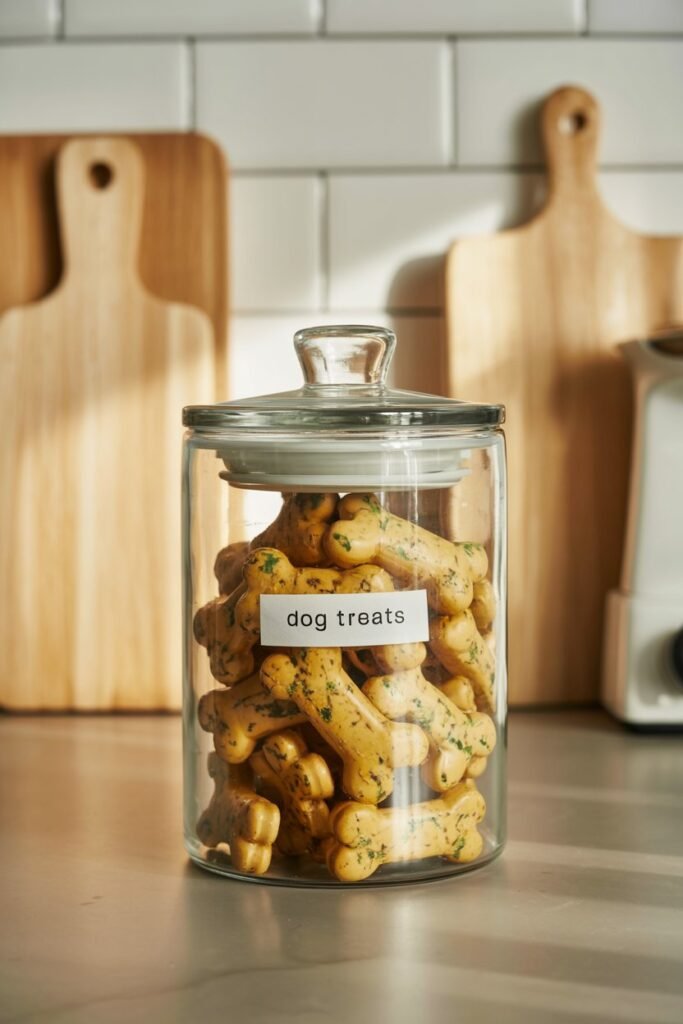
That’s exactly why I fell in love with making Cheesy Herb Baked Dog Treats.
These treats are warm, savory, and gently aromatic, with just the right balance of cheese and dog-safe herbs. They’re crunchy on the outside, tender on the inside, and made entirely with ingredients you can feel confident about.
No mystery additives. No artificial flavors. Just wholesome goodness baked with intention and love.
In this post, I’ll walk you through everything you need to know from why these treats are worth making, to the nutritional benefits, to detailed step-by-step instructions that ensure perfect results every time.
Whether you’re new to homemade dog treats or already love spoiling your pup from scratch, this recipe is one you’ll come back to again and again.
Let dive into this Cheesy Herb Baked Dog Treats
Why Homemade Cheesy Herb Dog Treats Are Worth It

Store-bought dog treats may be convenient, but once you start reading ingredient labels, the excitement often fades.
Artificial preservatives, vague “meat by-products,” unnecessary fillers it’s hard to feel good about giving those to a dog you love like family.
Homemade treats offer something very different:
- You control every ingredient
- You can adjust the recipe for sensitivities
- You know exactly how fresh the treats are
- You create a deeper bond through care and effort
Cheesy Herb Baked Dog Treats, in particular, are a wonderful balance of indulgence and nutrition. The cheese makes them irresistible, while herbs gently support digestion and oral health.
These treats feel special the kind you give after a long walk, a successful training session, or simply because your dog deserves a little extra love that day.
Are Cheesy Treats Safe for Dogs?

Yes when made properly and in moderation.
Cheese is safe for most dogs, especially when you choose low-lactose, dog-friendly options and use it as part of a balanced treat, not the main meal.
Many dogs tolerate cheese beautifully, and it can even be helpful for picky eaters or dogs who need extra motivation during training.
That said, every dog is different. If your dog is lactose sensitive, you can still enjoy this recipe by choosing aged cheeses or reducing the amount used.
Nutritional Benefits of Cheesy Herb Baked Dog Treats
These treats aren’t just tasty they offer gentle nutritional support when made with the right ingredients.
Cheese (in moderation)
- Provides protein for muscle maintenance
- Contains calcium for strong bones and teeth
- Adds natural flavor that dogs adore
Dog-Safe Herbs
When chosen carefully, herbs can offer subtle health benefits:
- Parsley supports fresh breath and digestion
- Basil contains antioxidants and anti-inflammatory properties
- Rosemary supports circulation and immune health (used sparingly)
Whole Ingredients
Using real flour, eggs, and natural fats helps:
- Support sustained energy
- Avoid blood sugar spikes
- Reduce exposure to artificial additives
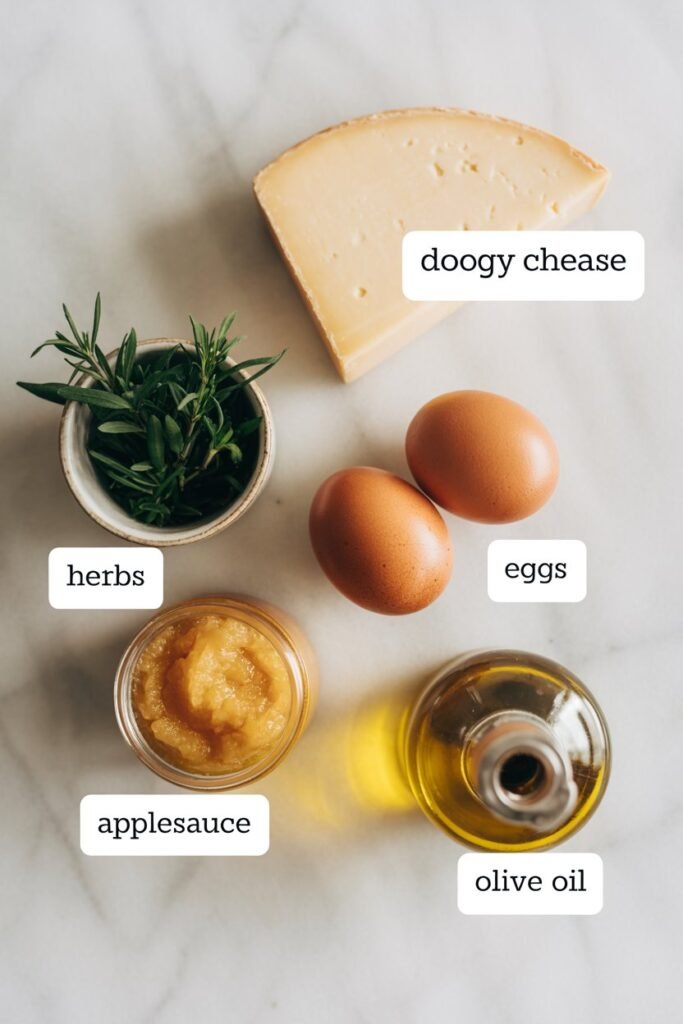
Ingredients You’ll Need for Cheesy Herb Baked Dog Treats
This recipe uses simple, easy-to-find ingredients. Each one has a purpose, and none are included just for filler.
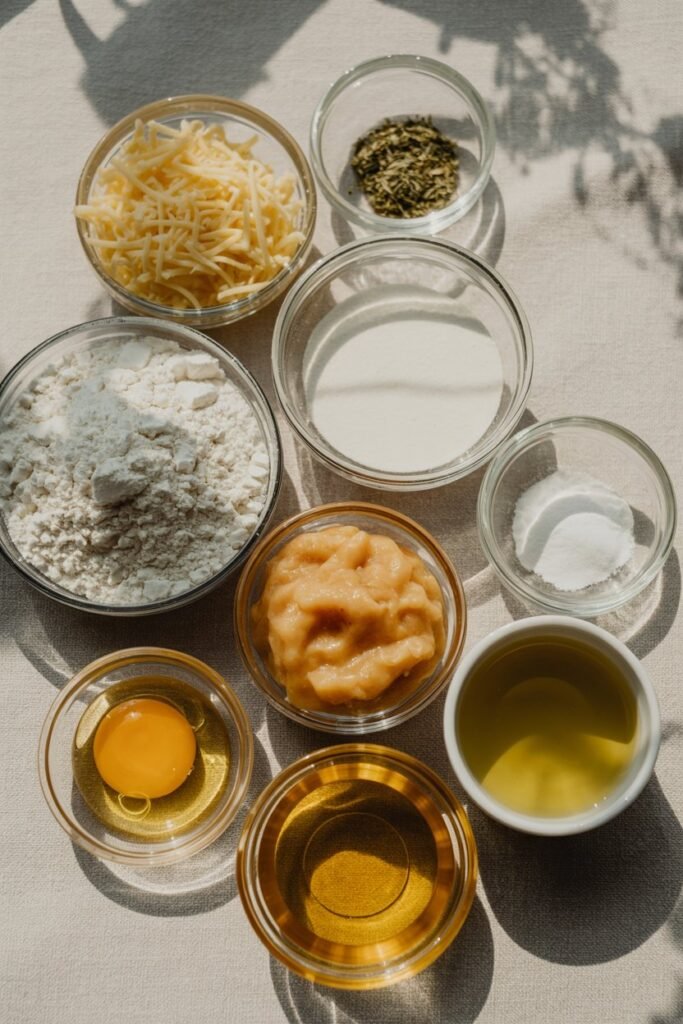
Dry Ingredients
- 2½ cups whole wheat flour
(You can substitute oat flour or all-purpose flour if needed) - 1 cup finely shredded cheese
(Cheddar or mozzarella work best) - 1 tablespoon dried parsley
- 1 teaspoon dried basil
- ½ teaspoon dried rosemary (optional, use sparingly)
Wet Ingredients
- 1 large egg
- ½ cup unsweetened applesauce
(No added sugar or xylitol) - ¼ cup olive oil or coconut oil
- ¼–½ cup water or low-sodium bone broth
Kitchen Tools You’ll Need
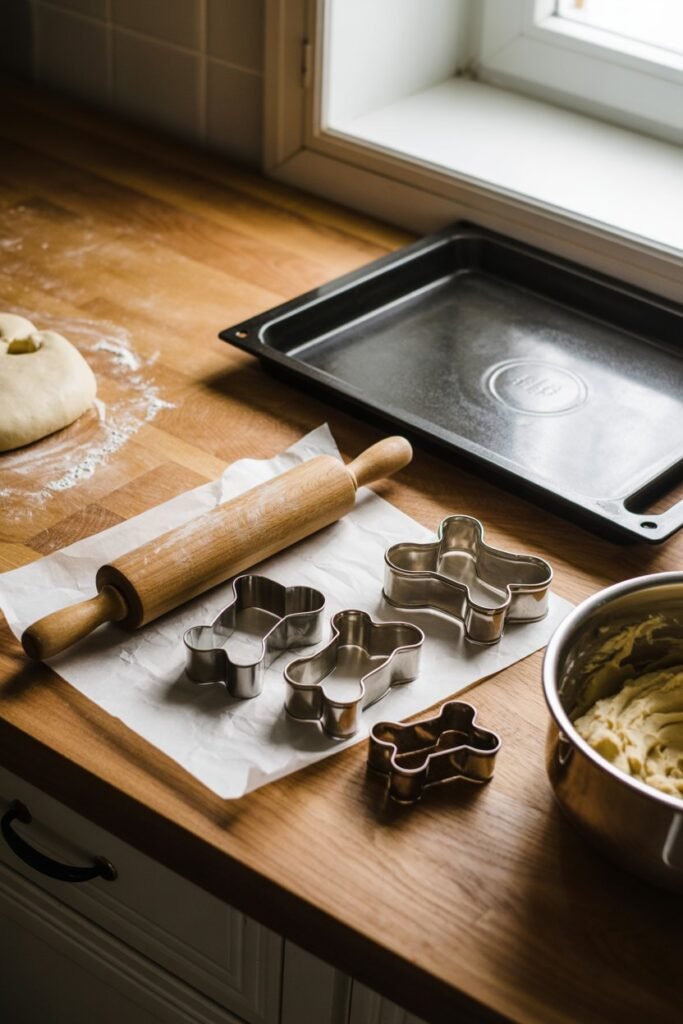
- Mixing bowl
- Measuring cups and spoons
- Wooden spoon or silicone spatula
- Rolling pin
- Cookie cutters (bone-shaped or simple shapes)
- Baking sheet
- Parchment paper
Step-by-Step Instructions: How to Make Cheesy Herb Baked Dog Treats
Step 1: Preheat and Prepare
Start by preheating your oven to 350°F (175°C). Line a baking sheet with parchment paper to prevent sticking and make cleanup easier.
This little step sets the tone calm, prepared, and intentional.
Step 2: Combine the Dry Ingredients
In a large mixing bowl, whisk together:
- Whole wheat flour
- Shredded cheese
- Parsley
- Basil
- Rosemary
Mix thoroughly so the herbs and cheese are evenly distributed. This ensures every bite carries the same flavor and nutritional benefits.
Step 3: Mix the Wet Ingredients Separately
In another bowl, lightly beat the egg. Add:
- Applesauce
- Oil
Stir until smooth and well combined. The applesauce adds moisture and natural sweetness without sugar, while the oil helps create a tender texture.
Step 4: Bring the Dough Together
Slowly add the wet mixture into the dry ingredients, stirring gently. Begin adding water or broth a little at a time until a soft, workable dough forms.
You’re looking for dough that:
- Isn’t sticky
- Holds together well
- Rolls easily without cracking
If it feels dry, add a tablespoon of liquid. If too wet, sprinkle in a bit more flour.
Step 5: Roll and Cut
Lightly flour your work surface. Roll the dough to about ¼-inch thickness.
Use cookie cutters to cut out shapes, or simply slice into squares if you prefer a rustic look. Place each treat onto your prepared baking sheet.
Step 6: Bake to Perfection
Bake for 20–25 minutes, until the treats are lightly golden and firm to the touch.
For crunchier treats, turn off the oven and leave them inside for an additional 10–15 minutes with the door slightly open.
Step 7: Cool Completely
This step is important. Let the treats cool fully on a wire rack before serving. Cooling allows them to firm up and prevents moisture buildup during storage.
Texture Tips: Soft or Crunchy?
- Soft treats: Bake for less time and store in the fridge
- Crunchy treats: Bake longer or dry them out after baking
You can easily tailor the texture to your dog’s age and chewing style.
Storage and Shelf Life
- Room temperature: Up to 5 days in an airtight container
- Refrigerator: Up to 2 weeks
- Freezer: Up to 3 months
Always check for freshness before serving.
How Often Can You Give These Treats?
These are treats, not meals — best given in moderation.
- Small dogs: 1–2 per day
- Medium dogs: 2–3 per day
- Large dogs: 3–4 per day
Use them as rewards, training treats, or special moments of connection.
Why Dogs Love These Cheesy Herb Treats So Much
Dogs experience food primarily through smell and texture. The aroma of melted cheese combined with herbs creates an irresistible scent that feels comforting and satisfying.
But beyond that, dogs sense intention. When you take time to prepare something just for them, it shows in their excitement, their patience, their joy.
A Personal Note from One Dog Parent to Another
Making homemade dog treats isn’t about perfection. Some batches will be prettier than others. Some will bake darker. Some shapes will come out a little uneven.
And that’s okay.
What matters is that your dog knows this was made with love.
Every time I bake these Cheesy Herb Dog Treats, my kitchen fills with warmth and so does my heart. Watching my dog enjoy something I created just for them is a reminder that the simplest gestures often mean the most.
Final Thoughts
Cheesy Herb Baked Dog Treats are more than a recipe they’re an experience. They’re a way to slow down, nourish your dog intentionally, and create moments of joy that go beyond the bowl.
If you’re looking for a treat that’s:
- Homemade
- Nutritious
- Easy to customize
- And deeply loved by dogs
This recipe is truly worth making.