Easy Mini Training Dog Treats Recipe

Mornings used to feel chaotic whenever I tried training sessions with my dog. I would grab whatever treats I had in the cupboard, break them into awkward pieces, and hope they were small enough to avoid overfeeding.
Most store-bought treats were either too big, too crumbly, or so dry that my dog lost interest after a few repetitions.
Training should feel joyful. Light. Connected.
Instead, it felt messy.
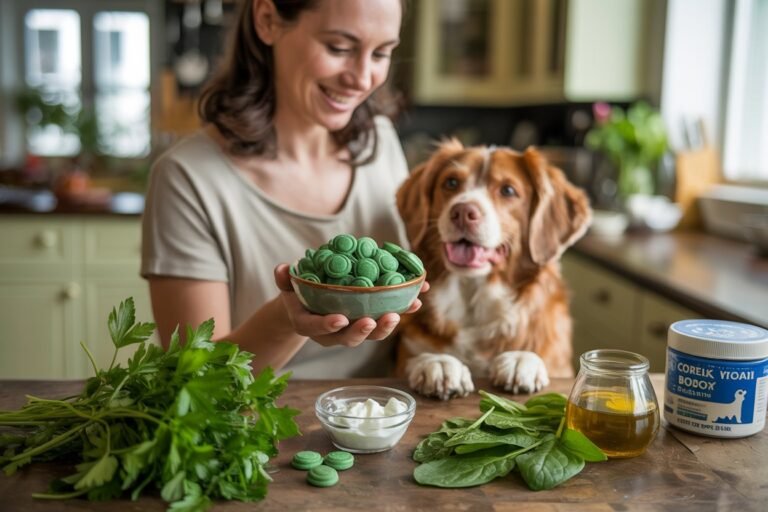
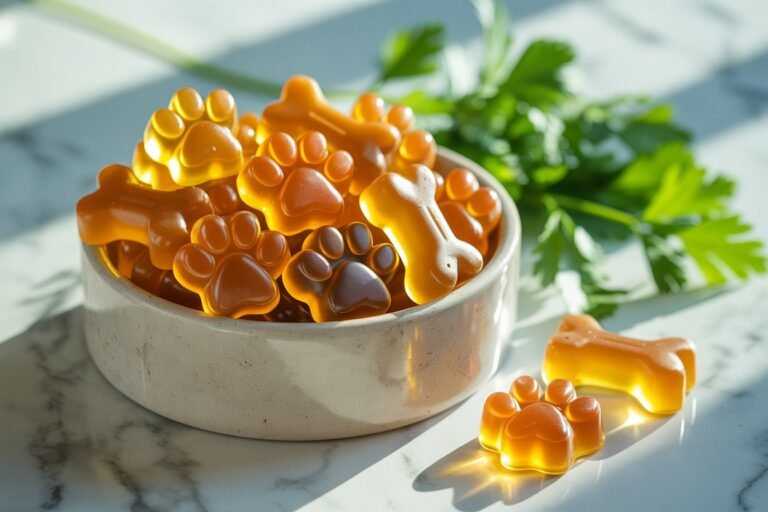
Everything changed the day I decided to make my own mini training treats. Tiny, soft, irresistible little bites made with ingredients I could pronounce, portioned exactly the way I needed, and perfect for quick reward-based training.
The difference was immediate.
My dog was focused. Excited. Responsive.
And I felt confident knowing I wasn’t overfeeding or giving questionable additives.
If you’ve ever wanted a simple, foolproof, budget-friendly recipe for easy mini training dog treats the kind that make your dog’s eyes sparkle you’re in the right place.
Today, I’m sharing:
- The exact ingredients I use
- Tools you’ll need
- Step-by-step instructions (super beginner friendly)
- Storage tips (fresh + freezer options)
- Health and nutrition tips
- Customization ideas
- Common mistakes to avoid
- Why mini treats are best for training
- My personal training routine using these treats
Let’s make something special for your pup.
Lets start this Easy Mini Training Dog Treats Recipe together.
Why Mini Training Treats Are So Important
Training sessions require repetition. And repetition means lots of rewards.
If each reward is too large, your dog:
- Gets full too quickly
- Becomes sluggish
- Loses motivation
- Gains excess weight
Tiny treats solve that problem beautifully.
Mini training treats allow you to:
- Reward often without overfeeding
- Keep energy levels stable
- Maintain focus during sessions
- Extend training time
- Protect your dog’s weight
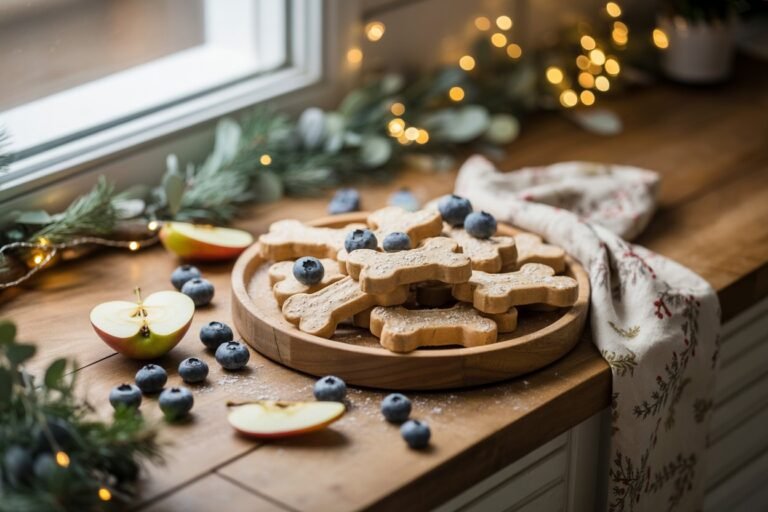
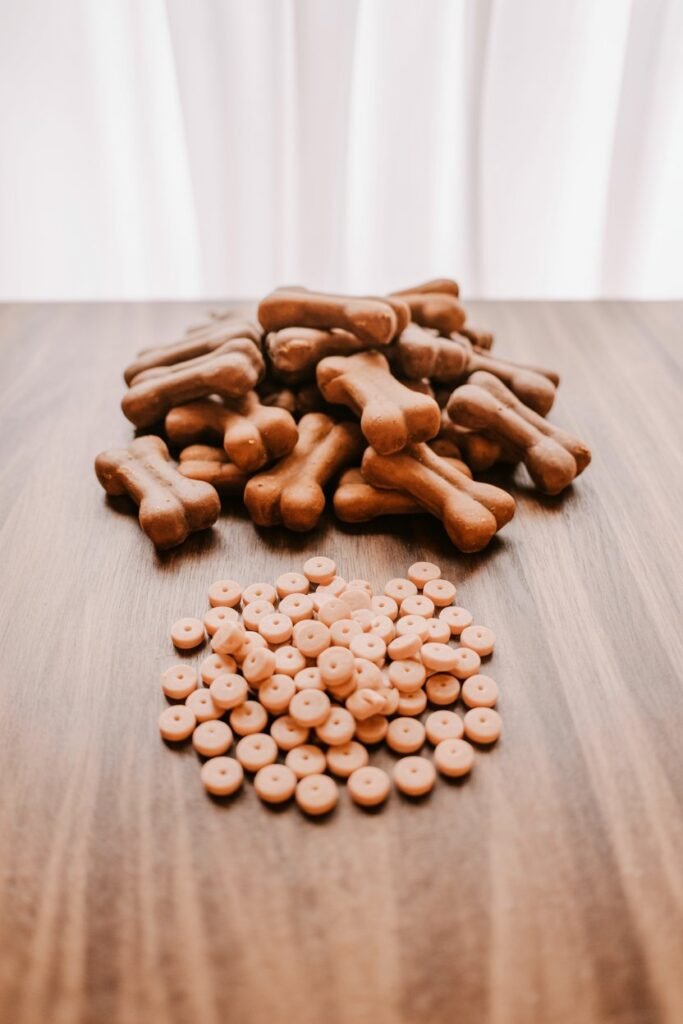
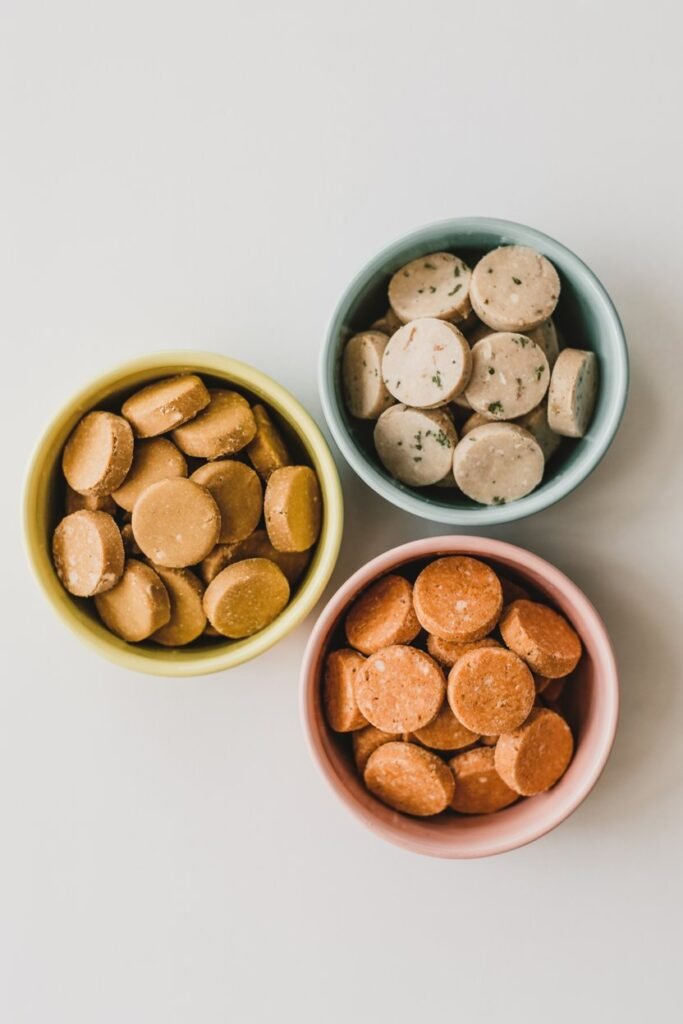
I aim for treats no larger than a pea.
Soft texture is also key. Crunchy treats slow the pace of training. When treats are soft, your dog swallows quickly and refocuses on you.
What Makes a Good Training Treat?
After experimenting with different batches, I’ve learned that the perfect training treat should be:
✔ Soft but not sticky
✔ Tiny (pea-sized)
✔ Highly aromatic
✔ Easy to digest
✔ Made with limited ingredients
✔ Quick to chew
✔ Not greasy
✔ Portable
This recipe checks every single box.
Easy Mini Training Dog Treats Recipe
Ingredients Needed
This recipe makes approximately 300–400 mini treats depending on size.
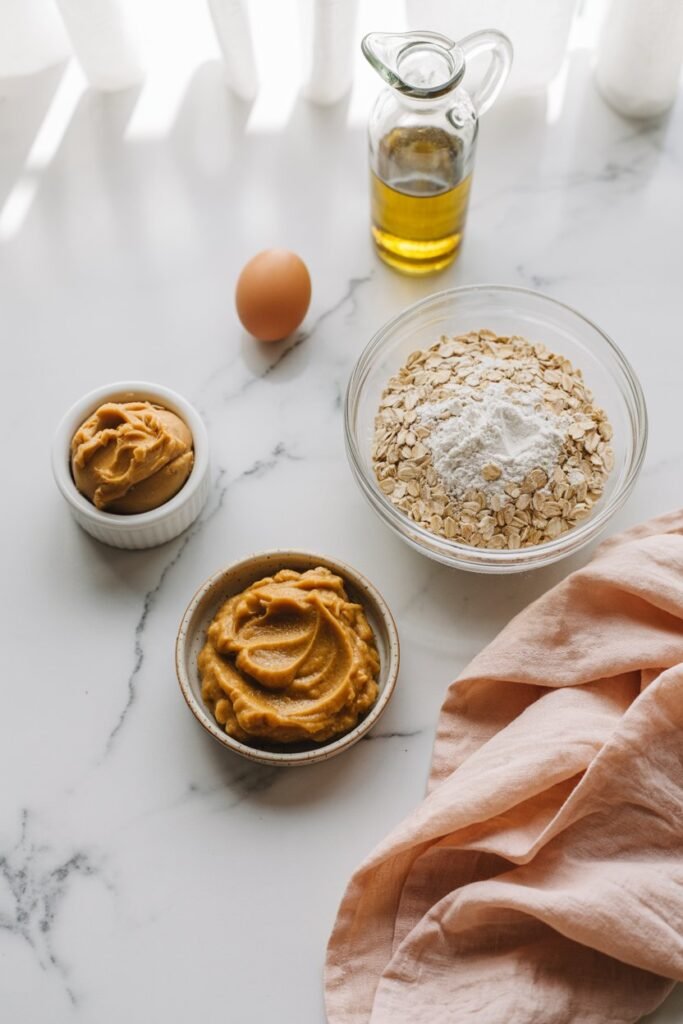
- 1 cup natural peanut butter (unsweetened, no xylitol)
- 1 egg
- ½ cup plain pumpkin puree (not pumpkin pie filling)
- 1 ½ cups oat flour (or blended rolled oats)
- 1 tablespoon olive oil
- 1–2 tablespoons water (if needed for consistency)
Optional Boosters:
- 1 tablespoon ground flaxseed
- 1 tablespoon chia seeds
- 1 teaspoon turmeric (anti-inflammatory support)
- 1 tablespoon finely shredded carrot
- 1 tablespoon plain Greek yogurt
Important Ingredient Notes
Peanut Butter
Always check that it does NOT contain xylitol. Xylitol is extremely toxic to dogs.
Natural peanut butter with only peanuts (and maybe salt) is ideal.
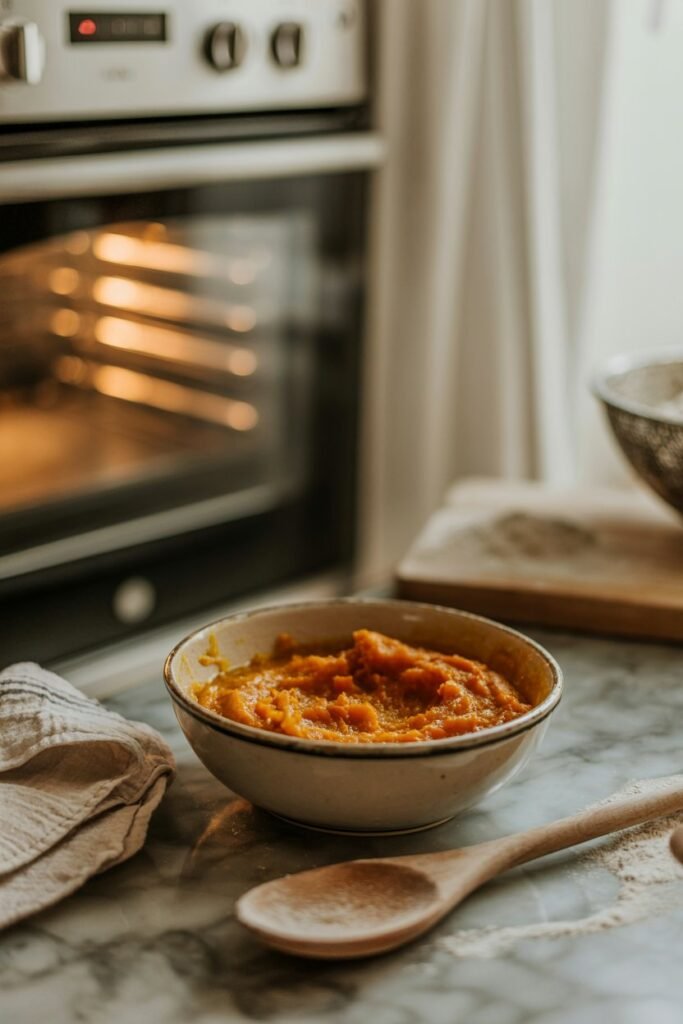
Pumpkin Puree
Pumpkin supports digestion and keeps treats soft. It’s one of my favorite ingredients for gentle stomach support.
Oat Flour
Oat flour is naturally gluten-free and easier to digest than some other flours. If you don’t have oat flour, simply blend rolled oats into a fine powder.
Tools Needed
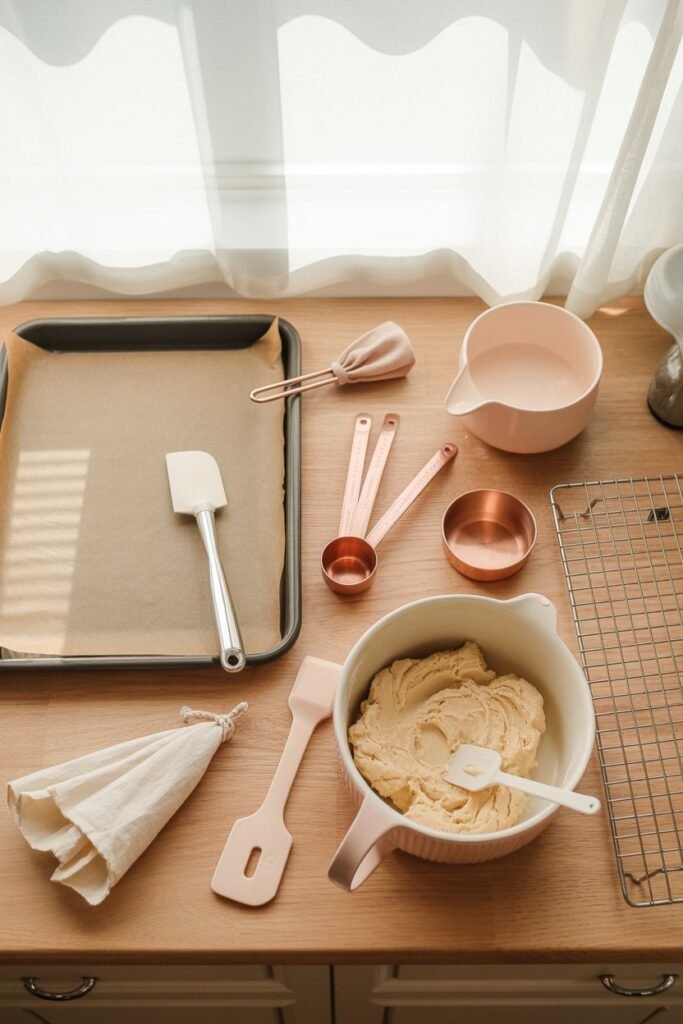
You don’t need fancy equipment. Just simple kitchen basics:
- Mixing bowl
- Silicone spatula or wooden spoon
- Measuring cups and spoons
- Baking sheet
- Parchment paper
- Mini piping bag or zip-top bag (optional but helpful)
- Knife or bench scraper
- Cooling rack
Optional but amazing:
- Mini silicone mold (for perfect uniform shapes)
- Food processor (if making oat flour)
Step-by-Step Instructions
Step 1: Preheat Your Oven
Preheat to 350°F (175°C).
Line your baking sheet with parchment paper.
I love this step because it marks the beginning of something homemade and loving.
Step 2: Mix Wet Ingredients
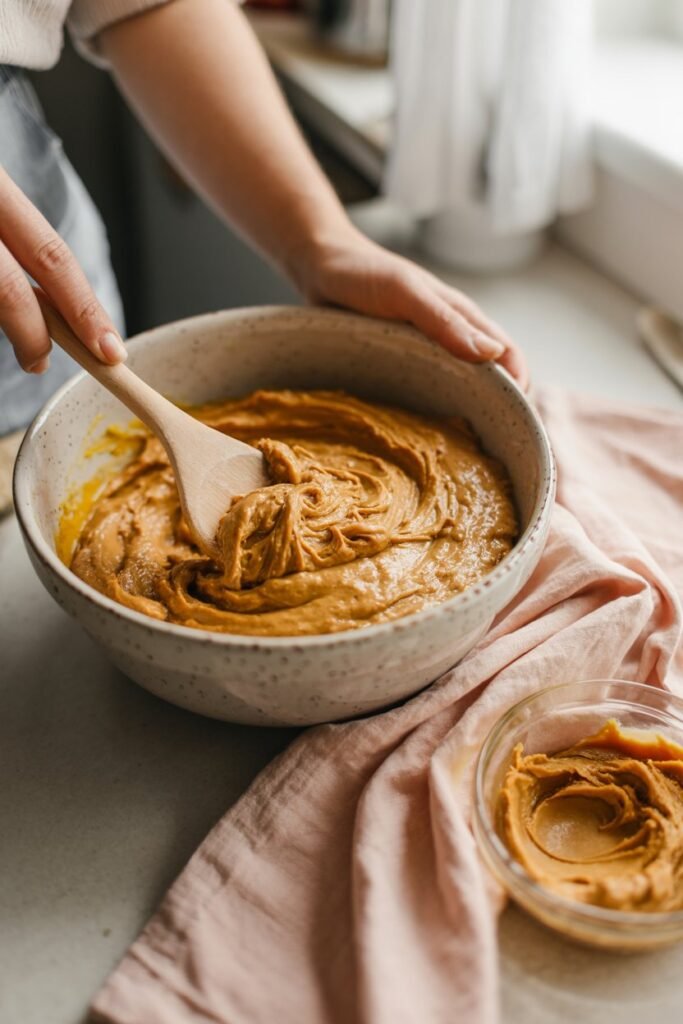
In a mixing bowl, combine:
- Peanut butter
- Egg
- Pumpkin puree
- Olive oil
Stir until smooth and creamy.
At this stage, the mixture smells warm and nutty and your dog will probably already be watching you.
Step 3: Add Dry Ingredients
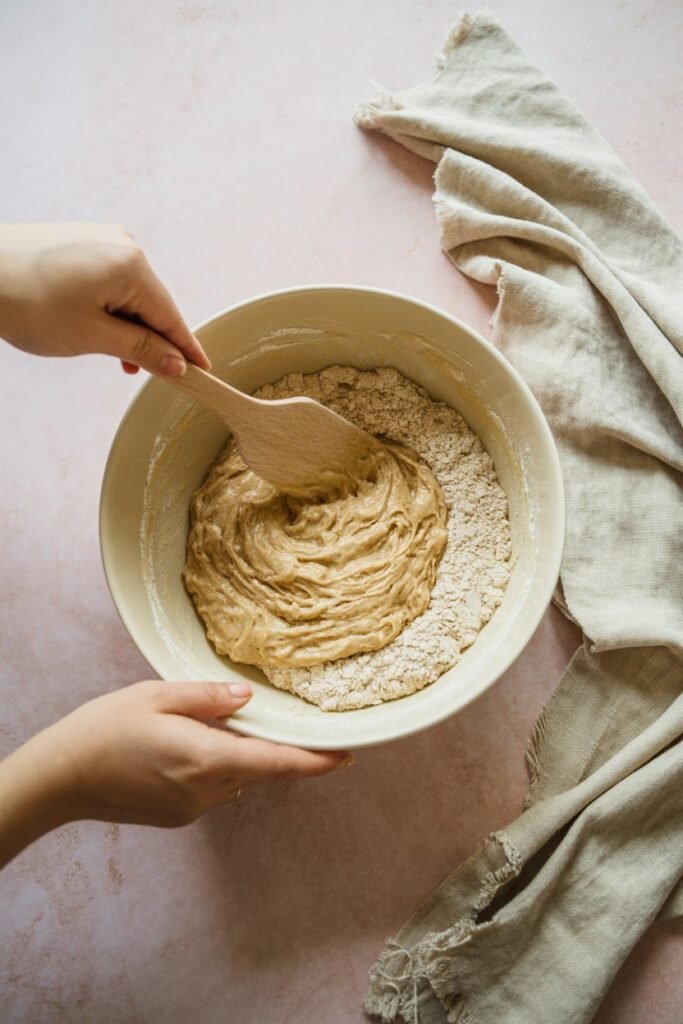
Add oat flour slowly, mixing as you go.
The dough should become thick but pliable.
If it feels too dry, add 1 tablespoon of water at a time.
You want a dough that:
- Holds its shape
- Is not sticky
- Can be rolled easily
Step 4: Shape the Mini Treats
Here are three easy shaping methods:
Method 1: Roll and Cut
- Roll dough into thin logs (about ½ inch thick)
- Slice into tiny pieces
- Gently roll into mini balls
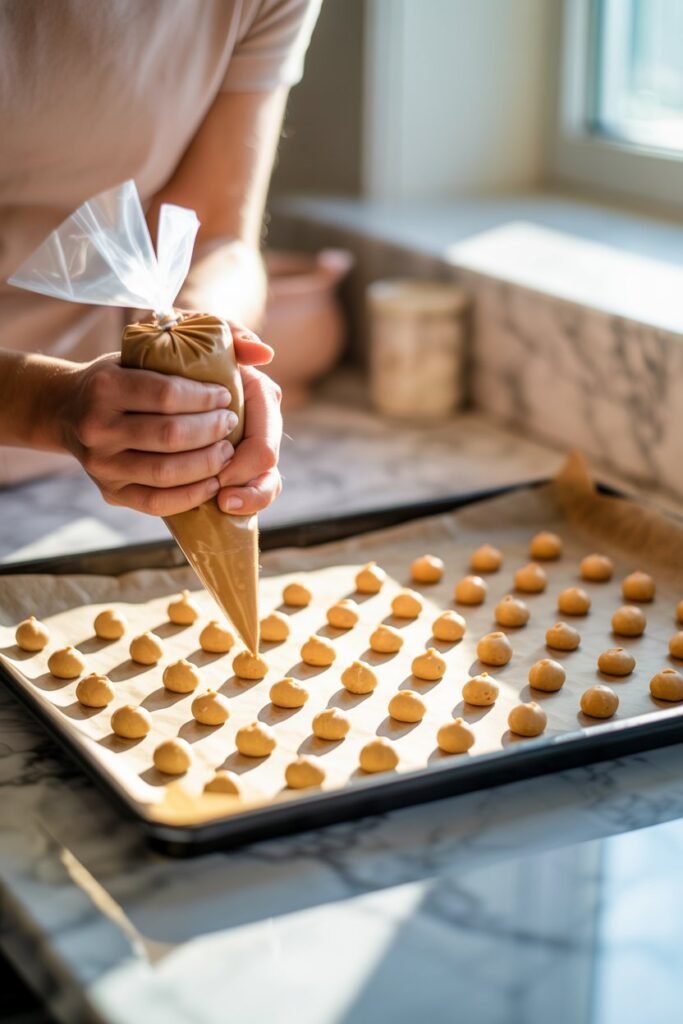
Method 2: Piping Bag (My Favorite)
- Place dough into a zip-top bag
- Snip a tiny corner
- Pipe pea-sized dots directly onto baking sheet
Method 3: Silicone Mold
Press dough into mini molds for uniform shapes.
Spacing isn’t critical they don’t spread much.
Step 5: Bake
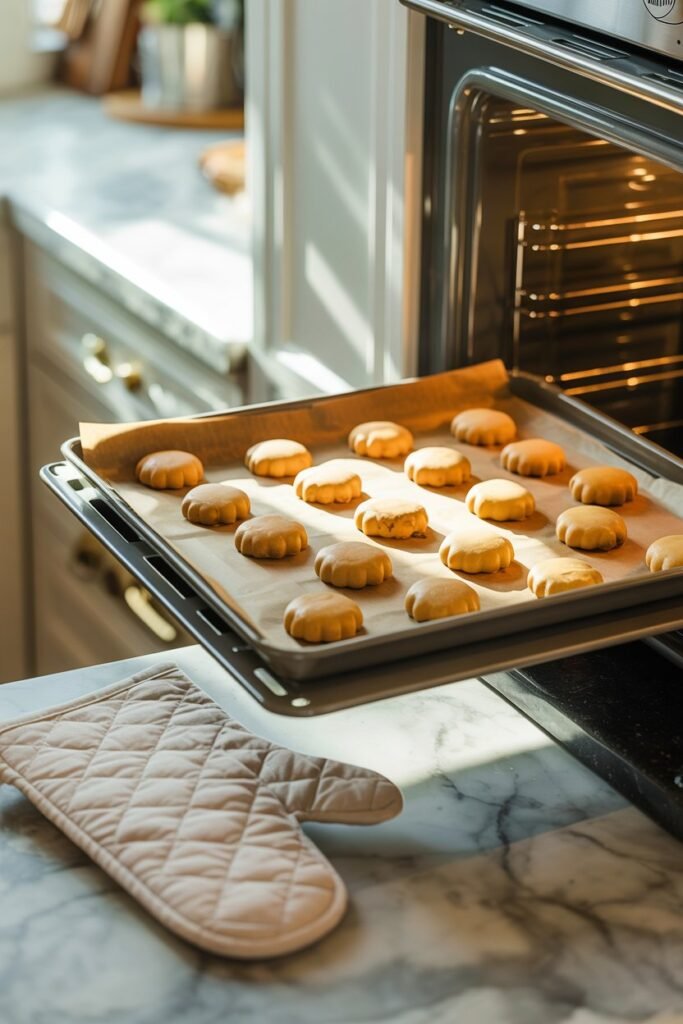
Bake for 12–15 minutes.
For softer treats:
- Bake 12 minutes.
For slightly firmer treats:
- Bake closer to 15 minutes.
They should be lightly golden but not browned.
Step 6: Cool Completely
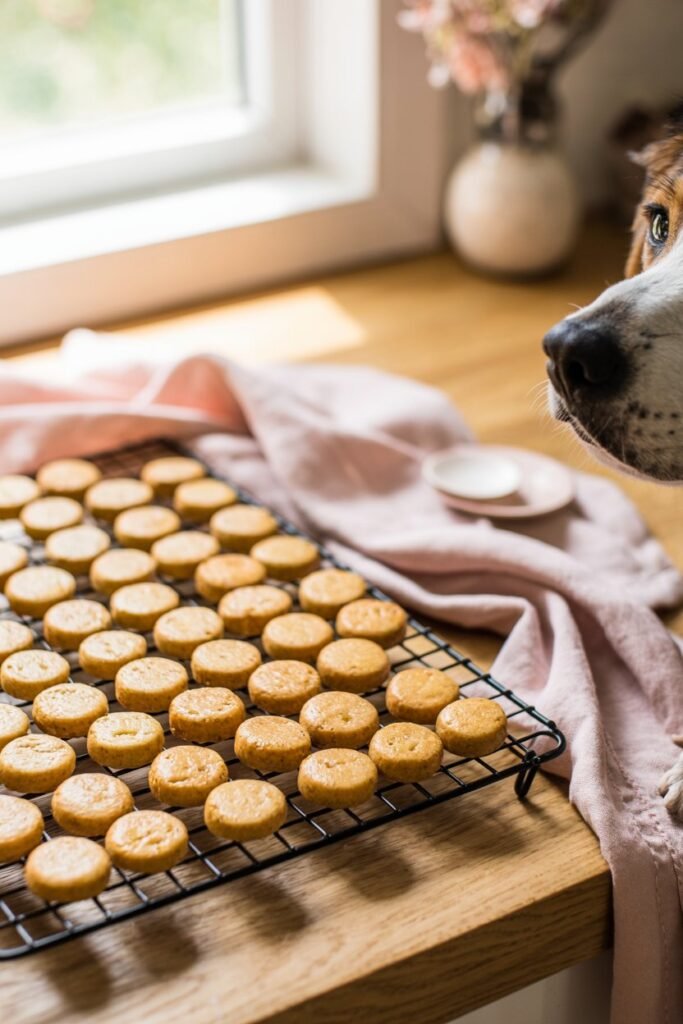
Transfer to a cooling rack.
They will firm up slightly as they cool but remain soft inside — perfect for training.
Texture Test
Break one open. The center should be soft but not doughy.
If too soft:
- Return to oven for 2–3 minutes.
If too dry:
- Next batch, reduce baking time.
Why These Treats Work So Well for Training
I noticed three immediate changes:
- My dog maintained focus longer.
- He didn’t need water breaks constantly.
- He stayed excited through 10–15 minute sessions.
Because they’re tiny, I can reward frequently without guilt.
Storage Tips
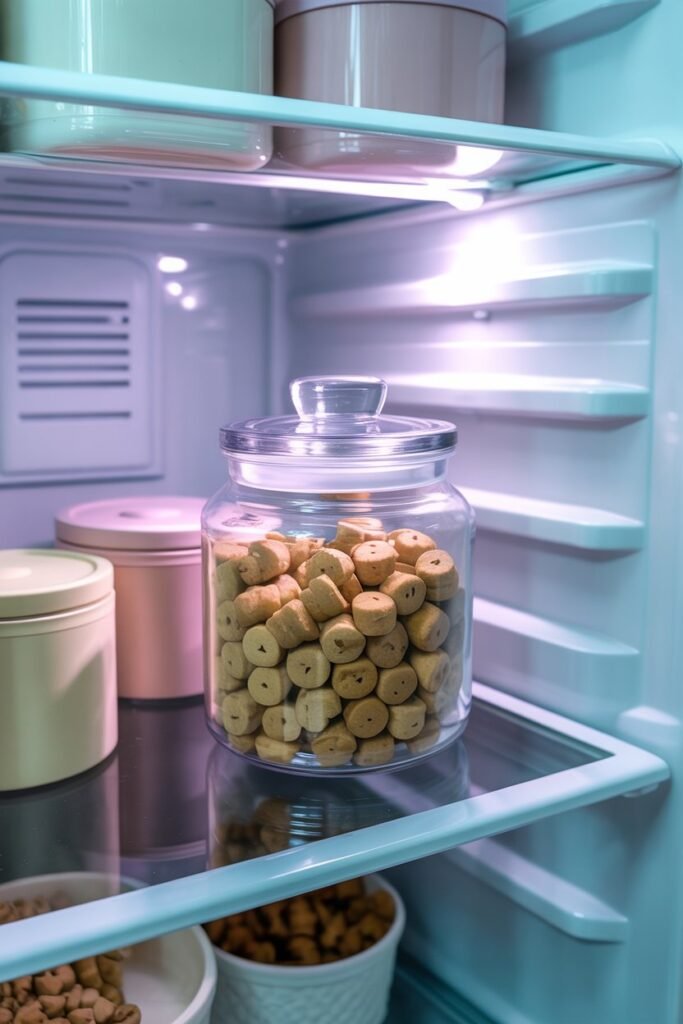
Because these treats are soft, proper storage is important.
Room Temperature
Store in airtight container up to 3 days.
Refrigerator
Store up to 7–10 days.
Freezer (Best Option)
Freeze in zip-top bag up to 3 months.
I freeze in small portions so I can grab one bag per week.
They thaw quickly within minutes.
How Many Can You Give Per Day?
Treats should make up no more than 10% of your dog’s daily calorie intake.
Because these are mini, you can give:
- 20–50 small treats in a session (depending on dog size)
Always adjust main meals if doing heavy training days.
Health Benefits of Homemade Training Treats
Making treats at home means:
✔ No artificial preservatives
✔ No mystery meat by-products
✔ No artificial colors
✔ Controlled sodium
✔ Better digestion
✔ Budget-friendly
And emotionally? It feels nurturing.
Health Tips for Training Sessions
- Keep sessions under 15 minutes.
- Use high-reward treats only for new or difficult skills.
- Always have fresh water nearby.
- Watch for signs of fullness.
- Mix verbal praise with treats.
Eventually, you can reduce treat frequency and increase praise.
Variations to Keep Things Exciting
Dogs love variety. Here are some swaps:
Chicken Version
Replace peanut butter with:
- ½ cup pureed cooked chicken
- 2 tablespoons chicken broth (low sodium)
Beef Version
Use finely ground cooked beef instead of peanut butter.
Sweet Potato Version
Replace pumpkin with mashed sweet potato.
Cheese Boost
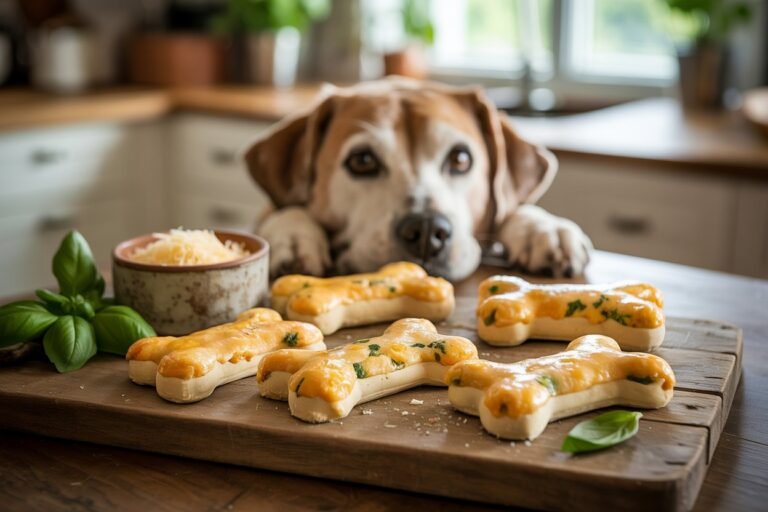
Add 2 tablespoons finely grated parmesan for extra aroma.
Signs Your Dog Loves the Recipe
- Focused eye contact
- Quick responses
- Eager tail wag
- Sniffing your treat pouch
- Staying engaged after repetition
When my dog started offering behaviors voluntarily, I knew these treats were a hit.
Common Mistakes to Avoid
- Using peanut butter with xylitol.
- Making treats too large.
- Overbaking until crunchy.
- Skipping portion control.
- Forgetting to cool fully before storing.
Cost Breakdown
Homemade treats cost significantly less.
Store-bought training treats: $6–$12 per small bag
Homemade batch: Roughly ⅓ the price for triple the quantity.
And the quality? So much better.
My Personal Training Routine Using These Treats
Morning:
- 5 minutes sit/stay
- 5 minutes leash work
Afternoon:
- Recall practice
- Impulse control
Evening:
- Fun tricks (spin, paw, touch)
I keep treats in a small pouch clipped to my waistband.
Tiny rewards. Big progress.
Are These Suitable for Puppies?
Yes if ingredients are tolerated.
For puppies:
- Keep treats extra soft.
- Make pieces even smaller.
- Monitor closely for allergies.
Can Dogs With Sensitive Stomachs Eat These?
Often yes, because ingredients are simple.
If your dog has:
- Severe allergies
- Pancreatitis
- Obesity concerns
Consult your vet first.
When to Use High-Value Treats Instead
For:
- Recall training outdoors
- Vet visits
- Grooming desensitization
- Fear-based situations
You may need even higher value (like cooked chicken).
But for daily training? These are perfect.
Final Thoughts
Making mini training treats feels small but it builds something big.
Trust.
Connection.
Joy.
Training becomes less about control and more about communication.
Every tiny treat says:
“I see you. I’m proud of you.”
And honestly? That energy matters.
If you try this recipe, I hope it transforms your training sessions the way it transformed mine.
Soft. Simple. Homemade.
Made with love — and just the right size.