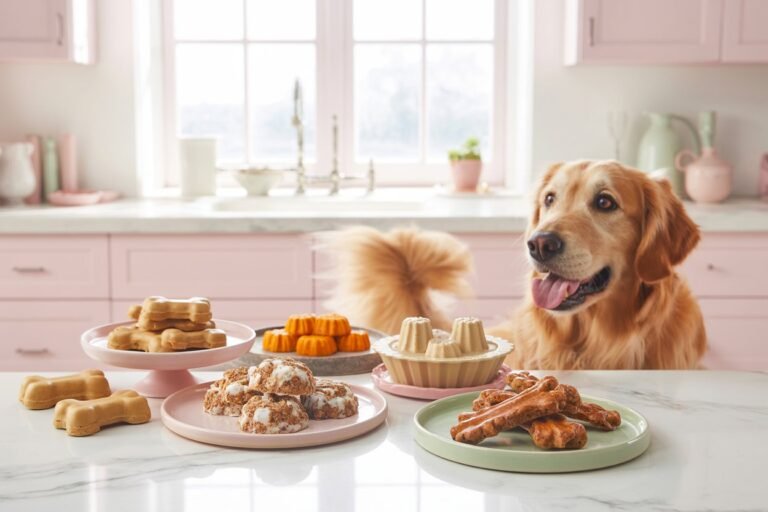
The first time I made homemade treats for my dog, I remember standing in the kitchen wondering if something so simple could actually make him that excited. I mixed peanut butter with oats, rolled a few little bites, and hoped for the best.
The moment I offered him one, his tail wagged like crazy and he looked at me as if I had just given him the greatest gift in the world. That tiny moment completely changed how I felt about dog treats.
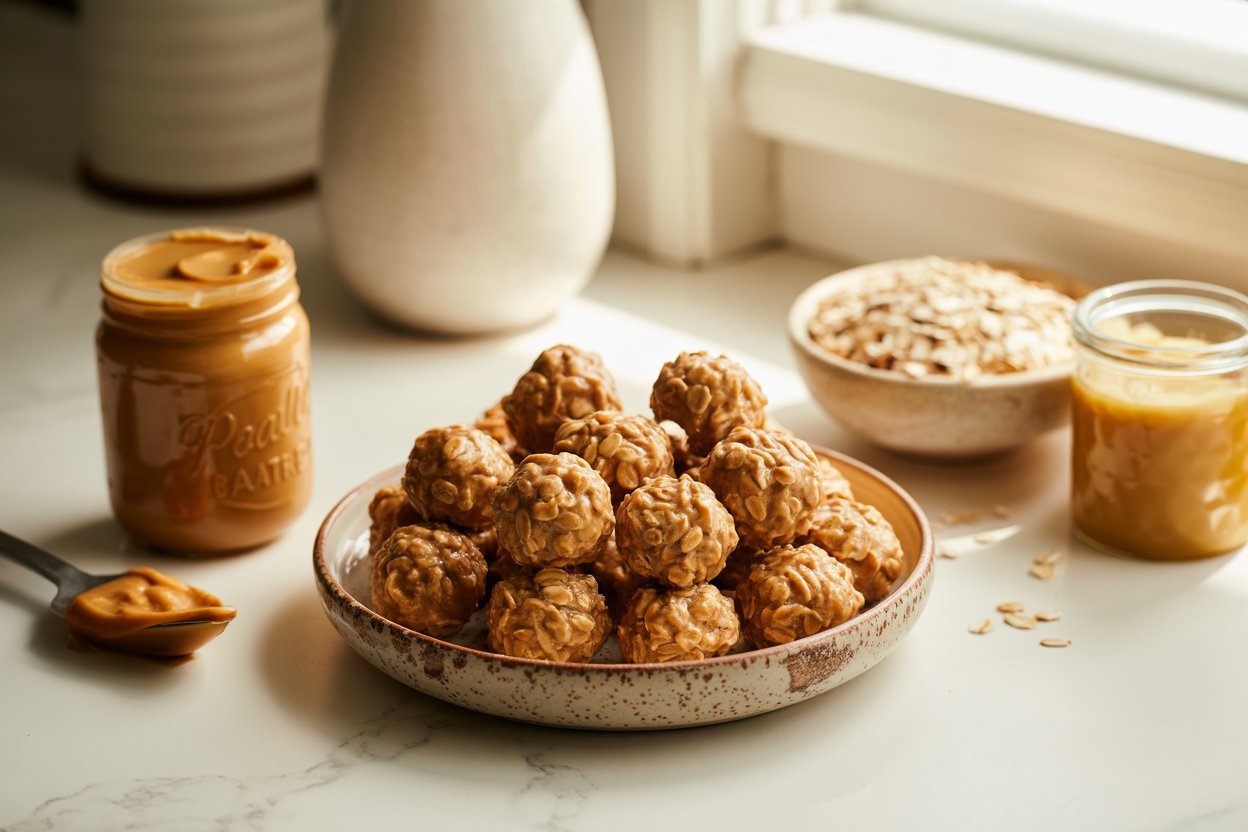
Since then, making simple homemade snacks has become one of my favorite little rituals. These no-bake peanut butter and oatmeal dog treats are the easiest place to start healthy, wholesome, and made with love.
3-Ingredient Healthy Bites Your Dog Will Love
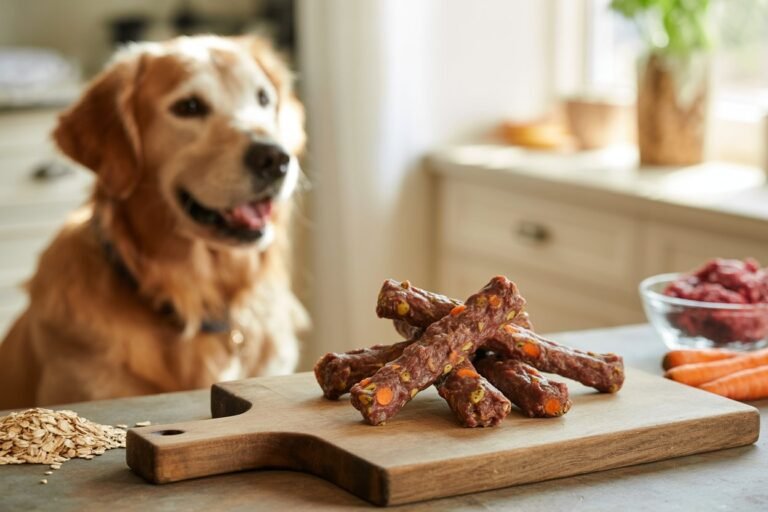
Homemade dog treats hold a special kind of joy. Not only do you know exactly what goes into them, but you also get to create something nourishing and delicious for your furry best friend.
These no-bake peanut butter and oatmeal dog treats are one of the simplest recipes you will ever make. They require just three ingredients, no oven, very little preparation time, and they store beautifully.
Even better, these treats are:
- Naturally wholesome
- Packed with fiber and healthy fats
- Budget-friendly
- Perfect for training rewards
- Safe when made with dog-friendly peanut butter
Whether you’re a first-time dog parent or someone who already loves baking for your pup, this recipe is a wonderful staple to keep in your treat rotation.
Let’s walk through everything you need to know from ingredients and preparation to storage and helpful tips that make these treats even better.
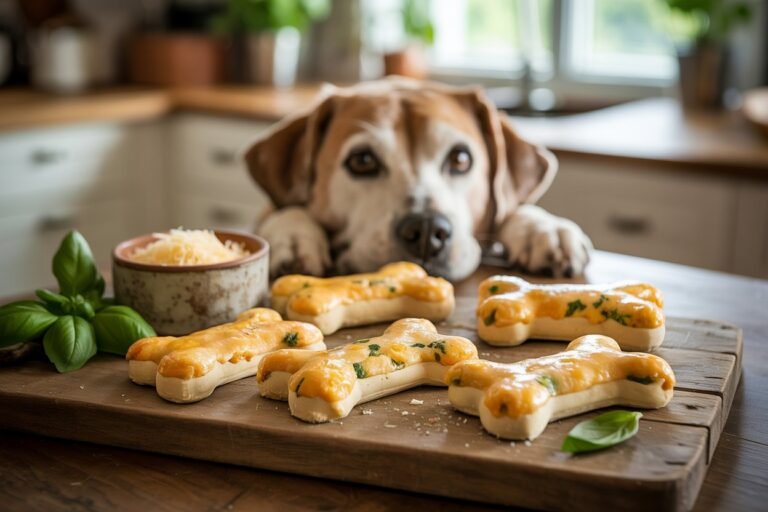
Why Homemade Dog Treats Are Worth Making
Before we dive into the recipe, it helps to understand why so many dog owners are choosing homemade treats.
Store-bought dog treats often contain:
- Artificial preservatives
- Added sugars
- Fillers and by-products
- Low-quality oils
While not every commercial treat is bad, many are designed to last long on shelves rather than nourish your dog.
Homemade treats change that completely.
When you make treats yourself, you can:
- Choose high-quality ingredients
- Avoid unnecessary additives
- Adjust portions for your dog
- Save money over time
Most importantly, homemade treats add a personal touch. Dogs might not understand recipes, but they definitely understand love and attention.
The excitement they show when you offer a homemade snack is honestly one of the best feelings.
Why Dogs Love Peanut Butter & Oats
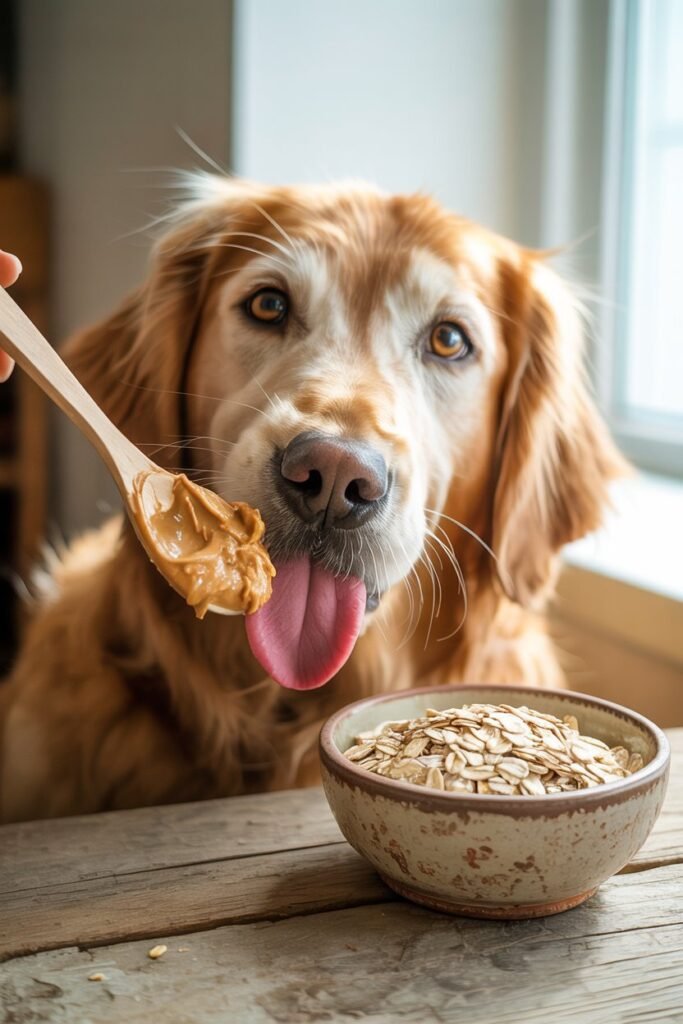
This simple recipe works so well because dogs naturally love both ingredients.
Peanut Butter
Peanut butter is a favorite among dogs because it is:
- Rich in flavor
- High in healthy fats
- Packed with protein
The creamy texture also makes it perfect for forming treats.
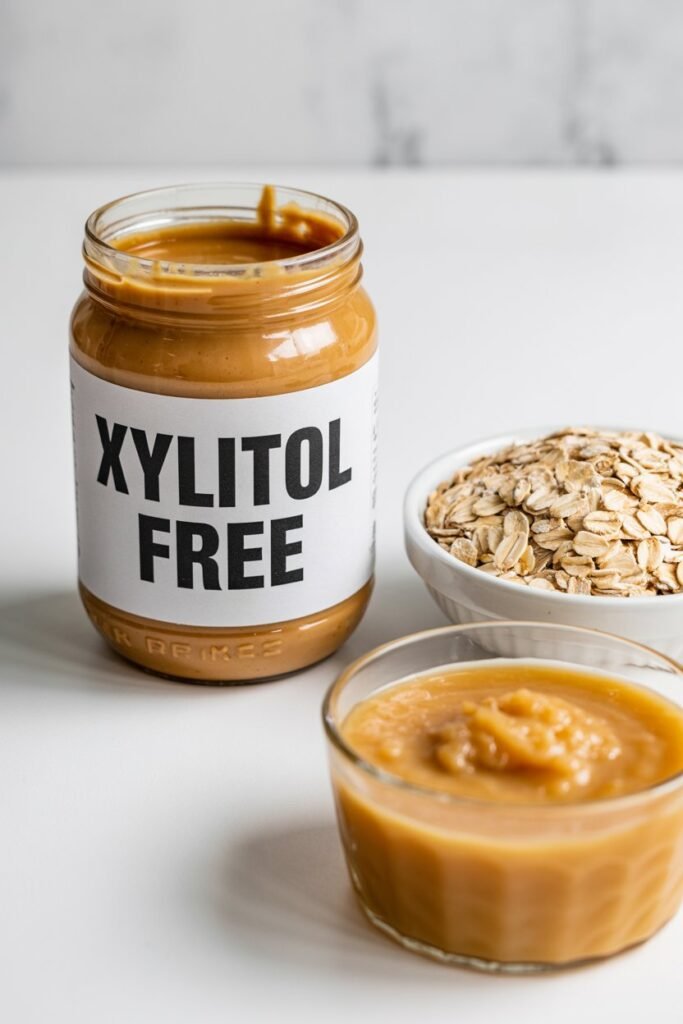
However, always use natural peanut butter without xylitol. Xylitol is a sweetener that is extremely toxic to dogs.
Look for peanut butter with ingredients like:
- Peanuts
- Salt (optional)
Avoid brands with:
- Xylitol
- Artificial sweeteners
- Added sugars
Oatmeal
Oats are a wonderful grain for dogs.
They provide:
- Fiber for healthy digestion
- Vitamins like B-complex
- Minerals such as iron and zinc
Oats are also gentle on sensitive stomachs, which makes them ideal for many dogs who struggle with wheat-based products.
Together, peanut butter and oats create a nutritious, satisfying treat dogs adore.
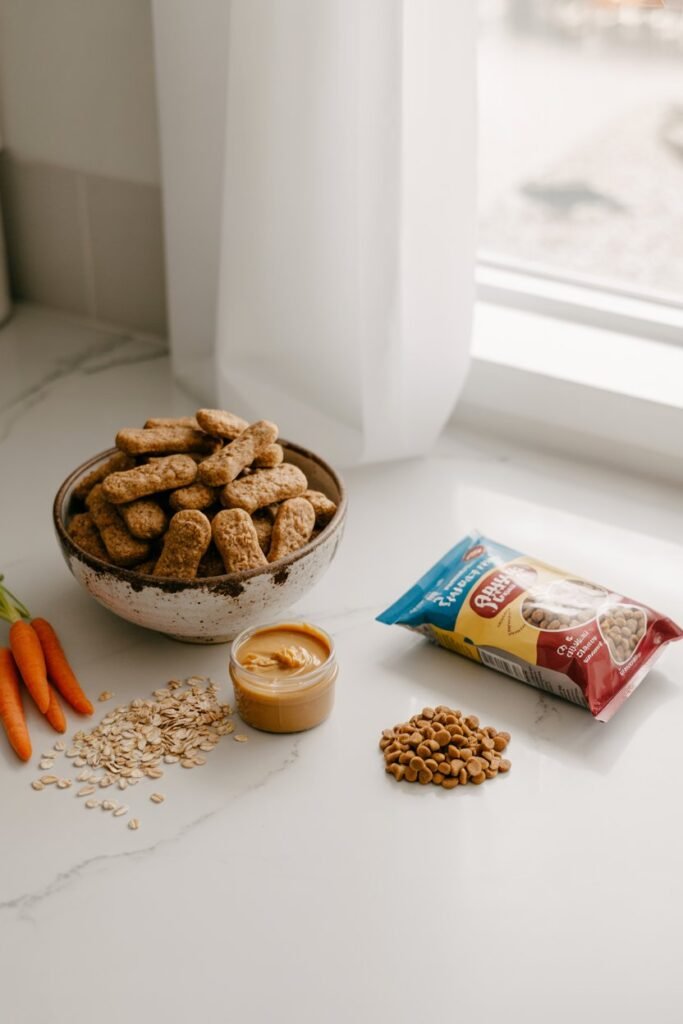
Ingredients You’ll Need
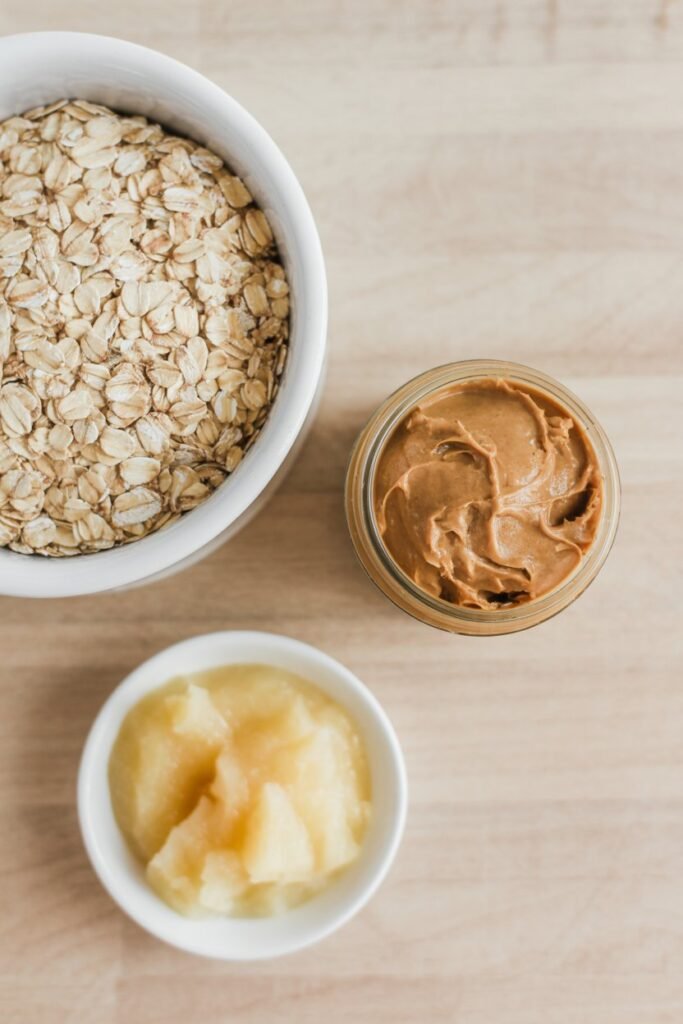
One of the best parts of this recipe is how incredibly simple it is.
You only need three wholesome ingredients.
1. Natural Peanut Butter
Use unsweetened peanut butter without xylitol.
Amount:
1 cup
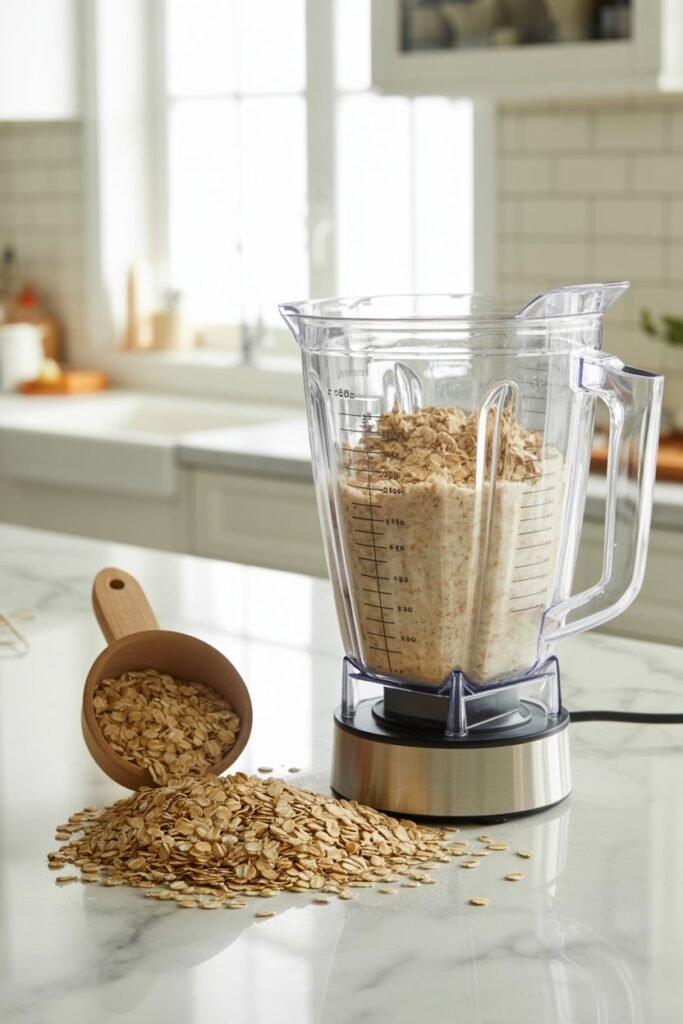
2. Rolled Oats
Old-fashioned oats work best for texture.
Amount:
1½ cups
3. Unsweetened Applesauce
Applesauce helps bind the ingredients together while adding a hint of natural sweetness.
Amount:
½ cup
Optional:
You can blend the oats into oat flour for a smoother treat texture if you prefer.
Kitchen Tools Needed
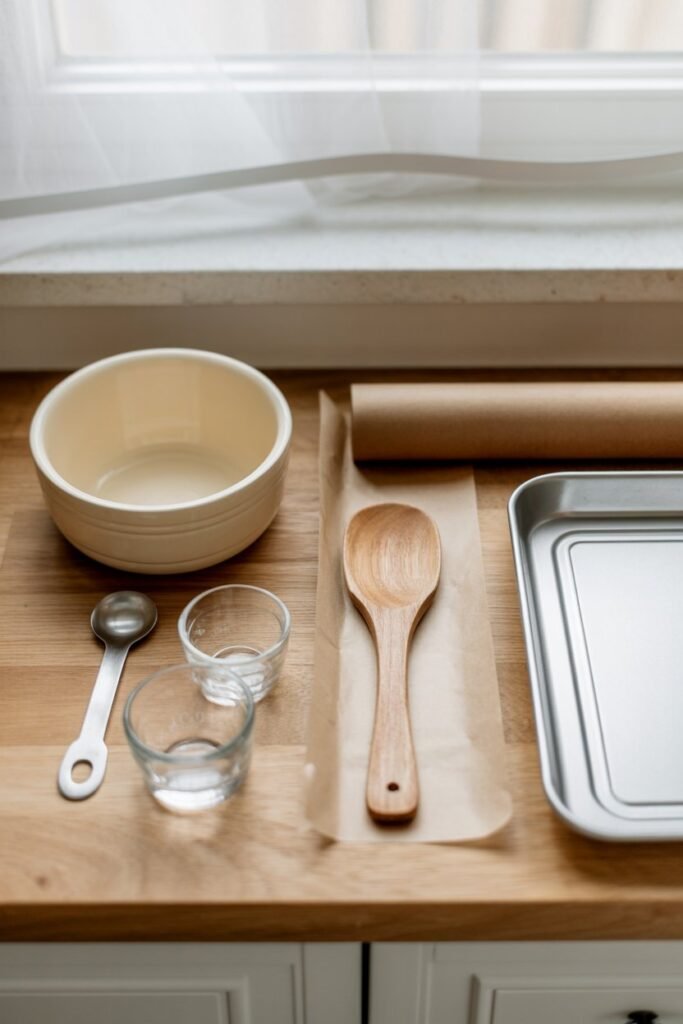
Another reason this recipe is wonderful is that it requires very basic kitchen tools.
You’ll need:
- Mixing bowl
- Spoon or silicone spatula
- Food processor or blender (optional)
- Baking sheet or tray
- Parchment paper
- Measuring cups
If you want perfectly shaped treats, you can also use:
- Mini cookie scoop
- Silicone molds
But simple hand-rolled bites work just as well.
Step-by-Step Guide to Making No-Bake Peanut Butter & Oatmeal Dog Treats
Let’s walk through the process step by step so your treats turn out perfectly.
Step 1: Prepare the Oats
Start by measuring 1½ cups of rolled oats.
You have two choices here:
Option 1: Use oats as they are
This gives the treats a slightly chewy, textured bite.
Option 2: Blend the oats into flour
Pulse them in a blender or food processor for about 10–15 seconds until they resemble flour.
Blended oats make softer treats, which can be helpful for:
- Small dogs
- Senior dogs
- Dogs with sensitive teeth
Place the oats into a mixing bowl.
Step 2: Add Peanut Butter
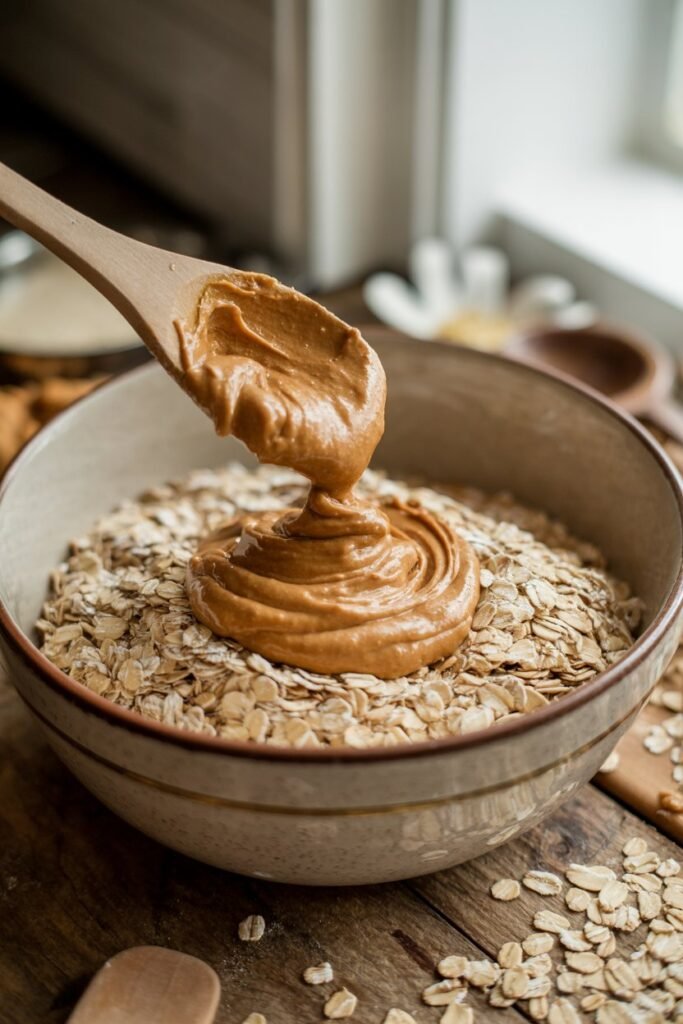
Measure 1 cup of natural peanut butter and add it to the bowl.
If the peanut butter is thick or refrigerated, let it sit at room temperature for about 10 minutes. This makes mixing much easier.
Peanut butter will act as the primary flavor and binding ingredient in the treats.
Step 3: Add Applesauce
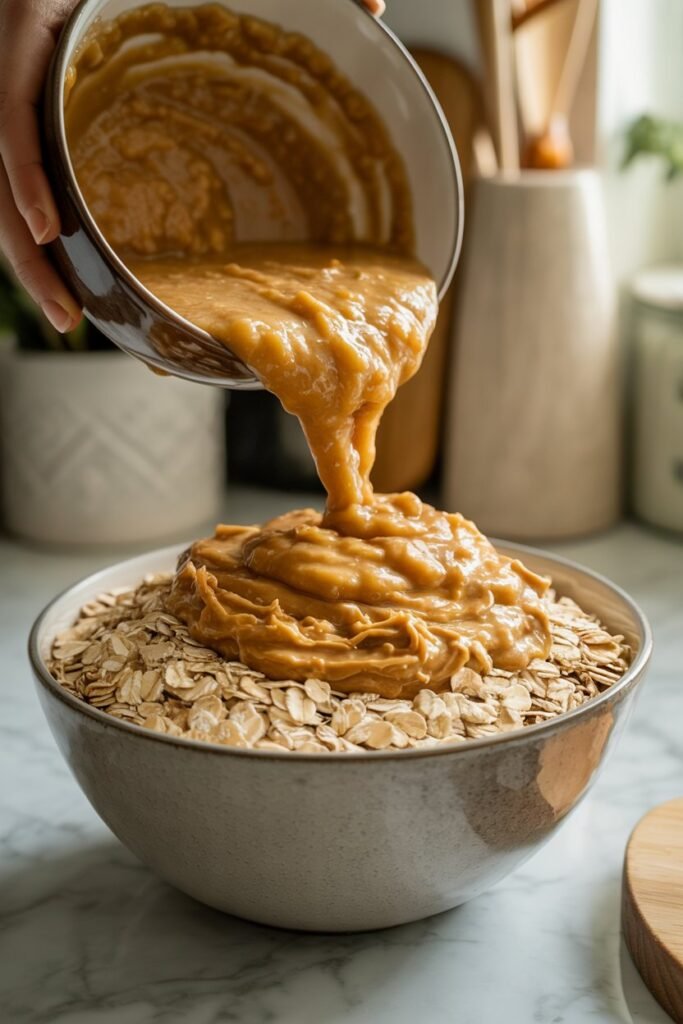
Pour ½ cup unsweetened applesauce into the bowl.
Applesauce does several helpful things in this recipe:
- Adds natural moisture
- Helps bind ingredients
- Makes the treats softer
- Adds mild natural sweetness
Make sure the applesauce is unsweetened and contains no added sugar.
Step 4: Mix Everything Together
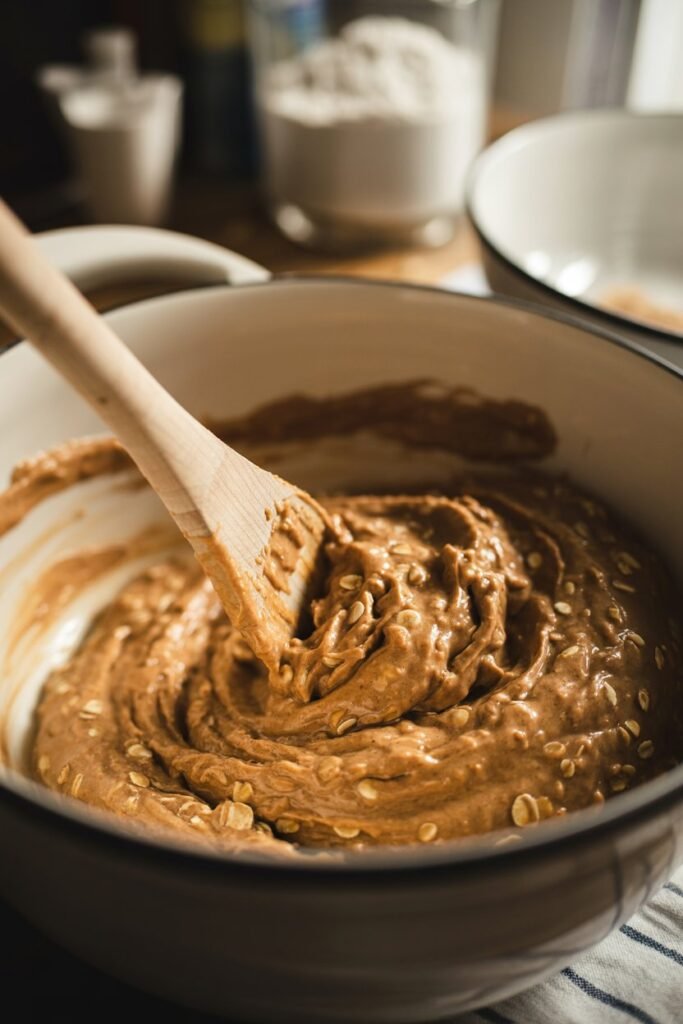
Using a spoon or spatula, mix the ingredients thoroughly.
At first the mixture may look crumbly, but keep stirring until it becomes a thick dough.
The texture should be:
- Soft
- Slightly sticky
- Easy to roll
If the mixture seems too dry, add one tablespoon of applesauce.
If it feels too wet, add a small handful of oats.
Step 5: Shape the Treats
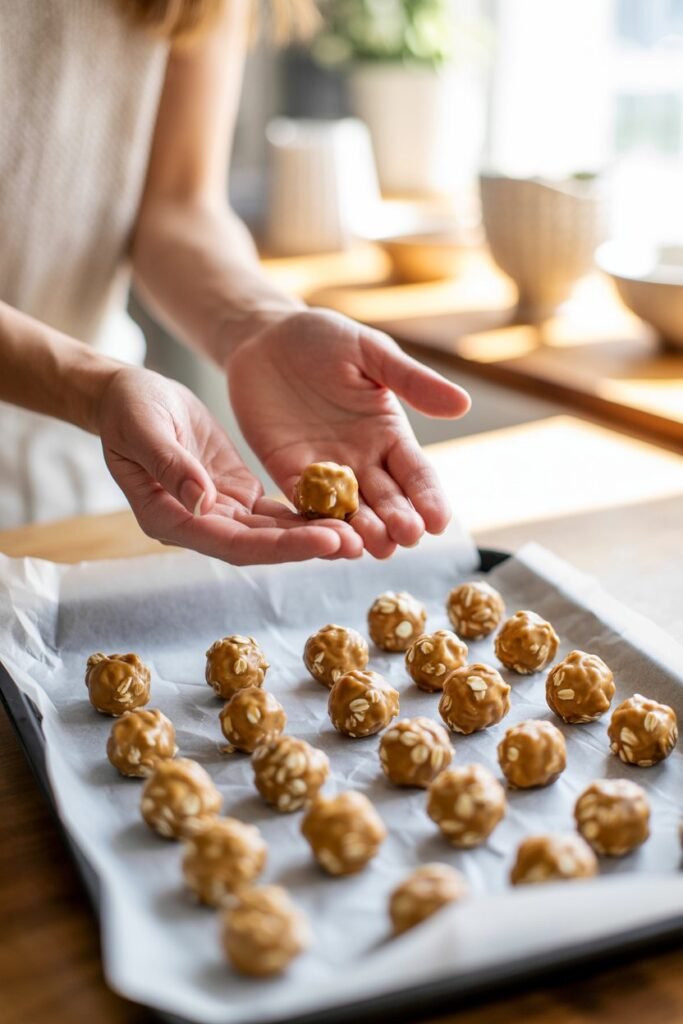
Now comes the fun part.
Scoop small amounts of dough and roll them between your hands to form bite-sized balls.
Good sizes include:
- Marble size for small dogs
- Golf-ball size for large dogs
You can also press the mixture into:
- Silicone molds
- Small cookie cutters
- Flattened discs
Place the shaped treats onto a tray lined with parchment paper.
Step 6: Chill the Treats
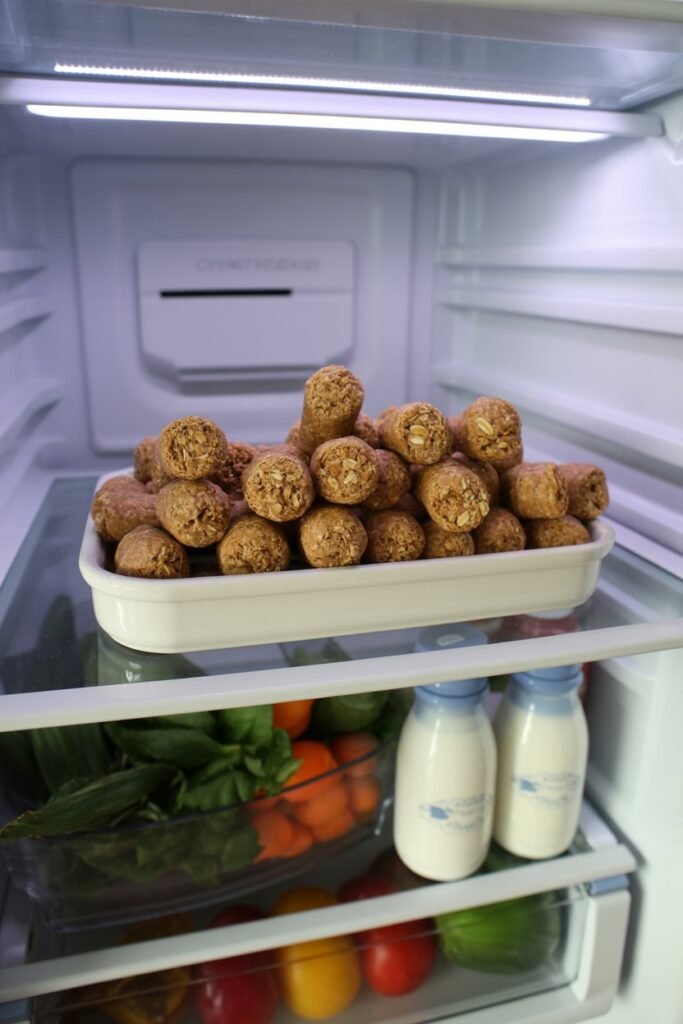
Because these are no-bake treats, chilling helps them firm up.
Place the tray in the refrigerator for 30–60 minutes.
This step allows the oats to absorb moisture and helps the treats hold their shape.
Once chilled, they become slightly firmer and perfect for serving.
Texture Tips for Perfect No-Bake Dog Treats
Getting the right texture is key.
Here are a few helpful tips:
If the dough is too sticky
Add:
- Extra oats
- Or oat flour
If the dough is too dry
Add:
- Applesauce
- A tiny bit of water
If the treats fall apart
Chill the mixture longer before shaping.
You can also mix in a spoonful of peanut butter.
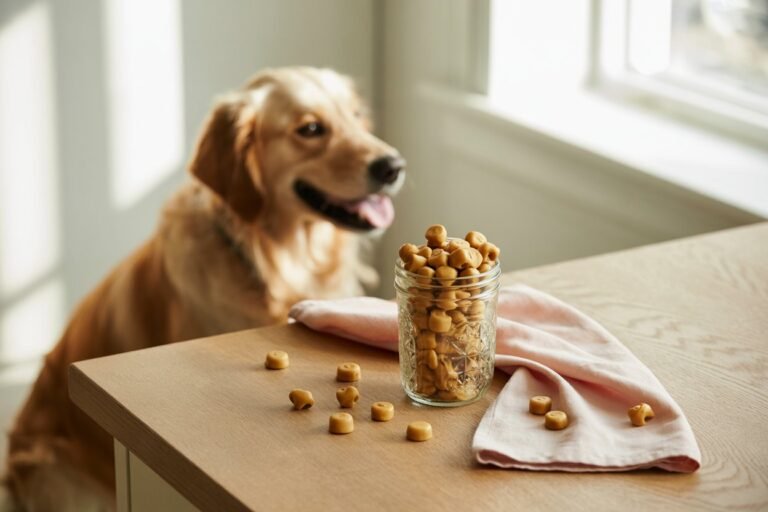
How Many Treats This Recipe Makes
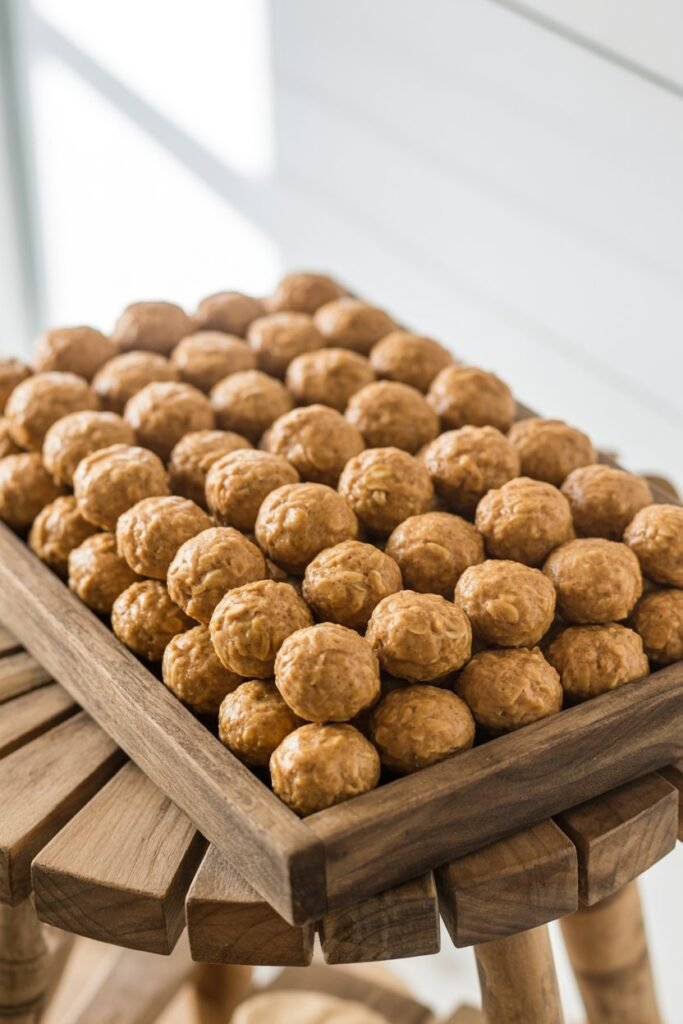
The number depends on the size you roll.
Approximate yield:
- Small bites: 35–40 treats
- Medium treats: 20–25 treats
- Large treats: 12–15 treats
For training purposes, smaller treats are ideal.
Health Benefits of These Treats
These treats are simple but surprisingly nutritious.
Protein from Peanut Butter
Protein helps support:
- Muscle health
- Energy levels
- Healthy growth
Fiber from Oats
Fiber supports:
- Digestion
- Gut health
- Stable energy
Natural Nutrients from Apples
Apples contain:
- Vitamin C
- Antioxidants
- Natural sweetness without refined sugar
Together, these ingredients create a balanced and wholesome snack.
Safe Portion Sizes for Dogs
Treats should only make up 10% of a dog’s daily calories.
General guidelines:
Small dogs (under 20 lbs):
1–2 treats per day
Medium dogs (20–50 lbs):
2–4 treats per day
Large dogs (50+ lbs):
3–5 treats per day
Always adjust based on your dog’s activity level.
Storage Tips
Because these treats contain natural ingredients and no preservatives, proper storage is important.
Refrigerator
Store in an airtight container for up to 7 days.
Freezer
Freeze treats for up to 3 months.
Frozen treats thaw quickly and many dogs actually enjoy them slightly chilled.
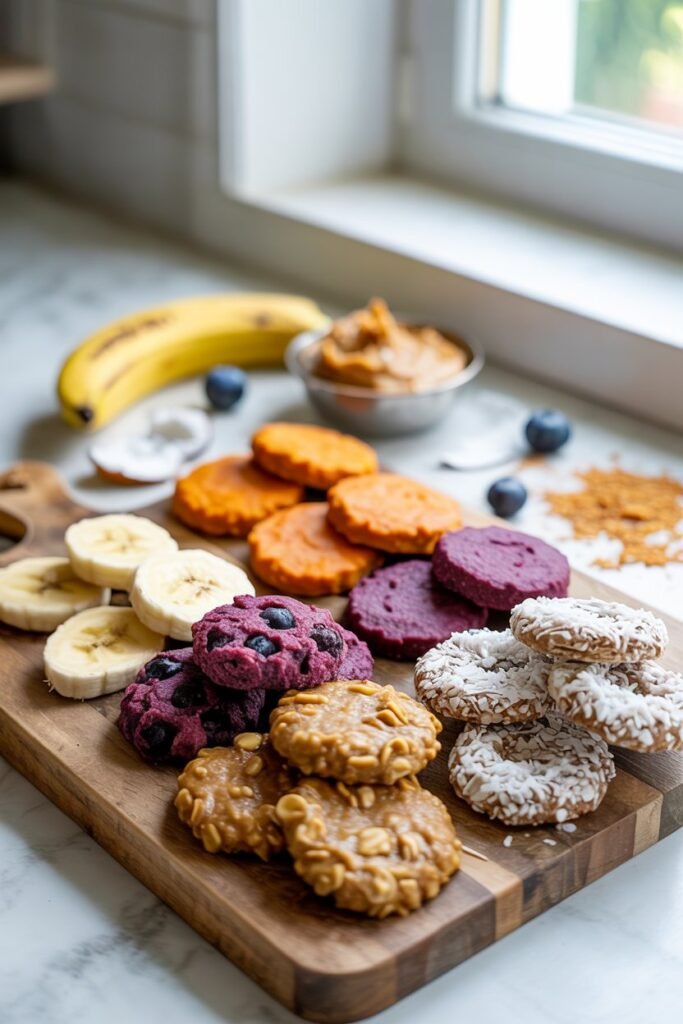
Fun Variations You Can Try
Once you master the basic recipe, you can experiment with variations.
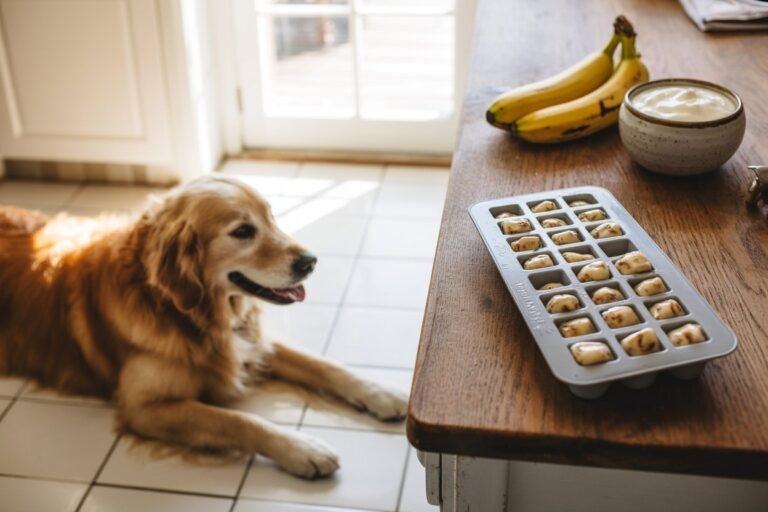
Banana Peanut Butter Treats
Replace applesauce with ½ mashed banana.
Pumpkin Peanut Butter Treats
Replace applesauce with ½ cup pumpkin puree.
Coconut Energy Bites
Add:
- 2 tablespoons unsweetened shredded coconut
Blueberry Boost
Mix in:
- A handful of mashed blueberries
Each variation keeps the treats healthy while adding variety.
Common Mistakes to Avoid
Even simple recipes can go wrong if you miss a few details.
Using Peanut Butter with Xylitol
This is the most important safety rule.
Always check labels carefully.
Adding Too Much Liquid
Too much applesauce makes the dough hard to shape.
Add slowly.
Skipping the Chill Time
Chilling helps the treats hold together.
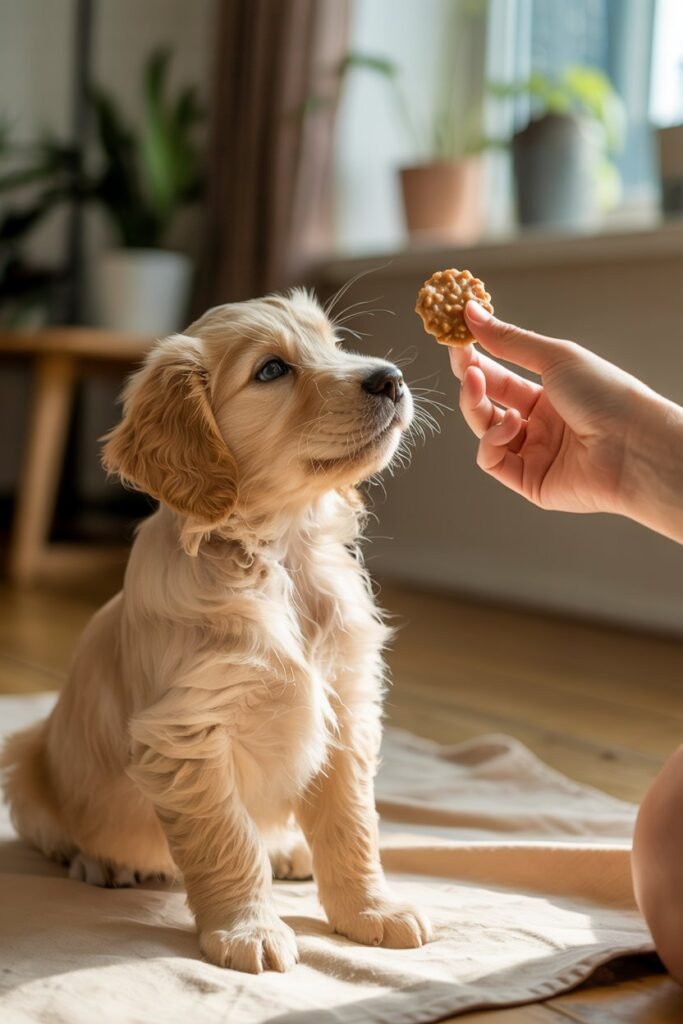
Why These Treats Are Perfect for Training
Training treats should be:
- Small
- Soft
- Flavorful
These bites check all three boxes.
Dogs stay motivated during training when rewards are tasty but easy to eat quickly.
Because they’re soft, dogs can chew them quickly and focus right back on learning.
Signs Your Dog Loves the Treats
Dogs are wonderfully expressive when they enjoy something.
You might notice:
- Tail wagging
- Excited hopping
- Focused attention
- Quick sitting for another treat
Those reactions make the effort completely worth it.
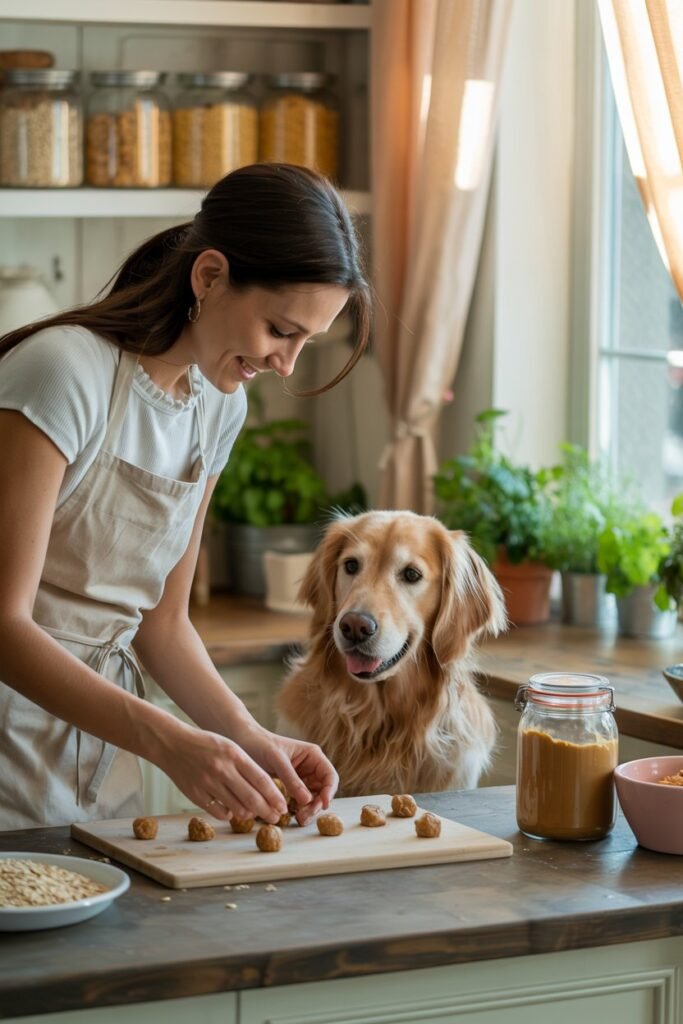
Making Treat Time a Special Ritual
One of my favorite parts about making homemade treats is the little ritual it creates.
Mixing simple ingredients together in the kitchen, shaping each bite, and watching my dog sit patiently nearby has become a sweet routine.
Sometimes he sits right by the counter, watching every movement, as if he knows something special is coming.
And honestly, that moment when he tastes the first treat and looks up with those bright eyes?
That’s the real reward.
Final Thoughts
No-bake peanut butter and oatmeal dog treats prove that healthy homemade snacks don’t need to be complicated.
With just three ingredients and a few minutes of preparation, you can create something wholesome, delicious, and made entirely with love.
These treats are:
- Quick to prepare
- Affordable
- Nutritious
- Dog-approved
Whether you’re rewarding good behavior, celebrating a training milestone, or simply showing your dog a little extra love, these simple bites are a beautiful way to do it.
And once you see your dog’s reaction, don’t be surprised if making homemade treats becomes one of your favorite habits too.