There’s something deeply satisfying about making something with your own two hands especially when it’s for your dog.
A DIY dog feeder isn’t just a cute project; it’s a smart, practical way to customize your home and improve your pet’s mealtime experience.
Whether you’re tired of flimsy plastic bowls or simply want to match your décor, these DIY feeders are easy to make, stylish, and built to last.
In this guide, you’ll find 11 creative DIY feeder ideas from sleek acrylic stands to rustic farmhouse crates each one paired with realistic instructions, basic tools, and pro tips to help you make them right the first time.
So, grab your coffee, roll up your sleeves, and let’s build something your pup will love.
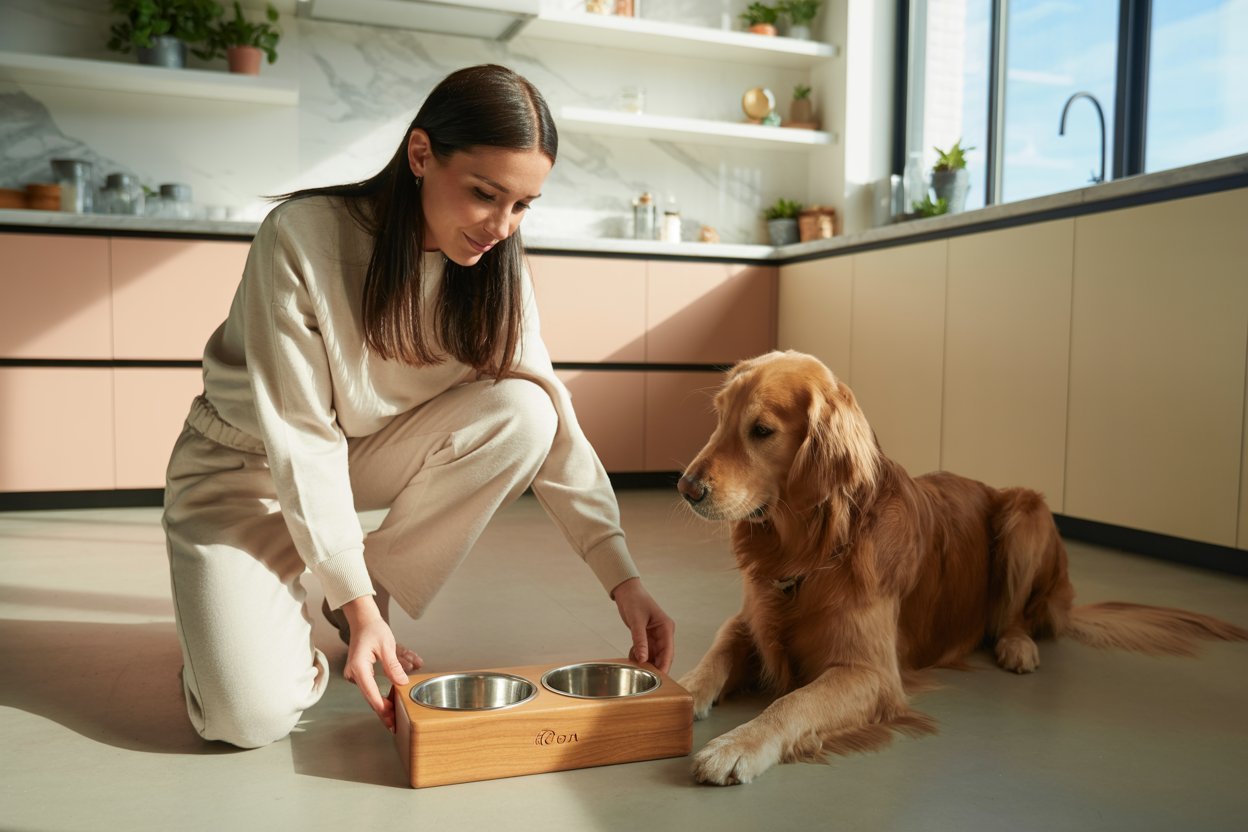
1. Rustic Wooden Dog Feeder Stand
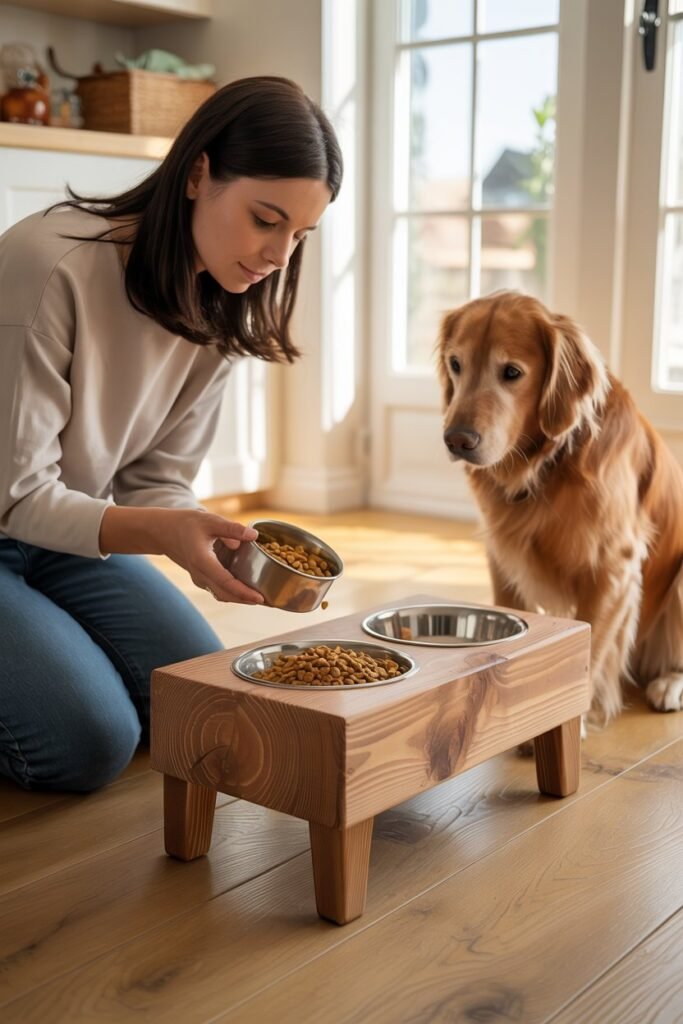
A timeless, farmhouse-style feeder that fits into almost any home.
Materials:
- Two wooden planks (cut to 24″ x 12″ for medium dogs)
- Two stainless steel bowls
- Wood glue or screws
- Non-toxic wood stain or paint
- Clear sealant
Tools:
- Power drill
- Hole saw (for bowl openings)
- Measuring tape
- Sandpaper or electric sander
- Paintbrush
Instructions:
- Measure the height to your dog’s shoulder and cut the legs accordingly (usually 6–10 inches tall for medium breeds).
- Use a hole saw to cut out two bowl openings on the top plank — trace the bowl rims first for accuracy.
- Sand all edges until smooth to prevent splinters.
- Assemble the stand using screws or strong wood glue; allow at least 12 hours for glue to cure.
- Apply stain or paint evenly, then seal with a non-toxic finish.
- Once dry, insert the bowls snugly.
Pro Tip:
“Add felt pads under the legs to prevent slipping or scratching your floors.”
2. Modern Acrylic Feeder
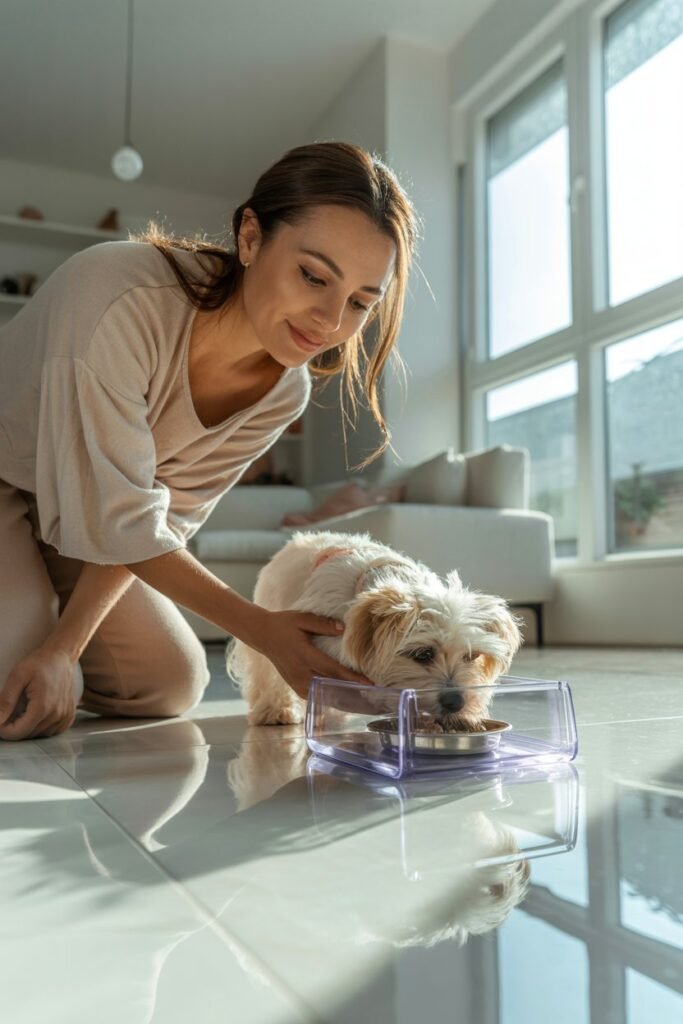
This transparent feeder blends seamlessly with minimalist spaces.
Materials:
- Clear acrylic sheet (1/4″ thick)
- Acrylic adhesive
- Two stainless steel bowls
Tools:
- Acrylic cutter or jigsaw with fine blade
- Ruler
- Drill with acrylic bit
- Clamps
Instructions:
- Cut the acrylic into four side panels (2 sides at 10″x6″, front/back at 24″x6″) and one top (24″x12″).
- Mark and cut two bowl openings on the top panel.
- Apply acrylic adhesive to edges and assemble with clamps to hold steady.
- Let the adhesive cure for 24 hours before use.
- Sand edges lightly for a polished finish.
Pro Tip:
“Use warm water and mild soap to clean acrylic never ammonia cleaners, which can cloud it.”
3. Upcycled Vintage Drawer Feeder
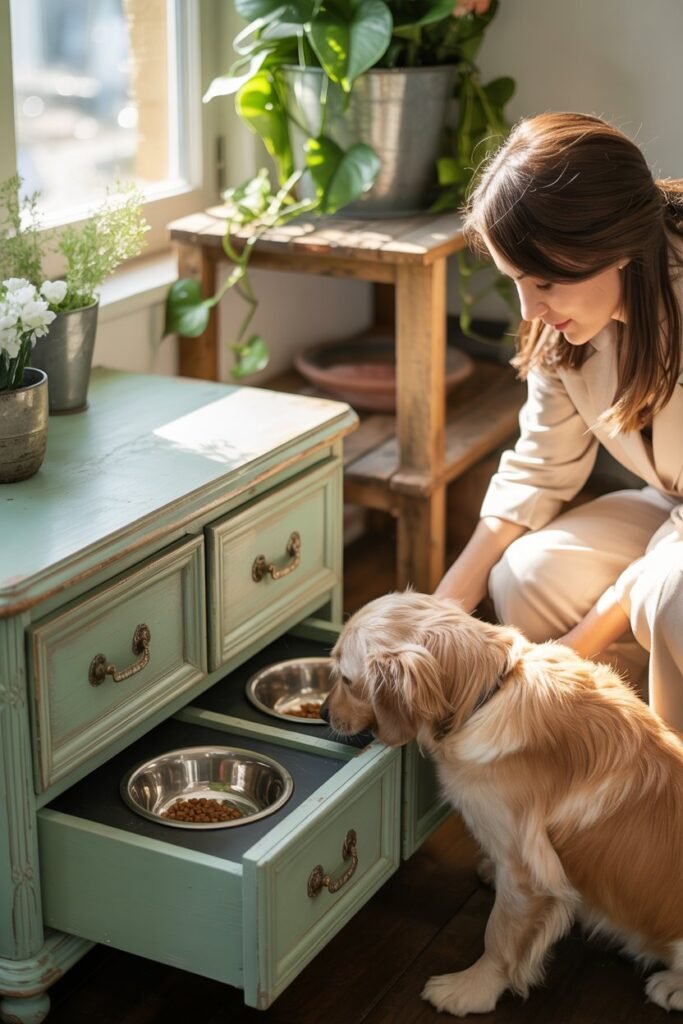
A creative way to reuse old furniture.
Materials:
- One sturdy drawer
- Two bowls
- Small wooden legs or bun feet
- Paint or chalk paint
- Sealant
Tools:
- Drill and hole saw
- Screwdriver
- Paintbrush
- Sandpaper
Instructions:
- Remove any handles and hardware from the drawer.
- Sand down rough edges and clean thoroughly.
- Mark bowl openings and cut with a hole saw.
- Attach legs using screws or glue for stability.
- Paint the drawer inside and out; apply a clear sealant when dry.
- Insert bowls and admire your one-of-a-kind feeder.
Pro Tip:
“Add a stencil or your dog’s name to the front for a personalized boutique look.”
4. PVC Pipe Feeder
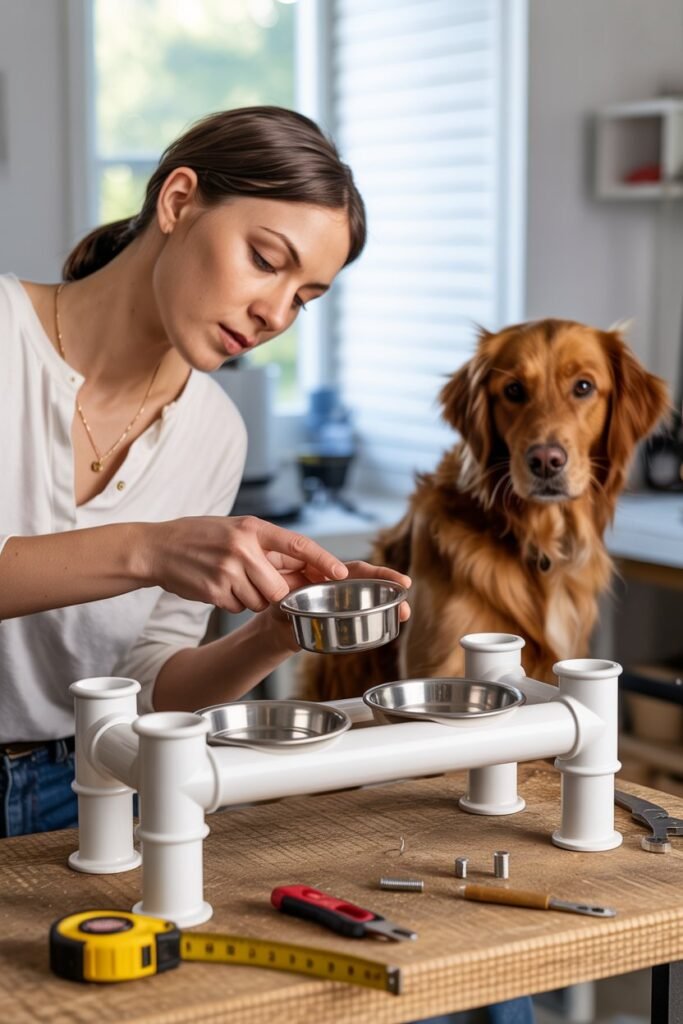
Lightweight, portable, and easy to clean.
Materials:
- PVC pipe (2″ diameter, cut into 4 equal legs)
- PVC elbows and joints
- Two bowls
- PVC glue
- Spray paint (optional)
Tools:
- Hacksaw
- Measuring tape
- Drill
- Hole saw
Instructions:
- Cut PVC into equal-length pieces for your desired height.
- Assemble a rectangular frame using elbows and glue.
- Cut bowl openings into a PVC sheet or plastic board for the top.
- Spray paint if desired and allow to dry completely.
- Insert bowls and ensure everything sits level.
Pro Tip:
“Add rubber end caps to the pipe legs for extra grip on smooth floors.”
5. Farmhouse Crate Feeder
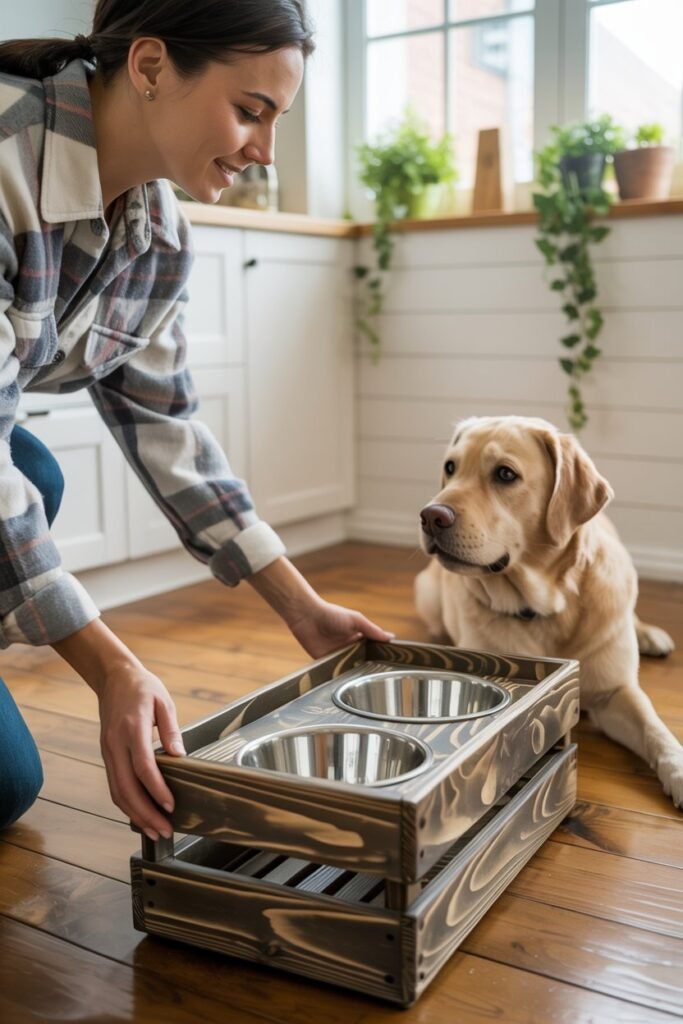
Perfect for rustic décor lovers.
Materials:
- Wooden crate
- Two bowls
- Sandpaper
- Chalk paint or stain
- Non-toxic sealant
Tools:
- Drill with hole saw
- Paintbrush
- Ruler
Instructions:
- Sand the crate to smooth rough surfaces.
- Measure and cut circular openings on the top board for bowls.
- Paint or stain the crate, then seal once dry.
- Insert the bowls they should fit snugly without wobbling.
Pro Tip:
“Attach a handle to one side to make cleaning and moving easier.”
6. Adjustable Height Feeder
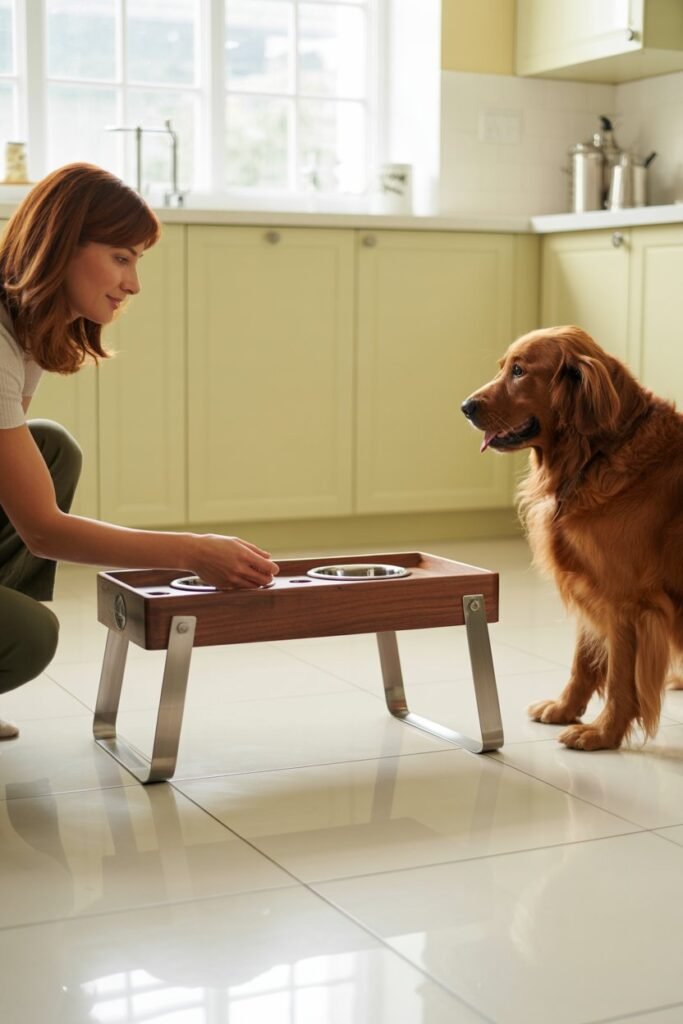
Great for growing pups or multi-dog homes.
Materials:
- Wooden board for top (24″x12″)
- Metal adjustable legs (like from IKEA)
- Bowls
Tools:
- Drill and screwdriver
- Measuring tape
- Sandpaper
Instructions:
- Drill holes for the bowls in the top board.
- Attach adjustable legs at the corners using provided screws.
- Sand smooth and finish with non-toxic sealant.
- Adjust height as needed based on your dog’s size.
Pro Tip:
“Keep this feeder lightweight so you can easily move it between rooms.”
7. Concrete Bowl Stand

Industrial and built to last.
Materials:
- Quick-dry concrete mix
- Two bowls
- Plastic bin or mold
- Cooking spray
Tools:
- Mixing bucket
- Stirring stick
- Gloves
- Measuring cup
Instructions:
- Spray the inside of your mold with cooking spray.
- Mix concrete per package instructions (aim for thick pancake batter consistency).
- Pour into the mold halfway, then press the bowls halfway in.
- Tap the mold to release air bubbles and let it cure for 24–48 hours.
- Remove from mold, sand rough edges, and wipe clean.
Pro Tip:
“Seal the concrete with a pet-safe finish to prevent staining.”
8. Slow Feeder with Puzzle Pattern
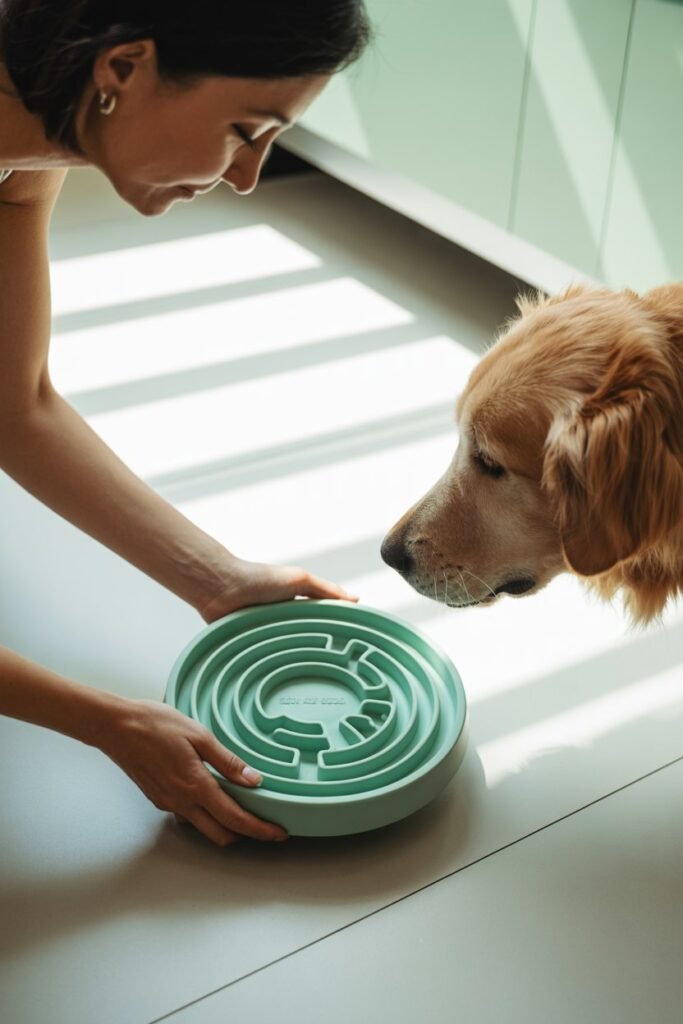
A fun way to slow down fast eaters.
Materials:
- Shallow plastic tray
- Silicone shapes or toys
- Non-toxic glue
Tools:
- Scissors
- Hot glue gun
Instructions:
- Wash and dry the tray completely.
- Arrange silicone pieces in a pattern that forces your dog to eat around them.
- Glue them down securely and let dry overnight.
- Test by placing a few kibbles to ensure pieces stay firm.
Pro Tip:
“Use varied heights and shapes to increase the feeding challenge.”
9. Wall-Mounted Feeder
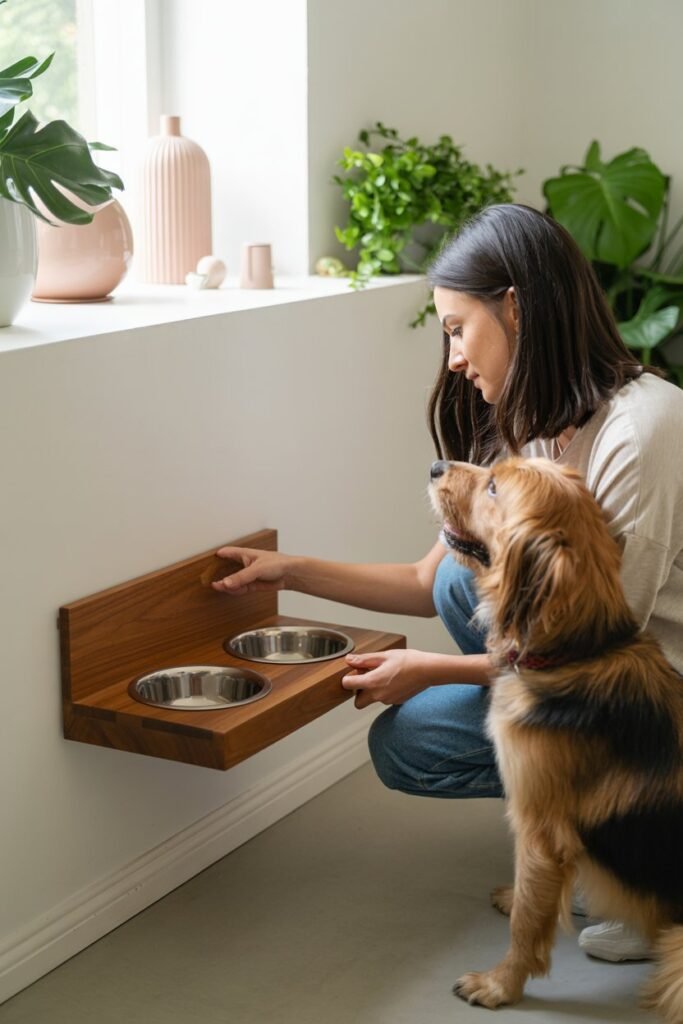
Perfect for tight spaces and modern homes.
Materials:
- Wooden shelf (1″ thick)
- Brackets and screws
- Two bowls
- Wall anchors
Tools:
- Drill
- Stud finder
- Level
- Hole saw
Instructions:
- Locate wall studs for secure mounting.
- Cut bowl openings into the shelf.
- Attach brackets to the bottom and secure to the wall with anchors.
- Insert bowls and ensure the feeder is level.
Pro Tip:
“Add a small lip at the back of the shelf to prevent spills hitting your wall.”
10. Dual Feeder with Storage Drawer

A neat, space-saving solution.
Materials:
- Wooden box
- Drawer slides and handle
- Two bowls
- Paint or stain
Tools:
- Drill
- Hole saw
- Screwdriver
- Sandpaper
Instructions:
- Assemble or repurpose a wooden box with an internal sliding drawer.
- Drill bowl holes on the top panel.
- Attach the drawer slides and handle.
- Paint or stain for a finished look, then insert bowls.
Pro Tip:
“Use the drawer for treats or dry food to keep everything organized in one place.”
11. Recycled Bucket Feeder (Outdoor Use)
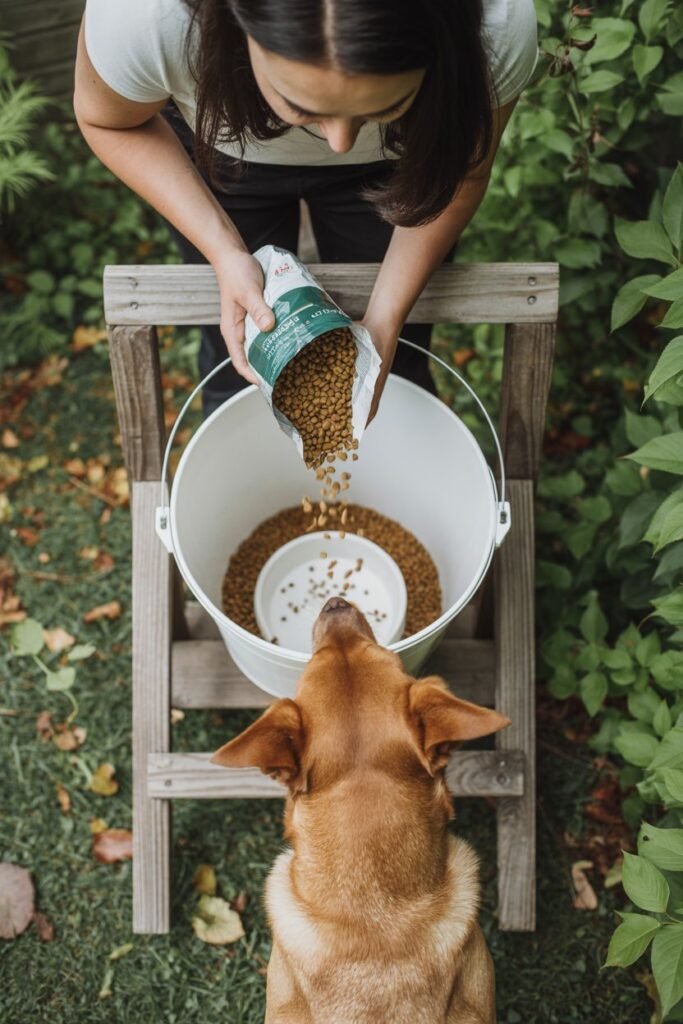
Perfect for garden or patio feeding stations.
Materials:
- Large plastic bucket
- Drill
- Feeding spout or small plastic chute
- Waterproof sealant
Tools:
- Utility knife
- Screwdriver
- Marker
Instructions:
- Drill a small feeding hole about 3 inches from the bottom.
- Insert a spout or smooth the cutout edges with sandpaper.
- Seal around the edges with waterproof sealant.
- Fill the bucket with dry food and place it securely on a stand.
Pro Tip:
“Elevate it slightly to keep ants and moisture out of the food.”
Final Thoughts
DIY dog feeders are the kind of projects that combine creativity with usefulness and that’s what makes them so rewarding.
Whether you’re making something sleek and modern or rustic and cozy, each project gives you the freedom to design something both beautiful and functional.
You’ll save money, customize it to your home, and enjoy the process of crafting something special for your four-legged friend.
So choose one, gather your tools, and enjoy the satisfaction of creating something that’s practical, personal, and full of love.