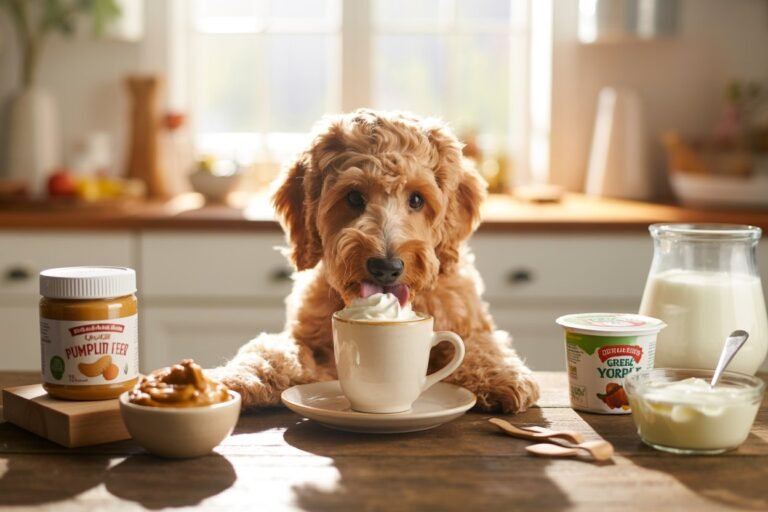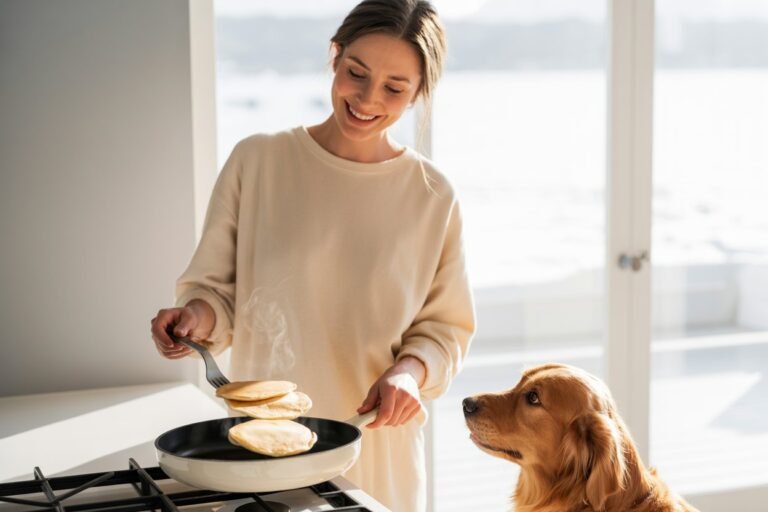

If you’re anything like most dog owners, weekend mornings are a mix of slow comfort and happy chaos coffee brewing, sunlight streaming in, and a pair of eyes watching your every move from under the kitchen counter.
Those big, hopeful eyes belong to your dog, of course, who’s wondering whether you’ll “accidentally” drop a piece of breakfast their way.
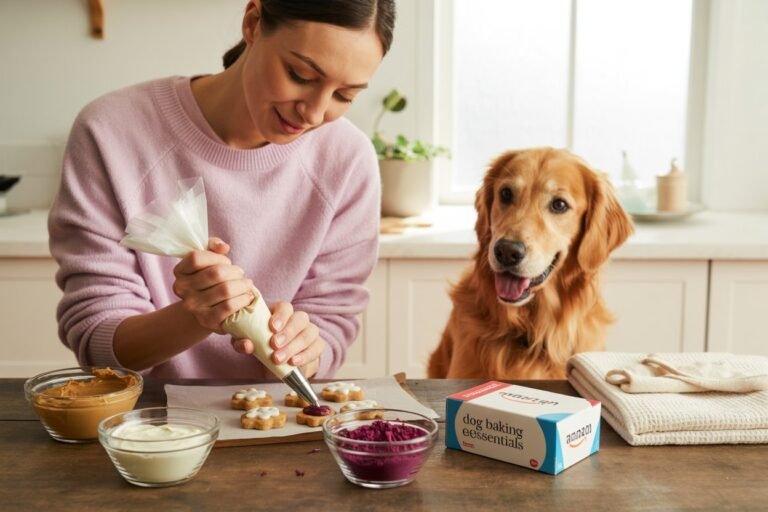
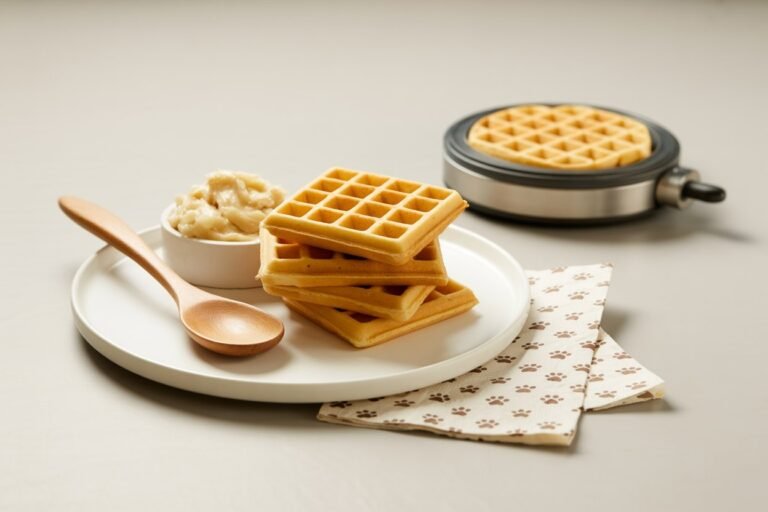
Now, imagine this: instead of telling your pup no, you hand them their own golden, fluffy waffle. That’s the idea behind this simple, wholesome recipe for Homemade Dog Waffles a warm breakfast made from ingredients you already have, safe for your dog, and full of natural flavor.
This recipe is one of those feel-good kitchen moments that reminds you cooking doesn’t need to be complicated it just needs to come from a place of care.
Why Make Dog Waffles at Home?
Store-bought treats might be convenient, but they’re not always made with your dog’s best health in mind. Many contain fillers, artificial flavors, or extra sodium that your dog’s digestive system doesn’t need. By making waffles at home, you know exactly what’s going into them and you can tweak ingredients to suit your dog’s preferences or sensitivities.
Homemade dog waffles are:
- Healthier: No preservatives or hidden sugars.
- Budget-friendly: Made with everyday pantry staples.
- Customizable: You can easily swap ingredients for allergies or tastes.
- Fun: A great weekend ritual that feels like a treat for both you and your dog.
And best of all, your home will smell like a cozy breakfast café something both you and your four-legged friend will appreciate.
Ingredients You’ll Need
Let’s start with the basics. These ingredients are gentle on digestion, full of natural flavor, and balanced enough to make your waffles both nutritious and delicious.
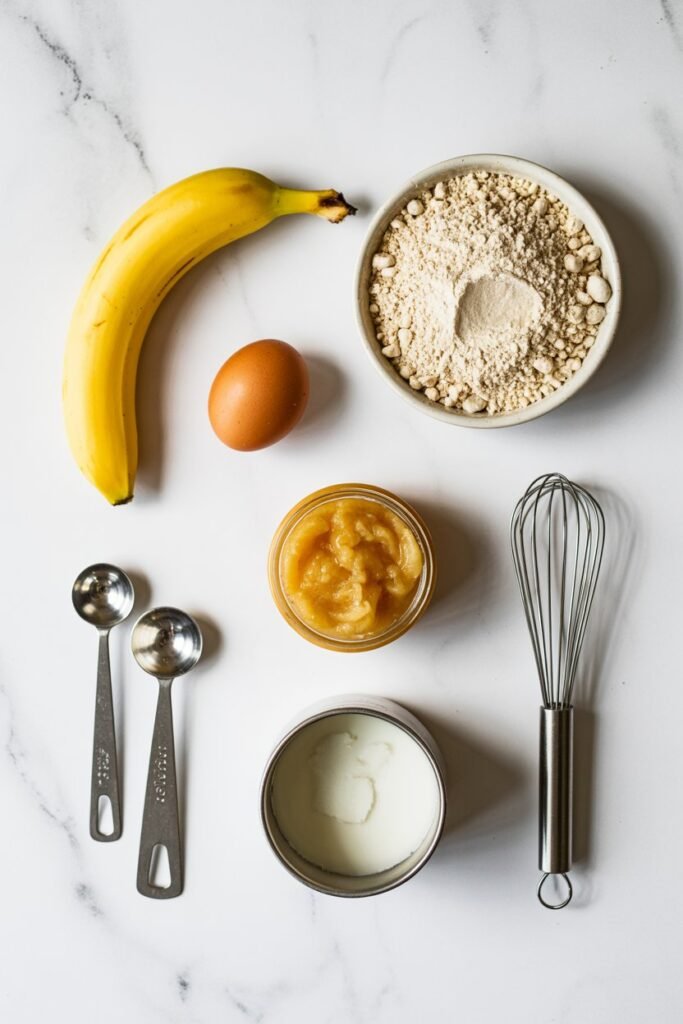
For the Waffle Batter:
- 1 ripe banana (mashed until smooth)
- 1 large egg
- 1 cup whole wheat flour (or oat flour for dogs with wheat sensitivity)
- ½ cup unsweetened applesauce
- ½ cup water or unsalted chicken broth
- 1 tablespoon melted coconut oil
- Optional: ¼ teaspoon cinnamon for a cozy aroma
Optional Add-Ins:
- 1 tablespoon natural peanut butter (unsalted and xylitol-free)
- A spoonful of mashed pumpkin for added fiber
- A few finely shredded carrots for texture
Each ingredient serves a purpose:
- Banana adds sweetness and potassium.
- Egg binds everything and provides protein.
- Whole wheat flour gives structure and fiber.
- Applesauce adds moisture and gentle sweetness.
- Coconut oil gives a beautiful golden finish and healthy fats.
Materials You’ll Need
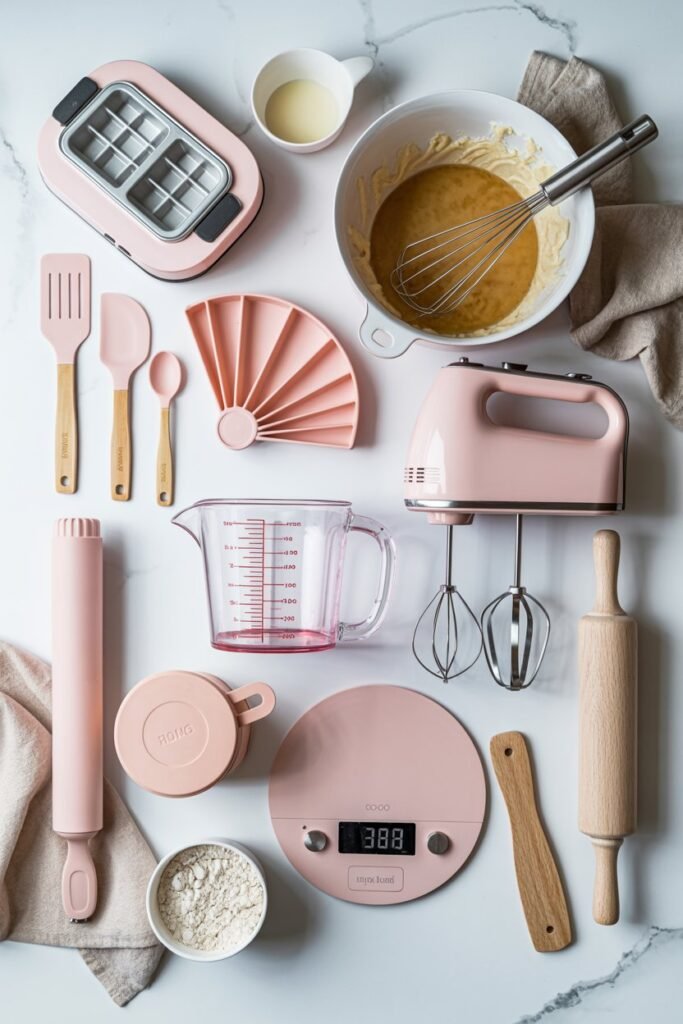
Before you start mixing, gather your tools it makes the process smoother and more enjoyable:
- 1 large mixing bowl
- 1 whisk or spoon
- 1 set of measuring cups and spoons
- 1 non-stick waffle maker or mini waffle iron
- 1 silicone brush or non-stick spray
- 1 cooling rack or clean plate for resting waffles
Pro Tip: “Mini waffle makers make adorable small portions that are perfect for dogs easy to cook, freeze, and portion out later.”
Step-by-Step Instructions
1. Mash and Mix the Base
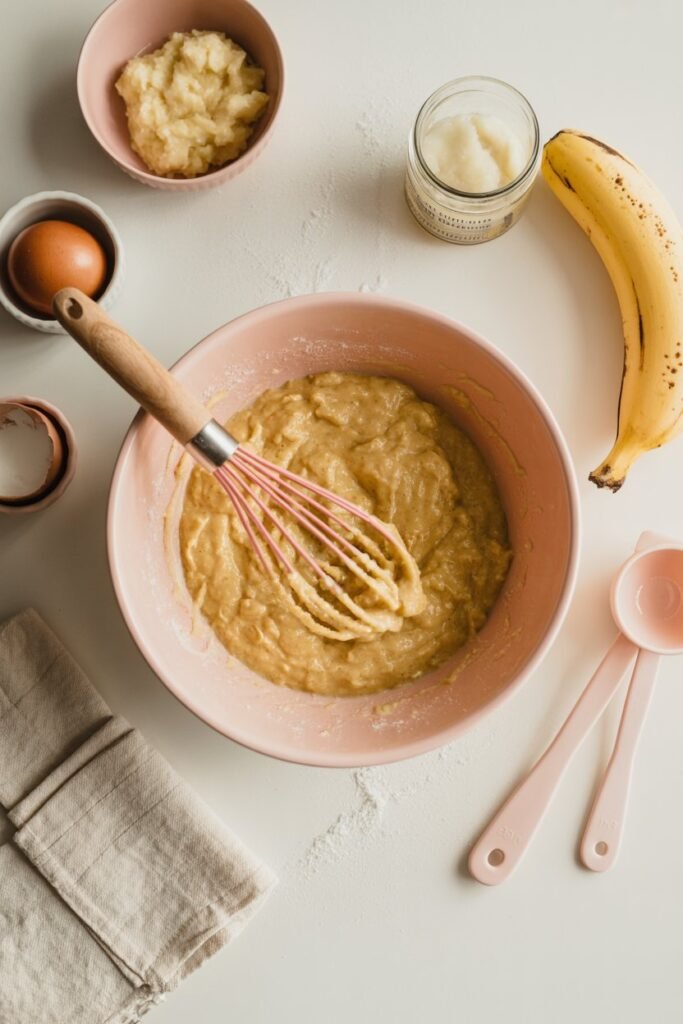
Start by peeling your ripe banana and placing it into your mixing bowl. Using a fork, mash it thoroughly until it becomes smooth and free of chunks. This will act as a natural sweetener and moisture base for your batter.
Crack in the egg, pour in the applesauce, and add the melted coconut oil. Whisk these together until you have a smooth, creamy blend. The mixture should smell lightly sweet and feel airy — that’s how you know it’s mixed just right.
Pro Tip: “If your banana isn’t ripe enough, microwave it for 10–15 seconds to soften it before mashing. It’ll bring out more flavor.”
2. Add the Dry Ingredients
Now it’s time to bring the mixture together. Slowly add the flour to your wet ingredients while stirring. You can also sprinkle in a little cinnamon if you’d like. Gradually pour in your water or broth to loosen the mixture into a batter consistency thick enough to pour but not runny.
Keep stirring until you have a smooth, uniform batter. It should have a light beige tone with a faint sheen from the coconut oil.
Pro Tip: “If you’re using oat flour, give your batter an extra minute to rest before cooking — oats absorb liquid more slowly than wheat flour.”
3. Preheat the Waffle Maker
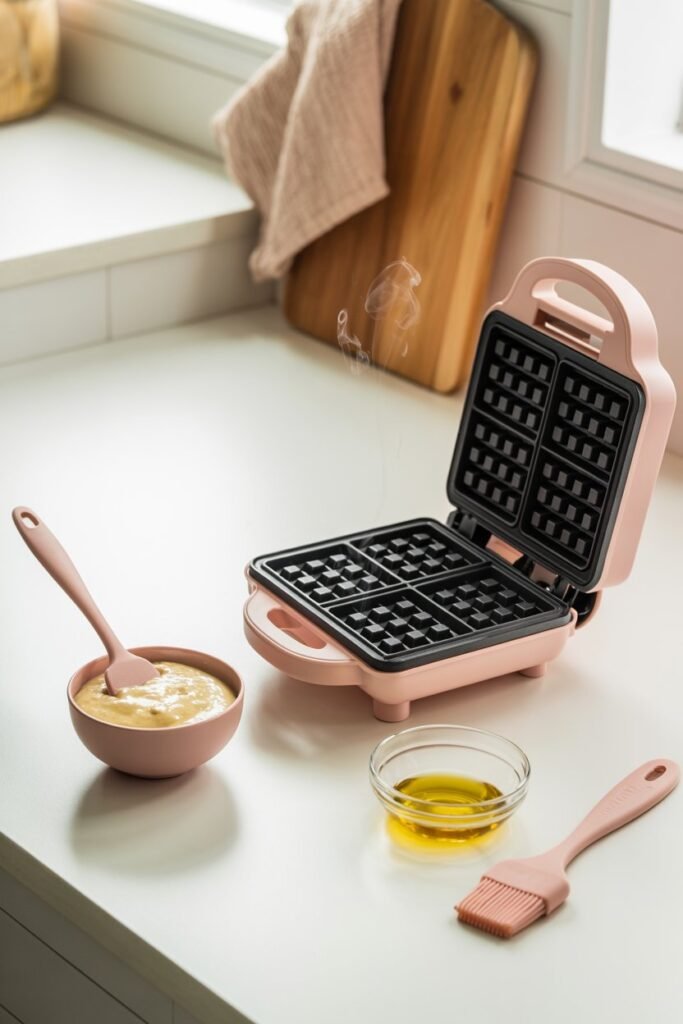
Turn on your waffle maker to medium heat. You don’t want it too hot — moderate heat ensures the waffles cook through evenly without burning.
Lightly grease the waffle plates using a silicone brush dipped in coconut oil or a gentle non-stick spray. This not only prevents sticking but also helps achieve that golden brown color dogs seem to love.
4. Pour and Cook the Waffles
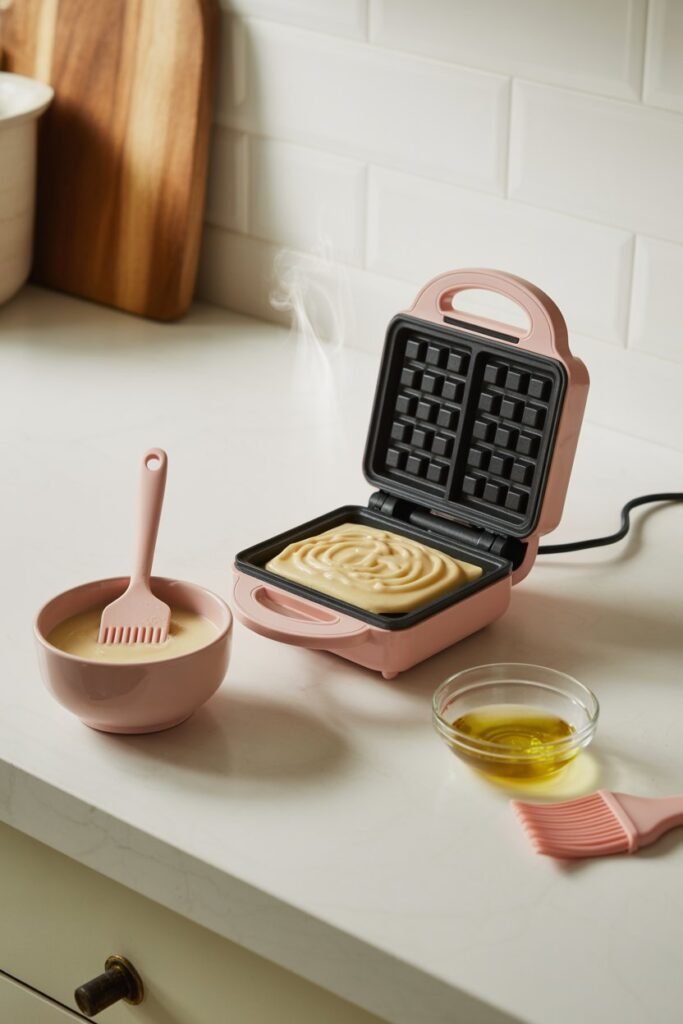
Once your waffle maker is preheated, pour a small amount of batter onto the center of the iron. Close the lid gently and let it cook for about 3 to 5 minutes. The timing might vary depending on your waffle maker, so keep an eye out for steam — once it slows down, the waffles are likely ready.
Lift the lid slowly to reveal light, fluffy, golden waffles. The surface should be crisp to the touch but soft inside. Use a fork or silicone spatula to remove them carefully and place them on a cooling rack.
Pro Tip: “Always let waffles cool fully before serving — dogs can’t handle heat the way we do, and it’ll also help them firm up slightly.”
5. Cooling and Serving
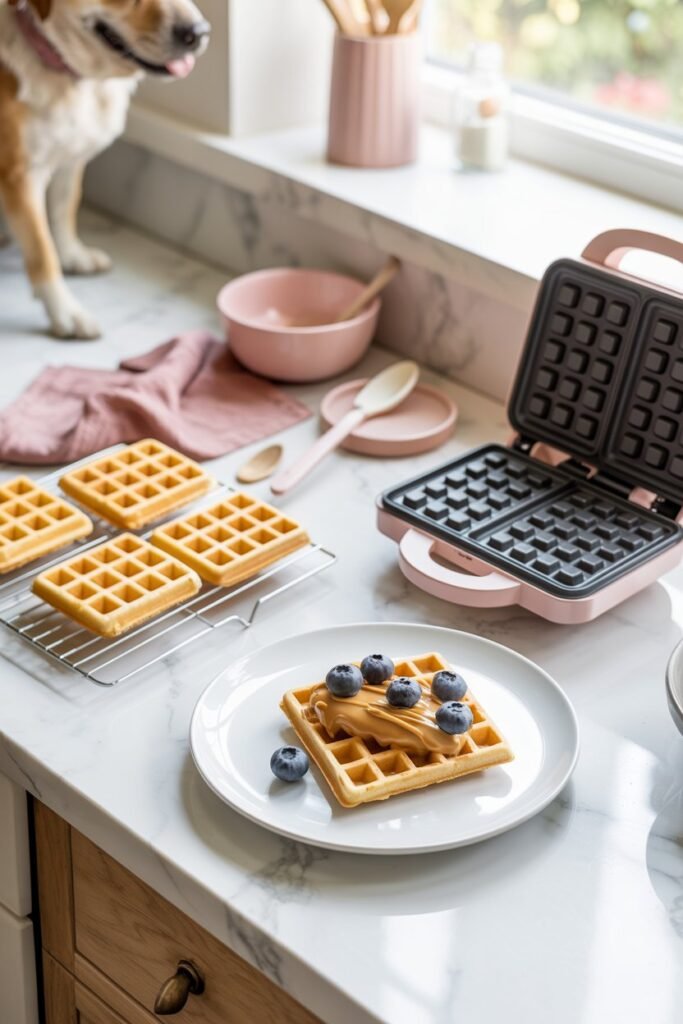
Once your waffles are cool to the touch, you can serve them as-is or dress them up with dog-safe toppings.
Try these fun combinations:
- A drizzle of natural peanut butter
- A spoonful of unsweetened Greek yogurt
- Fresh blueberries or banana slices
- A light sprinkle of ground flaxseed for fiber
For small dogs, break the waffles into bite-sized pieces. For bigger breeds, one full mini waffle makes a satisfying serving.
Pro Tip: “If you’re sharing breakfast with your dog, make a separate batch for yourself with a pinch of salt and a touch of maple syrup same base, different treat.”
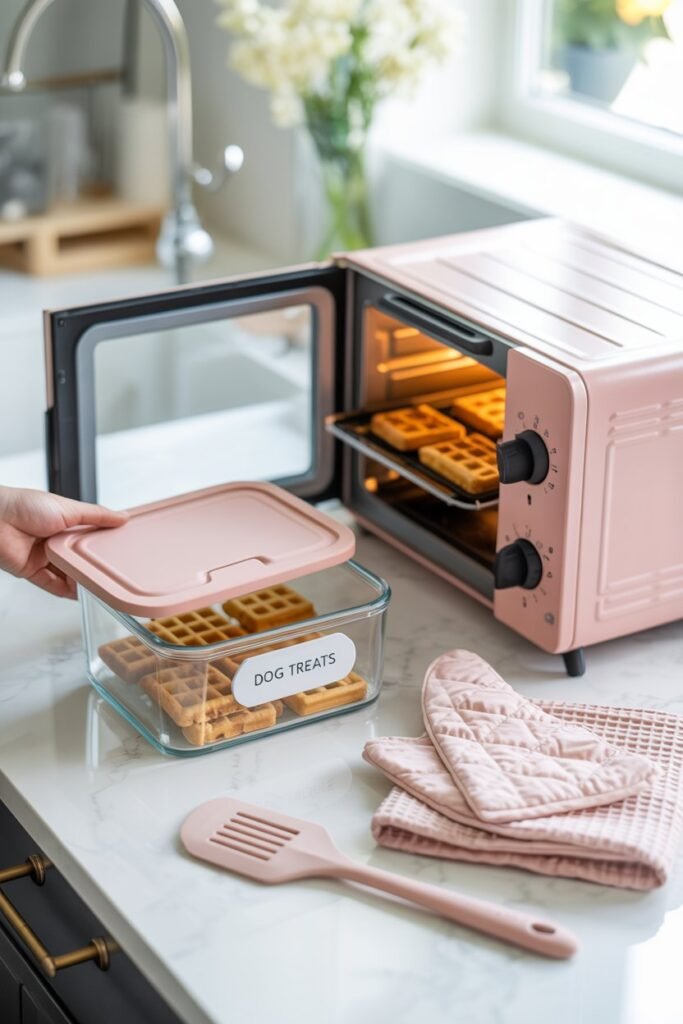
Storage and Reheating
Homemade waffles keep beautifully if stored properly.
Once cooled, place them in an airtight container and store in the refrigerator for up to four days.
If you’d like to make a larger batch, freeze the extra waffles. Stack them between pieces of parchment paper to prevent sticking, seal them in a freezer-safe bag, and store for up to two months.
To serve again, either pop one in the toaster for a quick reheat or let it thaw naturally at room temperature.
Pro Tip: “Frozen waffles make a great summer snack serve them chilled for a refreshing, teething-friendly treat.”
Nutritional Benefits
These waffles aren’t just tasty they’re packed with nutrients that support your dog’s energy, coat, and digestion.
Here’s a quick breakdown of what makes them a smart choice:
- Protein (from egg): Builds muscle and supports metabolism.
- Fiber (from flour and banana): Aids digestion and keeps things regular.
- Healthy fats (from coconut oil): Promote shiny coats and joint health.
- Natural sweetness (from banana and applesauce): Keeps sugar content safe without artificial additives.
For dogs on specific diets, you can easily tailor the recipe:
- Use gluten-free oat flour if your dog is wheat-sensitive.
- Substitute pumpkin purée for applesauce for extra fiber.
- Add a tablespoon of plain Greek yogurt for a protein boost.
Variations to Try
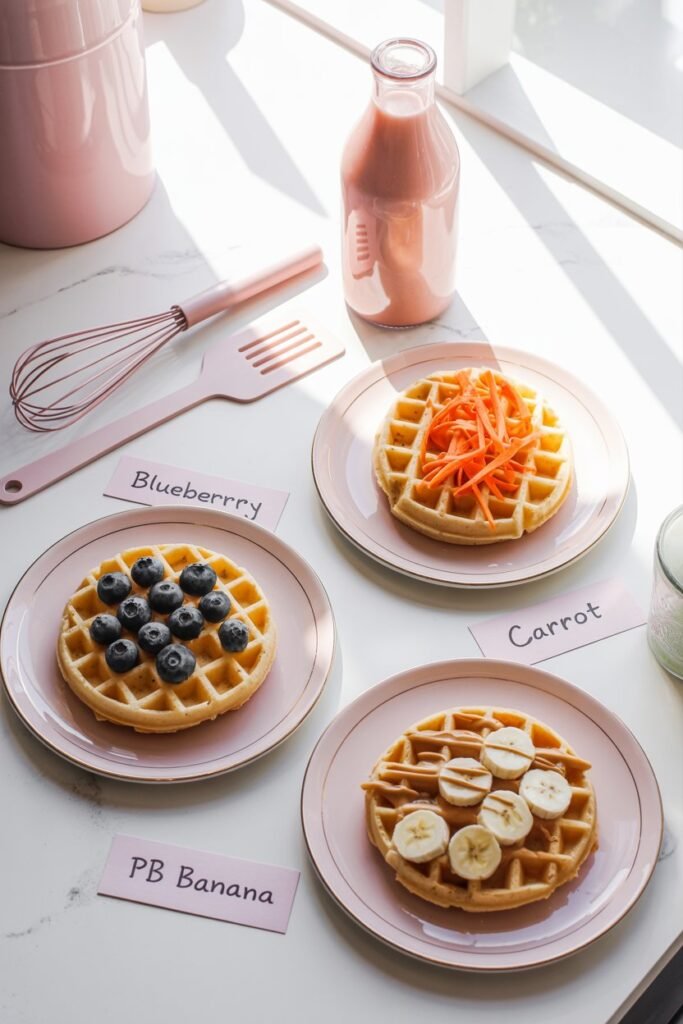
Once you’ve mastered the basic recipe, have a little fun experimenting.
Here are a few tried-and-true variations:
1. Savory Cheese Waffles
Add 2 tablespoons of shredded low-fat cheese and 1 tablespoon of finely chopped parsley. The smell alone will have your dog spinning in circles.
2. Peanut Butter Banana Waffles
Stir in 1 tablespoon of peanut butter and reduce the applesauce slightly. These come out extra soft and fragrant.
3. Pumpkin Oat Waffles
Use oat flour and ¼ cup pumpkin purée. This version is great for digestion and has a beautiful orange tint.
4. Blueberry Bliss Waffles
Fold a few mashed blueberries into the batter for a pop of color and antioxidants.
Pro Tip: “When adding new ingredients, always introduce them slowly to make sure your dog’s tummy agrees.”
Tools and Tips for the Perfect Waffles
- Mini Waffle Maker: The perfect size for portion control.
- Silicone Brush: For lightly greasing surfaces without extra oil.
- Cooling Rack: Prevents sogginess by letting air circulate underneath.
- Freezer Bags + Parchment Paper: Essential for long-term storage.
- Measuring Tools: Accuracy keeps texture consistent across batches.
Pro Tip: “Batch-cook waffles once a week and store them frozen — it’s a great way to have a healthy, ready-to-go snack for your dog anytime.”
Common Mistakes to Avoid
Even simple recipes can have pitfalls. Here are a few to watch out for:
- Overmixing the batter: This can make waffles tough. Stir just until combined.
- Too much liquid: Batter should be thick enough to pour slowly, not runny.
- Cooking on high heat: Medium is key otherwise, the outside burns before the inside cooks.
- Serving hot: Always cool before serving to avoid burns.
Pro Tip: “If you accidentally overcook them, crumble the waffles and use them as crunchy toppers for your dog’s regular meals.”
When to Serve Dog Waffles
Dog waffles make a great:
- Weekend breakfast treat
- Reward for good behavior
- Birthday or gotcha day breakfast
- Post-grooming snack
- Homemade gift for fellow dog parents (they freeze well for gifting!)
If your dog loves routine, making waffles on Saturday mornings can become a comforting ritual one your dog will definitely remind you about each week.
Final Thoughts
Homemade dog waffles are proof that treats can be healthy, simple, and heartwarming all at once. They’re made from real ingredients you trust, easy to whip up in under 30 minutes, and versatile enough for any occasion.
From the first whisk of banana and flour to that golden steam rising off the waffle iron, it’s the kind of recipe that brings you and your dog closer one warm, crispy bite at a time.
And the best part? You’ll never have to say no to those breakfast begging eyes again.