
If you’ve ever watched your dog curl up under a table, behind a chair, or in a tiny corner of the house, you already know something about dogs they love having their own little den. It’s part of their instinct to find a safe, cozy space that’s all theirs. That’s what makes building a DIY dog house such a fun and meaningful project.
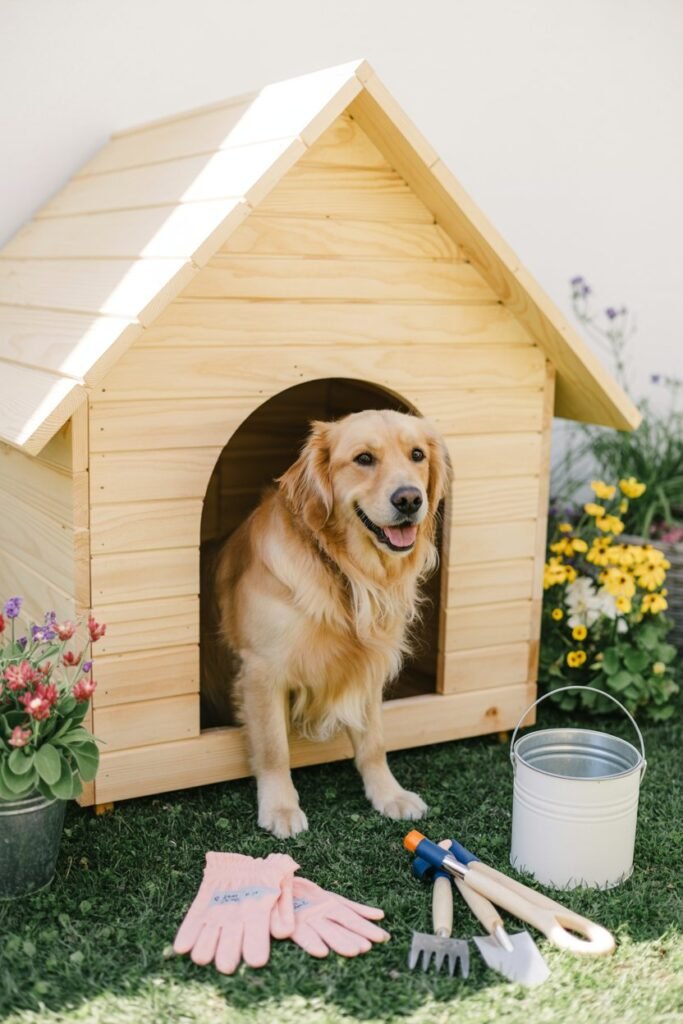
When I decided to build one for my own pup, Bella, I wasn’t trying to be an expert carpenter I just wanted her to have a comfy place to relax in the yard while I gardened or worked outside. The process turned out to be surprisingly easy and deeply satisfying, and it’s something any pet owner can do with a bit of time, patience, and love.
Whether you’re making a small indoor shelter for a toy breed or a weatherproof outdoor home for a bigger dog, this guide will walk you through everything from planning and materials to finishing touches.
Materials and Tools You’ll Need
Let’s start with the basics. Having everything ready before you begin will make the process smoother and more enjoyable.
Materials:

- Exterior-grade plywood (½” to ¾” thick): for the walls, floor, and roof.
- 2×4 or 2×2 lumber: for framing the structure.
- Wood screws or galvanized nails: rust-resistant for outdoor use.
- Wood glue: to reinforce joints.
- Non-toxic waterproof sealant or exterior paint: keeps moisture out.
- Roofing material: asphalt shingles, corrugated plastic, or waterproof felt.
- Hinges: for a lift-up roof that makes cleaning easier.
- Insulation panels (optional): if you live in a colder region.
- Vinyl or rubber door flap (optional): for weather protection.
- Sandpaper (medium and fine grit).
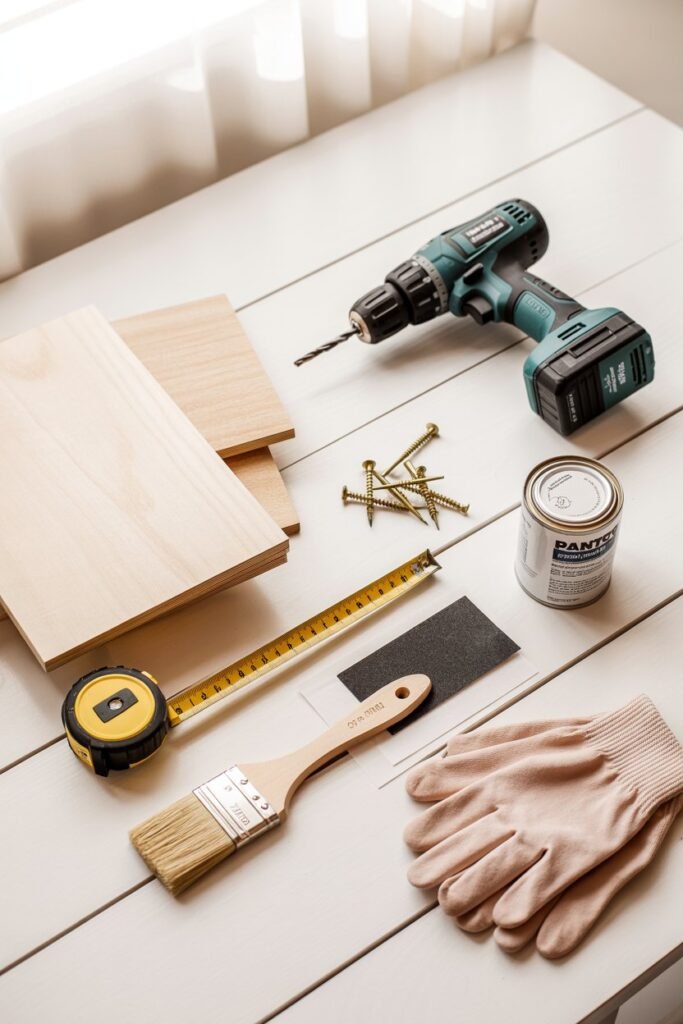
Tools:
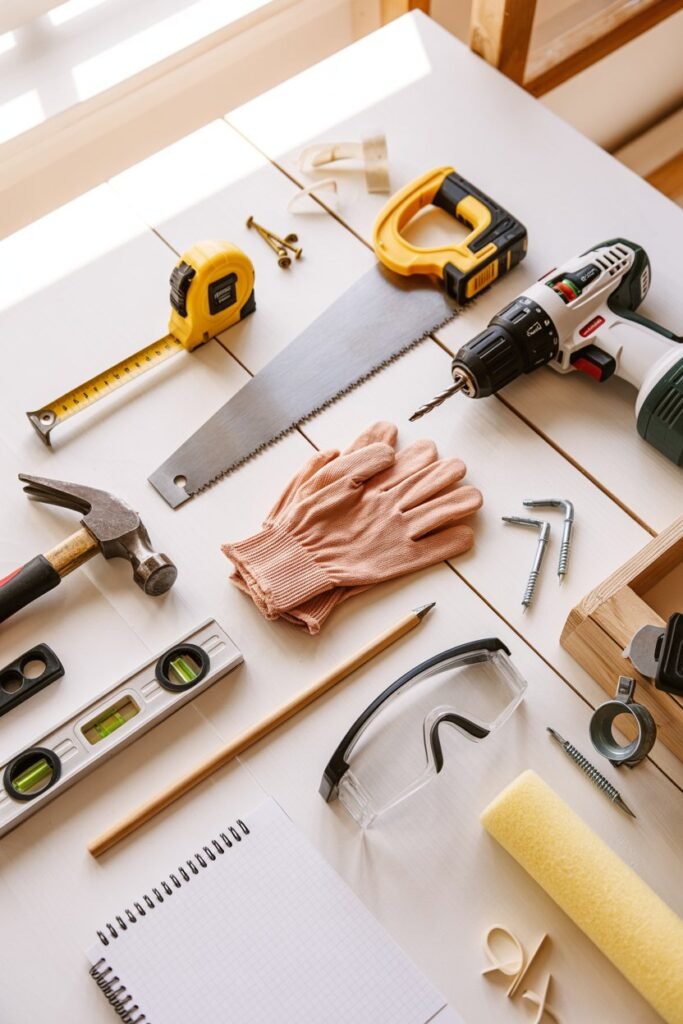
- Measuring tape
- Circular saw or hand saw
- Power drill
- Level
- Hammer
- Clamps (optional but helpful)
- Paintbrush or roller
- Pencil and safety gear (gloves, goggles)
Step 1: Measure Your Dog and Plan the Right Size
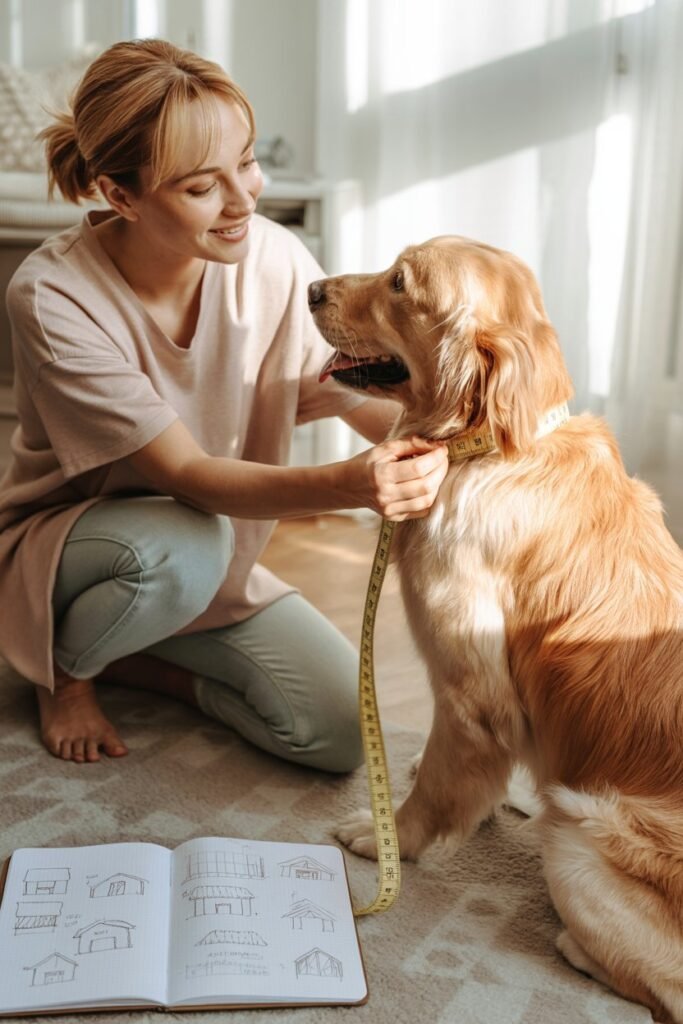
Before you grab a saw or nail, take a few minutes to measure your dog. This ensures the house will be comfortable and appropriately sized not too cramped, but also not too large (because a smaller space retains heat better).
Here’s how to measure:
- Length: Nose to base of tail.
- Height: Floor to top of head (or ears, if they’re upright).
- Width: Shoulder to shoulder.
Then, calculate your dog house dimensions:
- Height: Dog’s height + 9 to 12 inches.
- Length: Dog’s length + 12 inches.
- Width: Dog’s length divided by 1.5.
- Door height: About 80–85% of your dog’s height (so they can easily duck in).
Draw a quick sketch or use free dog house plans online as a reference. It doesn’t have to be fancy even a simple box-style design works great.
Pro tip: Add a small porch or overhang to help keep rain out and create shade on sunny days.
Step 2: Build the Base

The base is the foundation of your dog house it needs to be sturdy and slightly elevated to keep your pup dry.
- Cut your lumber to size based on your planned dimensions. For a medium dog, a base around 36 x 24 inches is usually good.
- Assemble a rectangular frame using 2x4s, and secure the corners with wood screws.
- Attach a piece of plywood on top for the floor.
- Raise the base 2–4 inches off the ground using short blocks or bricks at each corner.
This small elevation prevents water from seeping in during rain and keeps the floor warmer.
When I built Bella’s, I even added a thin layer of foam insulation under the floor panel totally worth it if you live somewhere with chilly nights.
Step 3: Construct the Walls

This is where your project starts to look like a real dog house!
- Cut out your side panels, front, and back walls from plywood.
- Mark and cut the door opening on the front panel (round off the top edges it looks nicer and prevents splinters).
- Use 2×2 supports inside the corners for extra strength.
- Attach the side walls to the base using screws.
- Add the back wall next, making sure all edges align evenly.
- Finally, attach the front wall with the door opening.
Tip: Double-check that your structure is square and level before tightening everything this keeps the roof from fitting unevenly later.
If you’re feeling creative, you can even cut a small window for ventilation or decoration.
Step 4: Build and Install the Roof
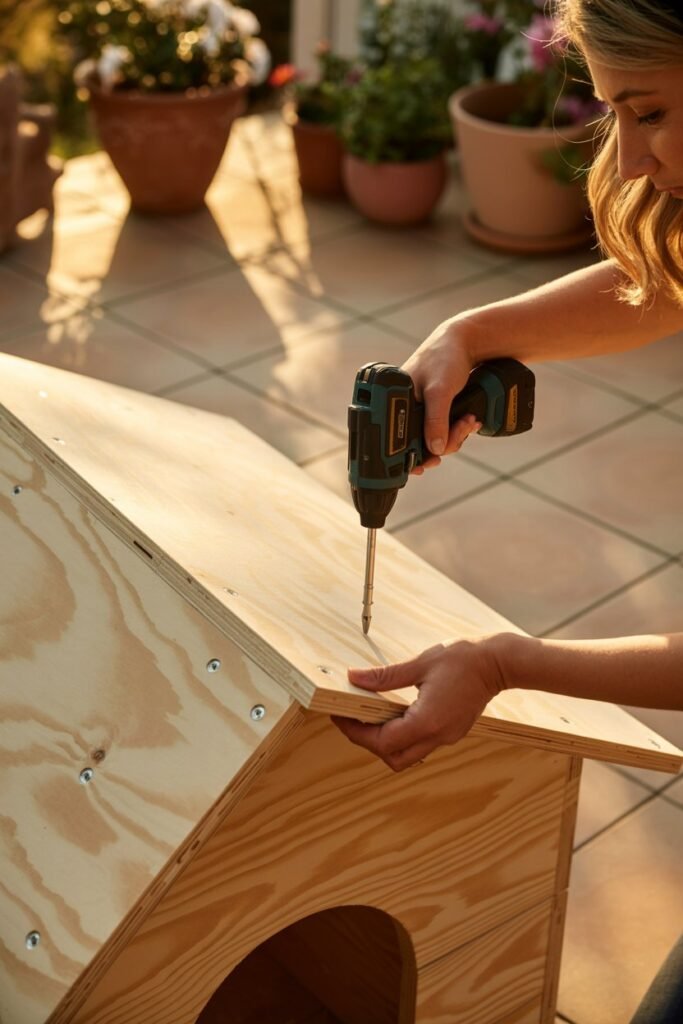
The roof is more than decoration it’s your dog’s first line of defense against sun, rain, and wind. You have two main design options:
Option 1: Flat Roof (Simple & Modern)

- Cut a single large piece of plywood that extends 2–3 inches past all sides of the house.
- Use hinges at the back so you can lift it for easy cleaning.
- Add a handle on top for convenience.
Option 2: A-Frame Roof (Classic Look)
- Cut two identical panels shaped like rectangles with an angled edge.
- Join them together at the top using hinges or a ridge beam.
- Secure them to the side walls.
- Add waterproof roofing (shingles or corrugated sheet) to protect from rain.
I went with an A-frame for Bella’s because it looked cute and matched my garden shed. Plus, it helps rainwater drain off easily.
Step 5: Sand, Paint, and Seal the Wood

This is the fun part turning plain wood into a cozy, beautiful home.
- Use medium-grit sandpaper to smooth all rough edges and corners.
- Follow up with fine-grit sandpaper for a polished feel.
- Apply one coat of primer (optional) and two coats of non-toxic exterior paint or sealant.
- Let it dry for at least 24 hours before use.
Choose colors that match your backyard or home soft neutrals like beige, gray, or natural wood stains look great.
Avoid dark colors if you live in a sunny area they absorb too much heat.
Don’t forget to seal the edges and joints those are the first spots where moisture can sneak in.
Step 6: Add Insulation (Optional but Recommended)
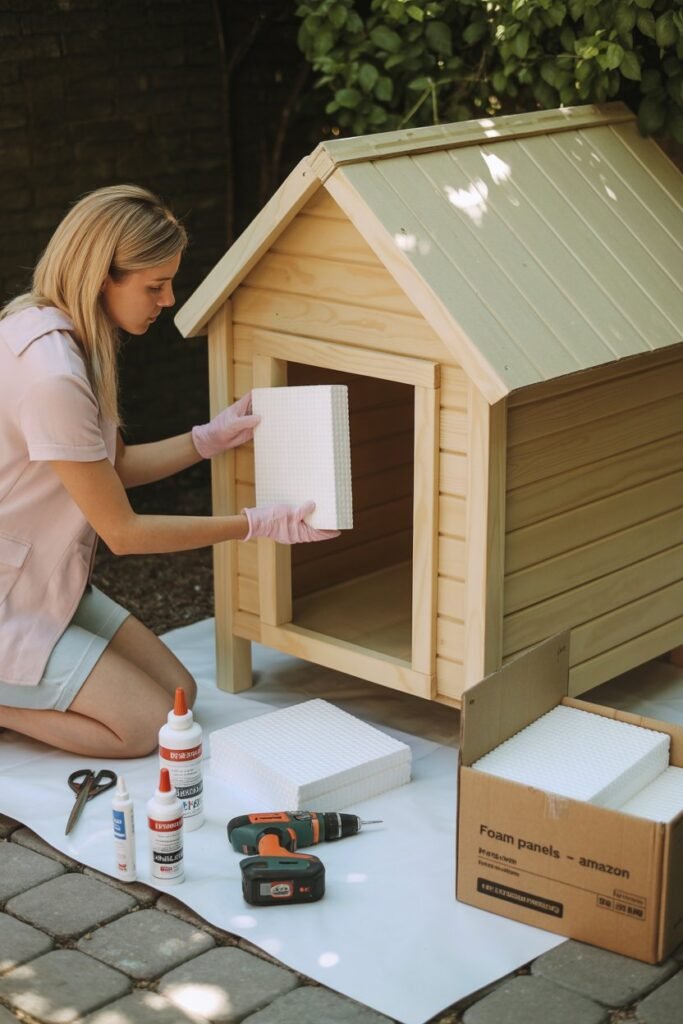
If your dog will be using their house outdoors year-round, insulation is a must. It keeps the space warm in winter and cool in summer.
Here’s how to do it:
- Before sealing the interior, attach foam boards or reflective insulation to the inside of the walls.
- Cover the insulation with thin plywood panels for a clean finish.
- For the roof, add insulation under the top panels before installing shingles.
- Don’t forget the floor you can place a removable foam mat underneath the bedding.
Even with insulation, make sure to include vent holes near the roofline for airflow. Dogs need ventilation to stay healthy and prevent odor buildup.
Step 7: Make It Cozy Inside
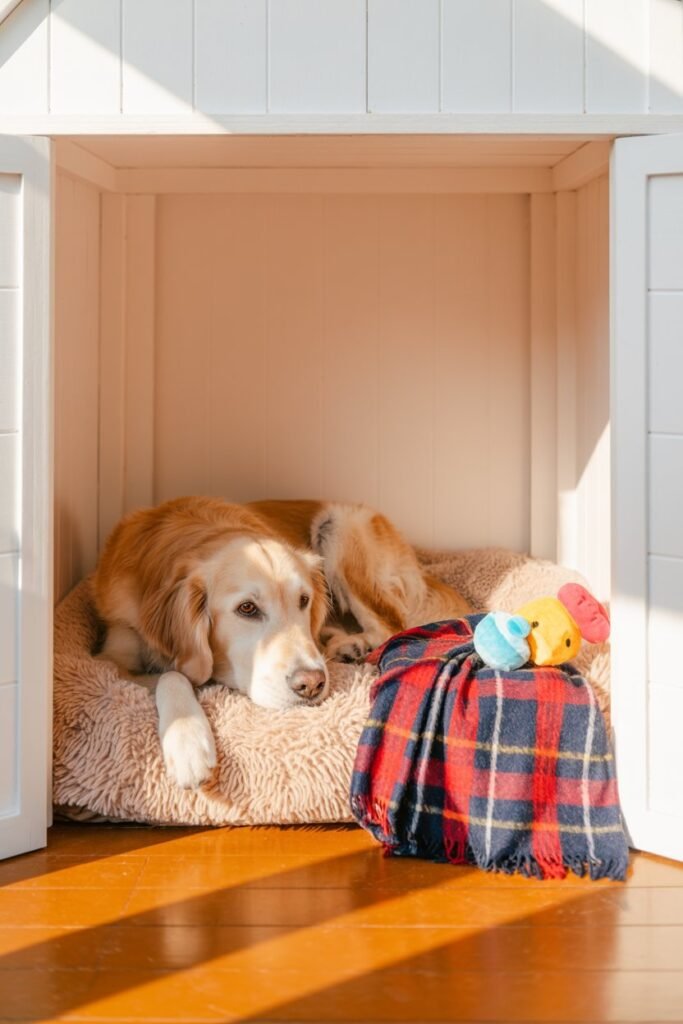
Now that the structure is complete, it’s time to make it homey.
- Add a soft bed or blanket inside something washable and weather-resistant.
- If you’re expecting rain, attach a vinyl door flap to keep water out while still allowing your dog to come and go freely.
- Throw in a favorite toy or chew bone to make it familiar.
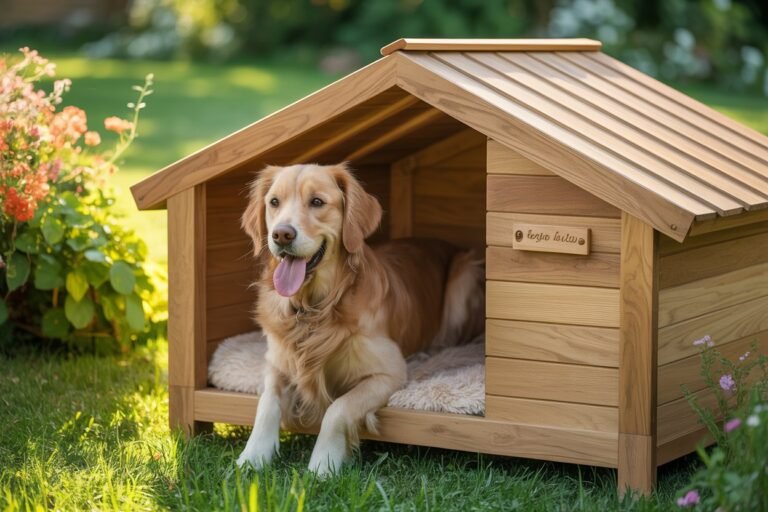
- You can even add a nameplate on the front a little “Bella’s House” or “Rex’s Den” touch adds personality!
I noticed Bella started using hers immediately once I placed her favorite blanket inside dogs love having something that smells like them.
Step 8: Maintenance and Care
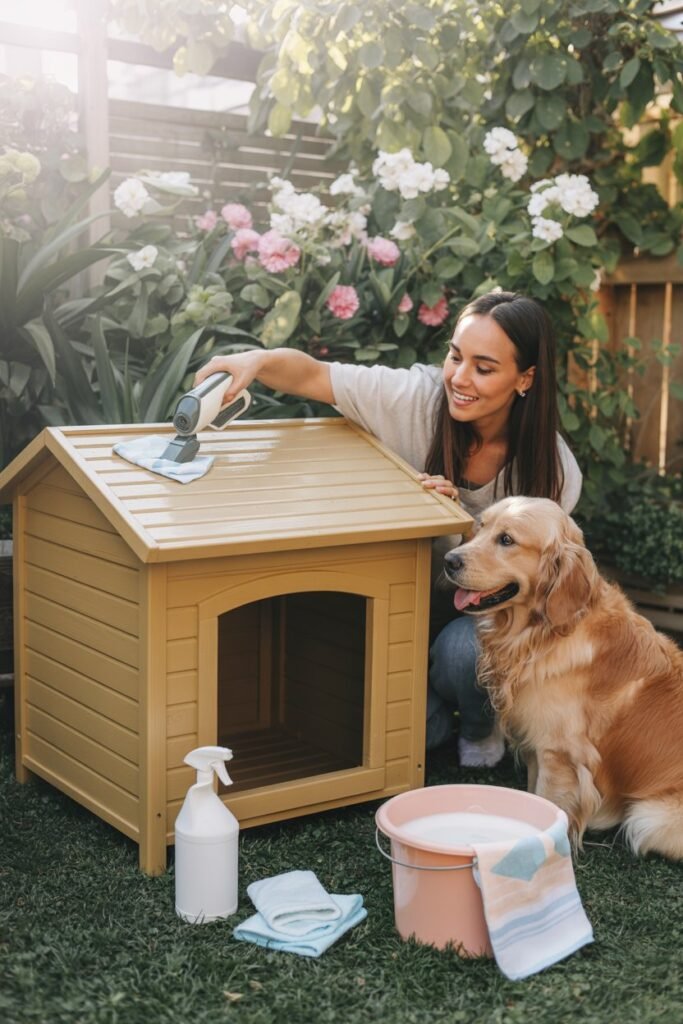
Building it is just the start maintaining your dog house ensures it lasts for years.
- Clean monthly: Lift the roof and vacuum or wipe out debris.
- Check for loose nails or screws to prevent injury.
- Repaint or reseal yearly to keep the wood protected from weather.
- Wash bedding regularly to avoid fleas and odor.
Pro tip: In summer, place the house in a shaded area and lift it slightly higher for airflow. In winter, move it to a spot protected from the wind.
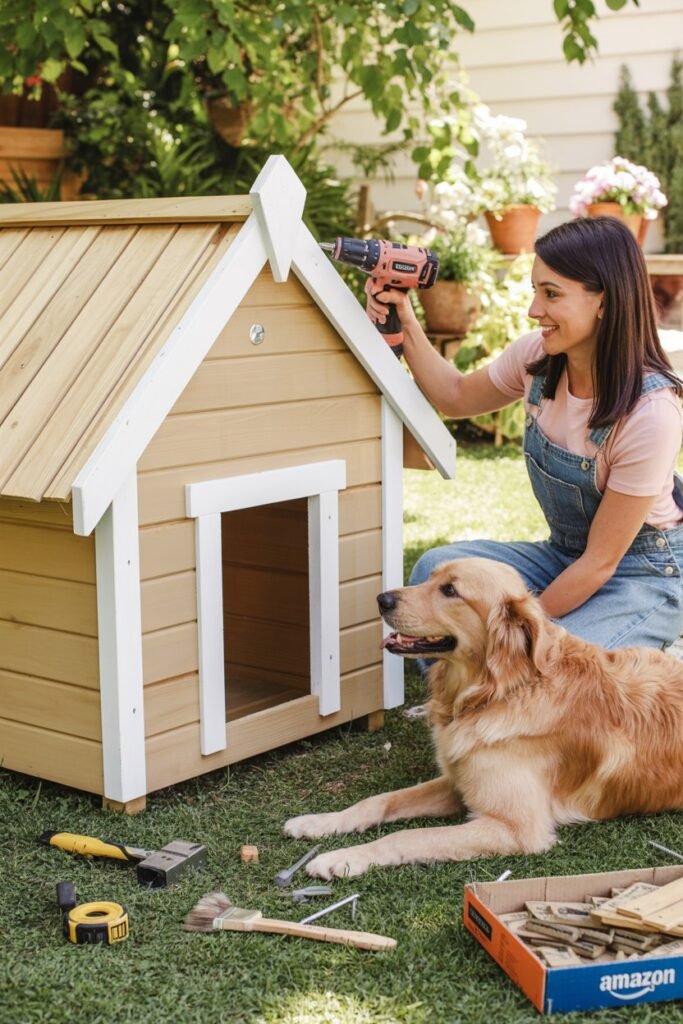
Why Build Your Own Dog House?
There’s something truly special about creating something for your dog with your own two hands.
Sure, you can buy one online but when you build your own dog house, it becomes more than just shelter. It’s a reflection of your bond, your creativity, and your care. You can adjust the size perfectly, choose safe materials, and design it to match your space.
Plus, it’s a satisfying weekend project that leaves you feeling proud and your pup absolutely delighted.
Bella still naps in hers every afternoon. Sometimes I catch her peeking out like she’s guarding the backyard it’s her little kingdom.
Final Thoughts
Building a DIY dog house might sound like a big job, but with the right plan and attitude, it’s actually pretty simple and a lot of fun. It’s a project filled with love, sawdust, and tail wags.
Here’s a quick recap before you get started:
- Measure your dog for the right fit.
- Build a strong, elevated base.
- Assemble sturdy walls with a comfy entrance.
- Choose a roof style that suits your climate.
- Sand, seal, and decorate safely.
- Add cozy touches that make it their space.
Whether it’s a rustic wooden cabin, a colorful cottage, or a sleek modern home, your dog will adore their new retreat because it’s made just for them, by you.
So grab your tools, play some good music, and make this your next weekend project. Trust me, when your dog curls up in their new home for the first time, tail wagging with contentment, you’ll know it was totally worth it.