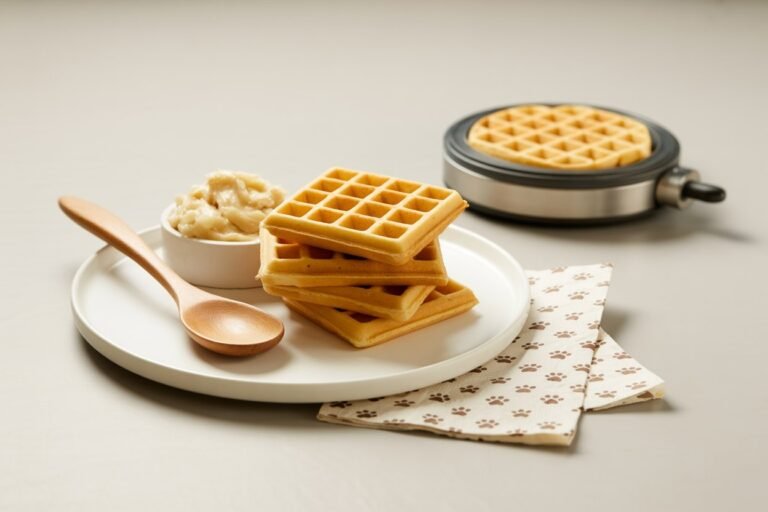

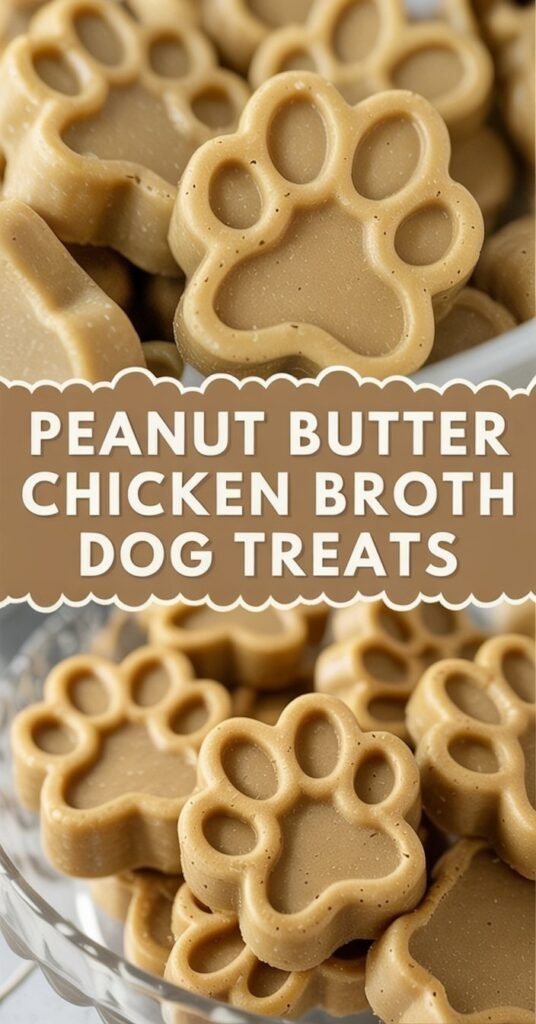
When it comes to homemade dog treats, few combinations bring tails wagging faster than peanut butter and chicken broth. This simple yet flavorful recipe transforms everyday pantry staples into wholesome, protein-packed biscuits your pup will absolutely adore.
These treats smell incredible while baking, and their crunchy texture makes them perfect for training rewards or everyday snacking. Best of all, they’re free from preservatives, artificial colors, or added sugars—just real ingredients made with love in your own kitchen.
Let’s walk through exactly how to make these crunchy, nutritious Peanut Butter Chicken Broth Dog Treats, with tips, variations, and storage advice to help you get the perfect batch every time.
Why Your Dog Will Love These Treats
Dogs crave both flavor and texture, and this recipe delivers on both fronts. The savory chicken broth gives the biscuits an irresistible aroma, while the creamy peanut butter adds richness and healthy fats that keep dogs satisfied.
Here’s why this recipe stands out:
- Protein-Packed: Chicken broth and peanut butter combine to deliver a balanced dose of protein for muscle strength.
- Flavorful & Scented: Dogs are drawn to the natural aroma of peanut butter and broth—it’s like comfort food for them.
- Wholesome Ingredients: Made with just a few clean, dog-safe ingredients you probably already have at home.
- Perfect Crunch: These treats bake into golden, crispy biscuits that store well and make rewarding your pup even easier.
- Customizable: You can adjust texture, shape, or even add extras like parsley or oats for variety.
Pro Tip: “Use low-sodium chicken broth to keep sodium levels safe for your dog’s diet while still getting that rich savory taste.”
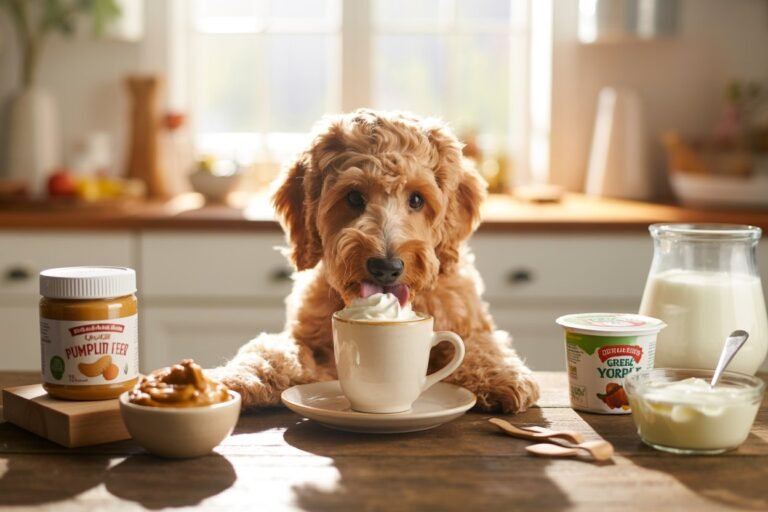
Ingredients You’ll Need
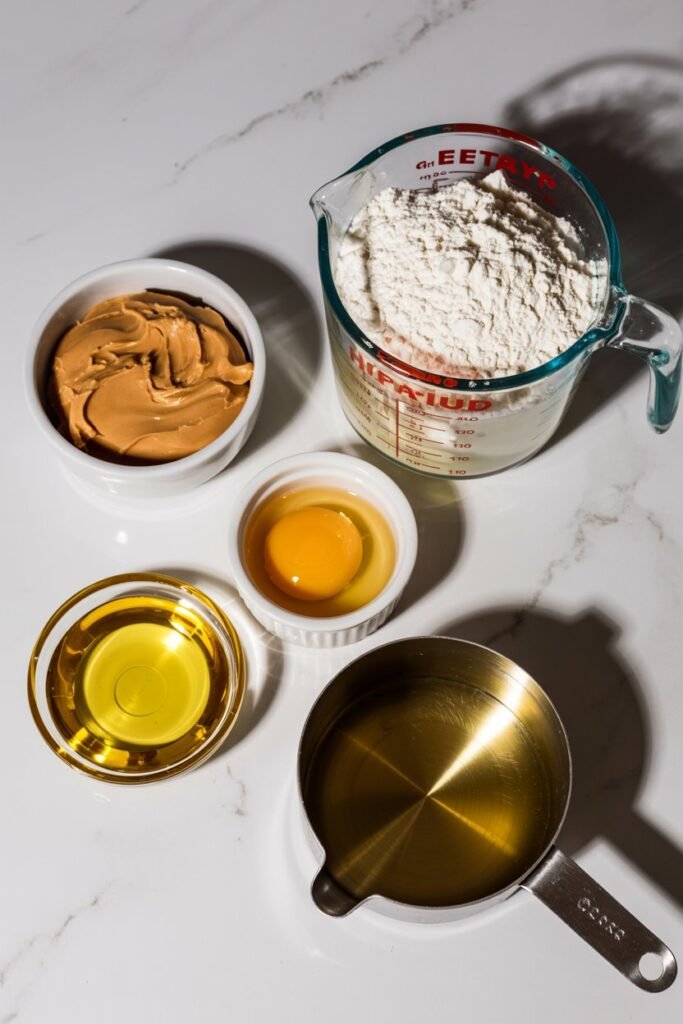
Every ingredient in this recipe serves a purpose—either for flavor, nutrition, or texture. Keeping the ingredient list simple ensures your dog’s treats are both safe and satisfying.
Core Ingredients:
- 1 cup whole wheat flour (or oat flour for gluten-free)
- ½ cup natural peanut butter (unsalted and unsweetened—avoid xylitol)
- ¼ cup chicken broth (low-sodium, homemade or store-bought)
- 1 egg (adds structure and protein)
- 1 tablespoon olive oil (optional, for extra moisture and shine)
These five ingredients create a dough that’s easy to roll, cut, and bake without being sticky or overly dry.
Pro Tip: “If your dough feels crumbly, add a teaspoon of broth at a time until it comes together smoothly.”
Step-by-Step Instructions
Follow these simple steps for foolproof treats every time.
Step 1: Mix the Wet Ingredients
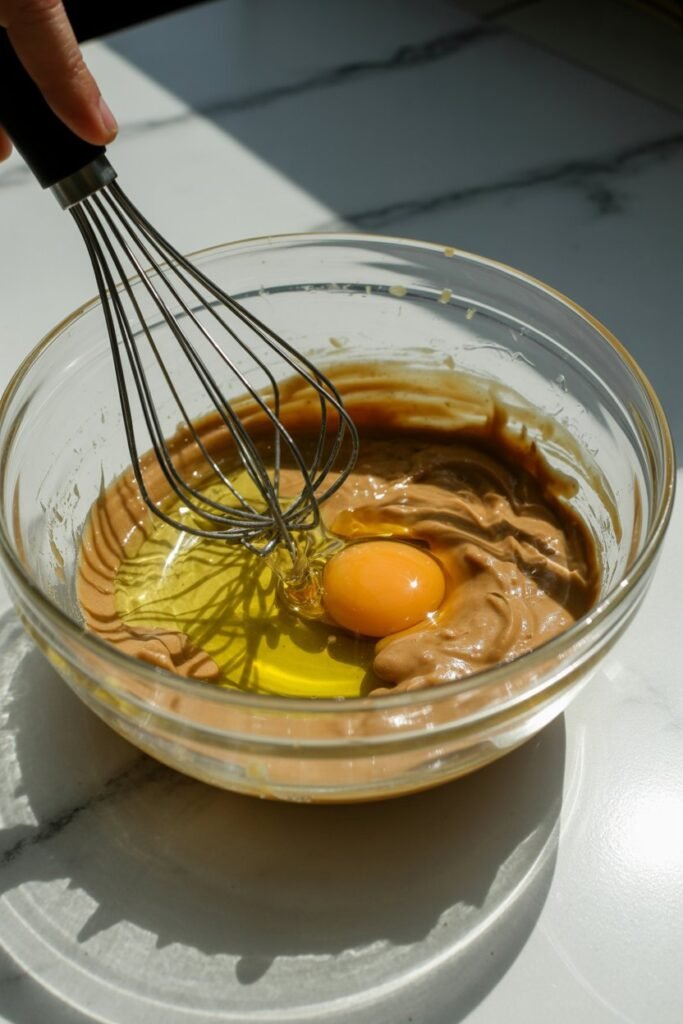
In a medium bowl, combine the peanut butter, egg, and olive oil. Whisk or stir until fully blended. The peanut butter should loosen up as it combines with the egg, creating a smooth, thick base.
Pro Tip: “Use a fork or silicone spatula to break down thick peanut butter easily—this prevents lumps in your dough.”
Step 2: Add the Dry Ingredients
Slowly add the flour and stir until the dough starts to come together. Then pour in the chicken broth gradually, mixing until the dough forms a soft ball. It should be firm enough to roll out but not sticky.
If it’s too dry, add another tablespoon of broth. If it’s too wet, sprinkle in a little more flour.
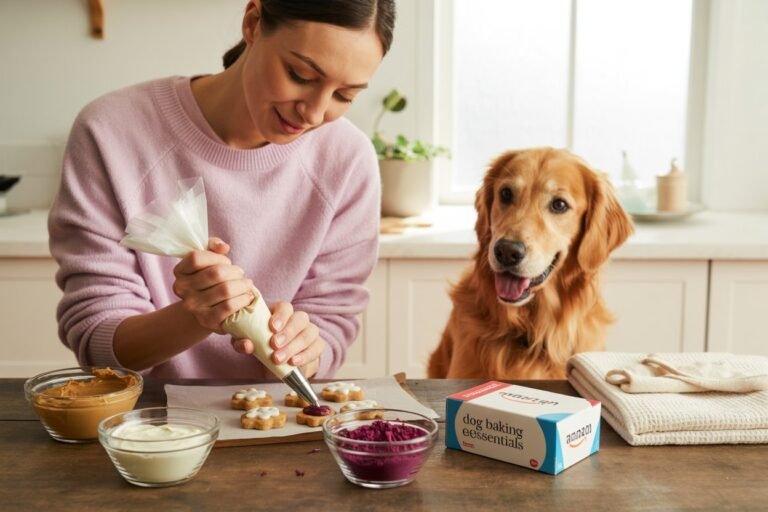
Step 3: Roll and Cut
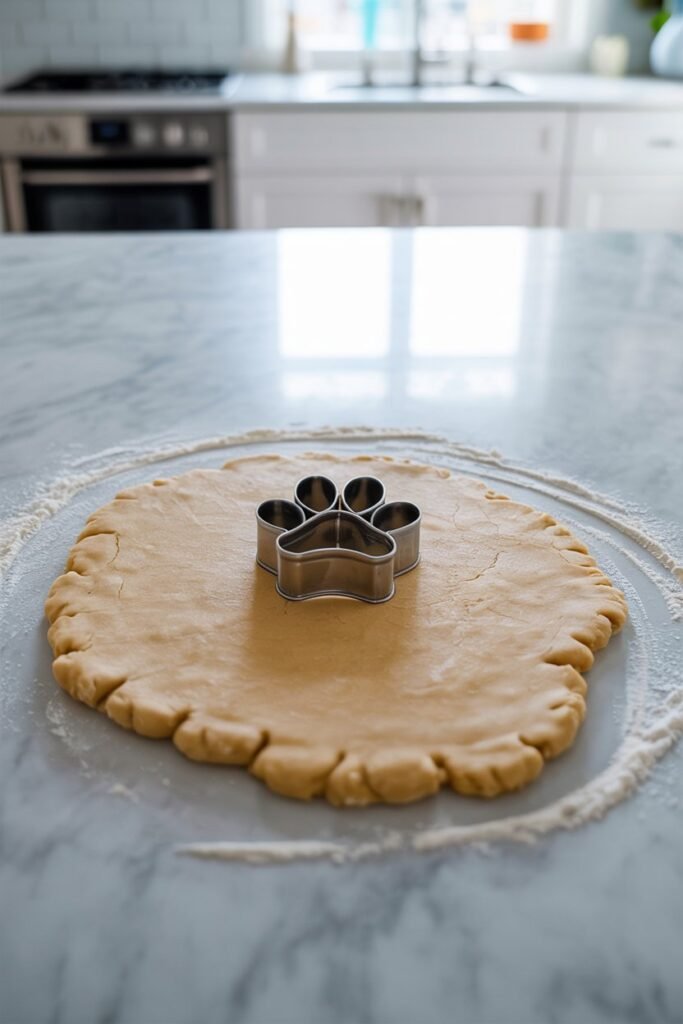
Lightly flour your countertop, then roll out the dough to about ¼ inch thick. Use a cookie cutter—paw, bone, or circle shapes work perfectly. Gather leftover dough, roll again, and repeat until all dough is used.
Pro Tip: “Dip your cookie cutter in flour before each cut to prevent sticking and get cleaner edges.”
Step 4: Bake
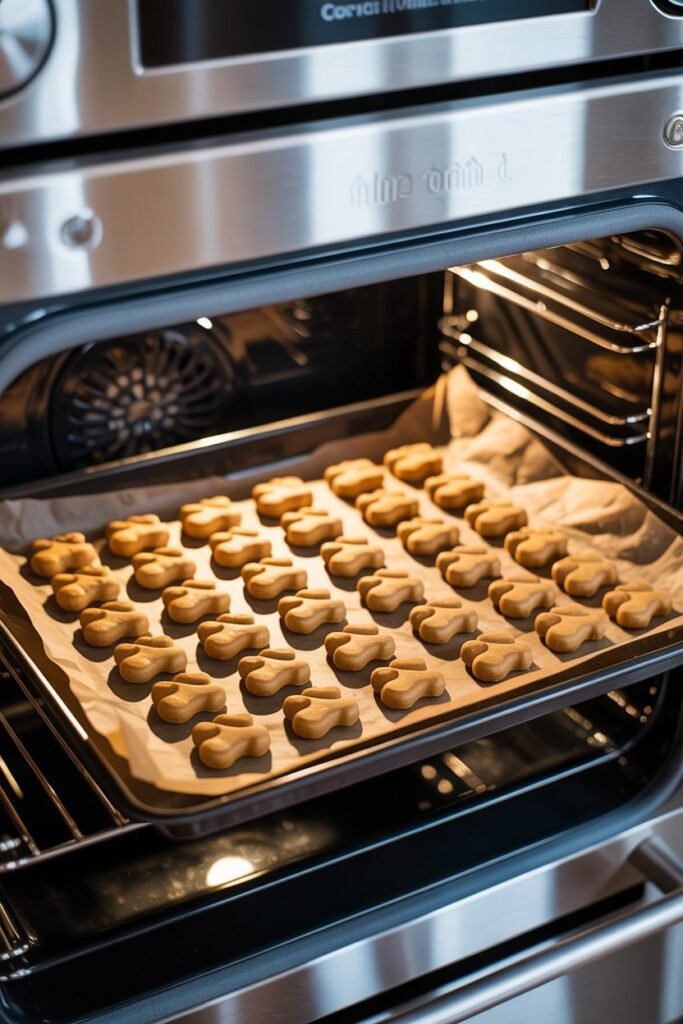
Preheat your oven to 350°F (175°C). Line a baking tray with parchment paper and place your shaped treats about 1 inch apart.
Bake for 18–22 minutes, or until golden brown. For crunchier treats, turn off the oven and let them sit inside for an additional 10 minutes as it cools.
Step 5: Cool and Store
Transfer the baked treats to a cooling rack and let them cool completely before serving or storing. This helps them firm up and stay crunchy longer.
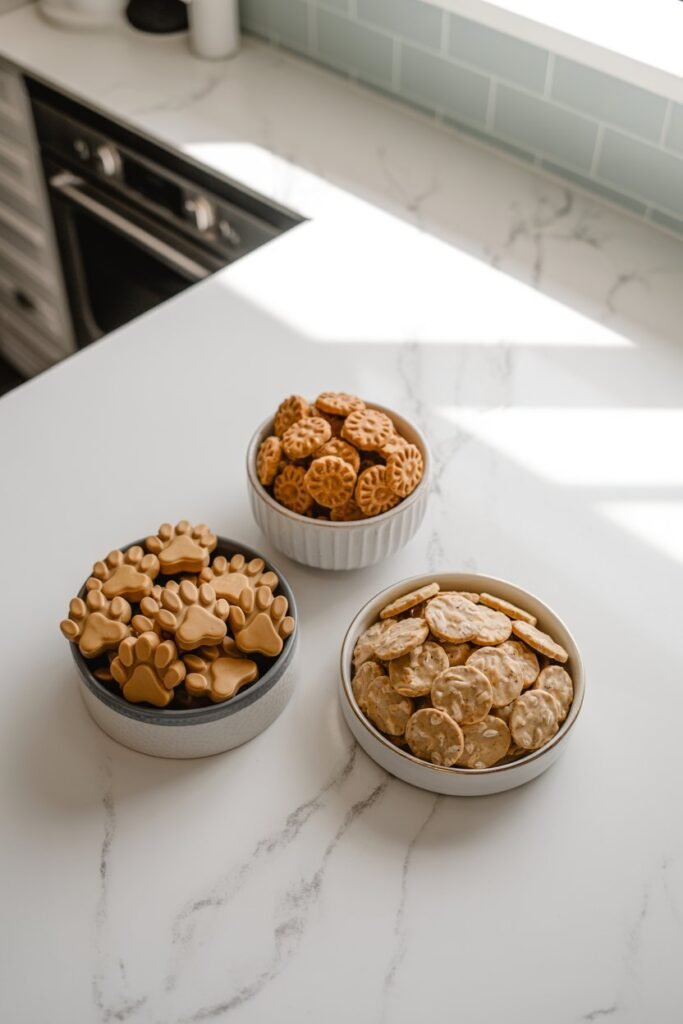
Serving Tips
These treats are perfect for a variety of situations:
- Training Rewards: Break into smaller pieces for positive reinforcement.
- Snack Time: Offer one or two between meals for a crunchy, flavorful bite.
- Gift Idea: Package them in small glass jars or paper bags with a cute tag for friends who have dogs.
Pro Tip: “Always give treats in moderation—homemade snacks should make up no more than 10% of your dog’s daily calorie intake.”
Storage Instructions
To keep these treats fresh and crunchy:
- Store in an airtight container at room temperature for up to 7 days.
- For longer storage, refrigerate for up to 3 weeks.
- Freeze for up to 3 months—just thaw at room temperature before serving.
Pro Tip: “Use moisture-proof containers to prevent your treats from softening in humid environments.”
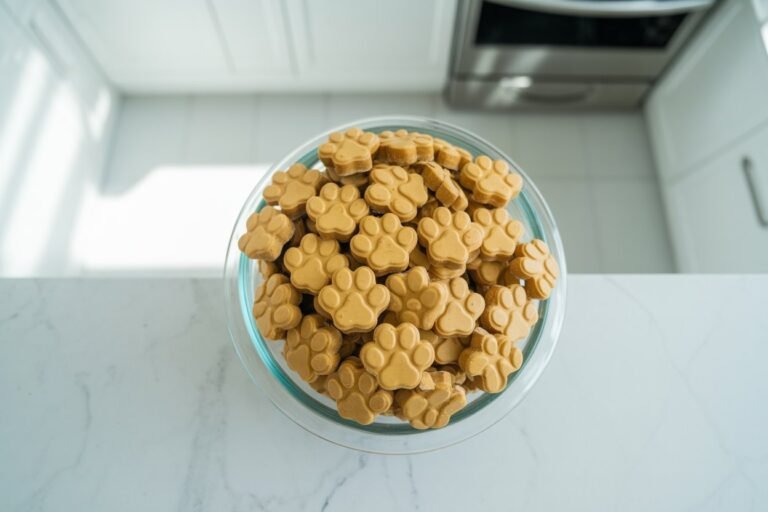
Image Prompt – Storing Treats:
Overhead view of paw-shaped dog treats stored in a clear airtight jar with a lid. Clean, modern kitchen background with a marble counter and soft daylight.
Nutritional Benefits
Let’s break down why these treats are not only tasty but beneficial for your dog:
- Peanut Butter: High in healthy fats, vitamins B and E, and plant-based protein. Supports coat health and energy levels.
- Chicken Broth: Adds hydration and essential amino acids while enhancing flavor.
- Whole Wheat Flour: Provides fiber and helps digestion.
- Egg: Adds protein and helps bind the dough for structure.
- Olive Oil: Adds healthy monounsaturated fats that benefit the skin and coat.
This combination makes the treats balanced, flavorful, and wholesome without unnecessary fillers.
Recipe Variations
Want to change things up? Try these easy modifications:
- Oat Flour Version: Use oat flour instead of wheat for a gluten-free batch.
- Pumpkin Add-In: Add 2 tablespoons of pumpkin purée for an autumn twist.
- Crispier Finish: Bake an extra 5 minutes for extra crunch.
- Soft Treats: Reduce bake time by 3–4 minutes for a chewier texture.
- Herbal Freshness: Add a pinch of finely chopped parsley for fresh breath benefits.
Pro Tip: “If using add-ins like pumpkin or applesauce, reduce the chicken broth slightly to keep dough consistency perfect.”
Common Questions
1. Can I use regular peanut butter?
Yes, as long as it’s unsweetened and free of xylitol, which is toxic to dogs. Check the label carefully.
2. What if my dog is allergic to wheat?
Use oat flour or rice flour as alternatives—both work beautifully in this recipe.
3. Can I make these treats softer?
Yes! Bake for a shorter time (about 15 minutes) and store them in the refrigerator to maintain softness.
4. Can I use vegetable broth instead of chicken?
Yes, just make sure it’s low-sodium and doesn’t contain onion or garlic.
Final Thoughts
There’s something special about making your own dog treats from scratch. It’s not just about saving money—it’s about knowing exactly what’s in your dog’s food and giving them something made with care.
These Peanut Butter Chicken Broth Dog Treats are the perfect example of how a few simple, wholesome ingredients can create something that’s both delicious and nutritious. They’re easy to make, fun to shape, and guaranteed to make your furry friend’s day a little brighter.
Bake up a batch, store them in a jar, and watch your dog’s eyes light up every time they hear that lid open.