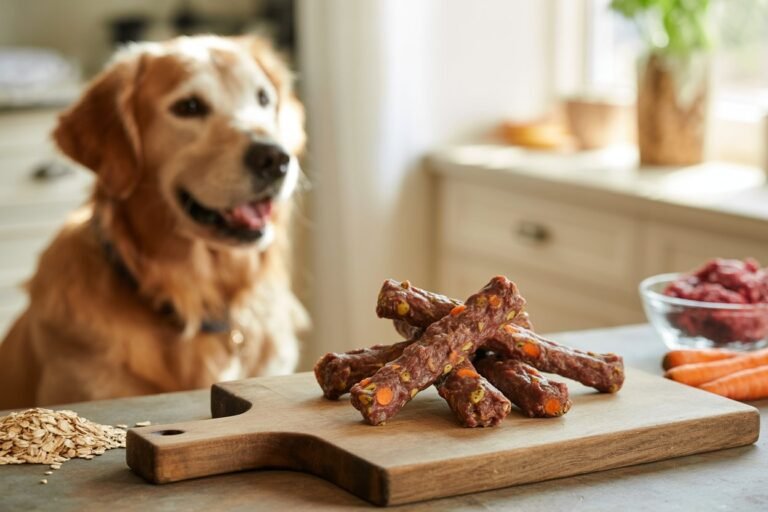
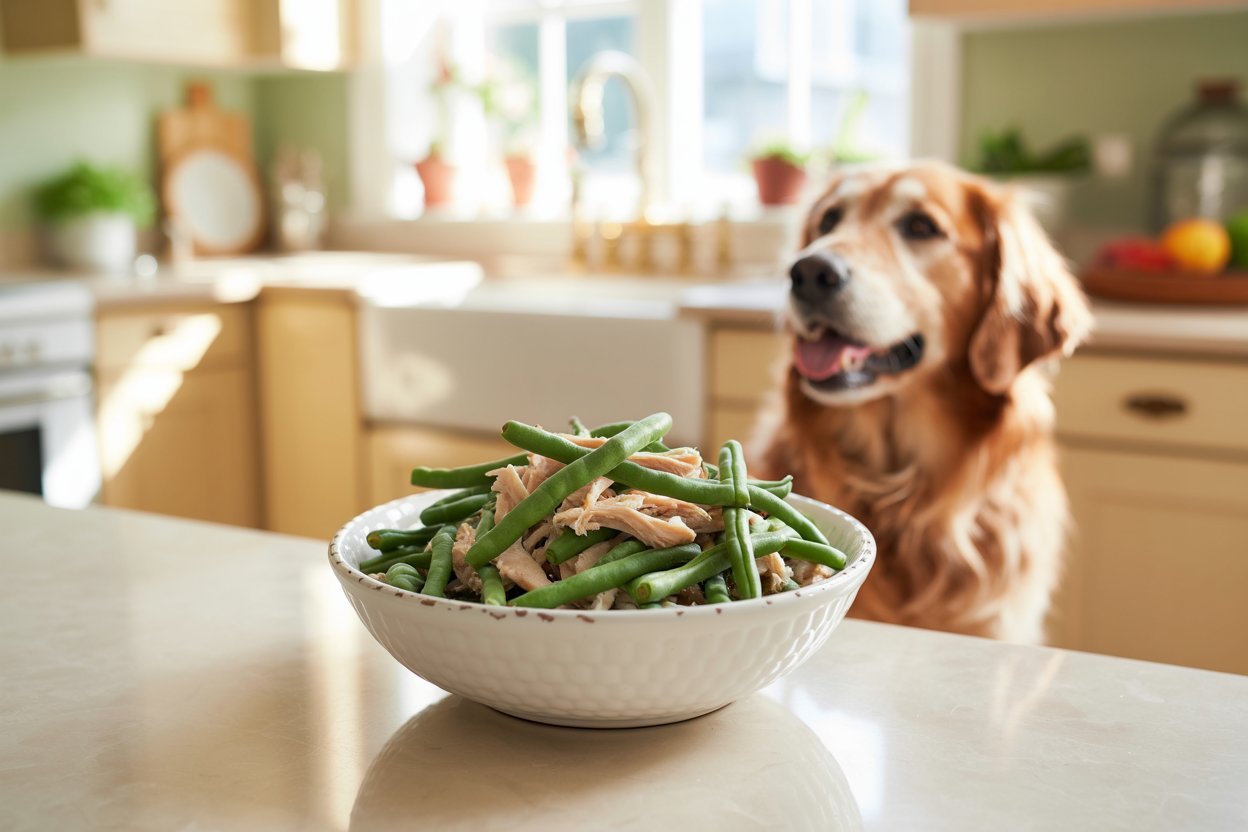
Green Bean and Chicken Crunchies for Dogs
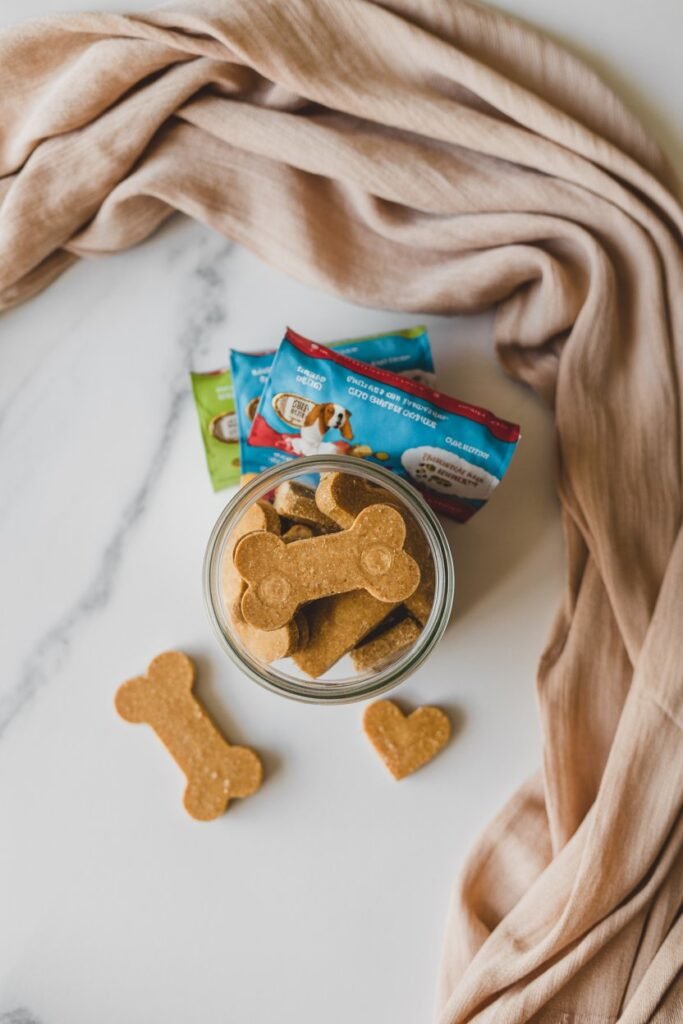
The first time I made homemade treats for my dog, I wasn’t aiming for perfection I just wanted something simple, healthy, and made with love. Store-bought treats had started to feel questionable.
Too many ingredients I couldn’t pronounce, too many fillers, and honestly, too little confidence in what I was feeding my sweet pup.
So I opened my fridge, saw some leftover green beans and cooked chicken, and thought why not?
What came out of the oven that day wasn’t just a treat it was a little crunchy moment of joy. My dog’s tail wagged like crazy, and from that moment on, these Green Bean and Chicken Crunchies became a staple in our home.
If you’ve been searching for a healthy, budget-friendly, and genuinely nourishing dog treat recipe, you’re in the right place.
This guide will walk you through everything from ingredients to storage, from nutritional benefits to creative variations so you can confidently make these treats again and again.
Let get in to this Green Bean and Chicken Crunchies for Dogs
Why Homemade Dog Treats Are Worth It
Making your own dog treats might feel like an extra step at first, but once you start, it becomes part of your routine and honestly, a really rewarding one.
When I switched to homemade treats, I noticed subtle but meaningful changes. My dog’s digestion improved, his coat looked shinier, and I felt more connected to what I was feeding him.
Here’s why homemade treats like these crunchies are truly worth your time:
Full Control Over Ingredients
You know exactly what goes into your dog’s body. No hidden preservatives, artificial flavors, or fillers.
Budget-Friendly
Chicken and green beans are affordable and easy to find. You can make a large batch for a fraction of store-bought prices.
Customizable for Your Dog
Every dog is different. Homemade treats allow you to adjust textures, flavors, and ingredients based on your dog’s needs.
A Loving Touch
There’s something special about making food for your dog. It’s care, comfort, and connection all rolled into one.
Health Benefits of Green Beans and Chicken for Dogs
Before diving into the recipe, let’s talk about why these two simple ingredients are actually nutritional powerhouses for your pup.
Green Beans: The Underrated Superfood
Green beans are often recommended by veterinarians and for good reason.
- Low in calories – perfect for dogs who need weight management
- High in fiber – supports digestion and gut health
- Rich in vitamins – especially vitamins A, C, and K
- Crunchy texture – great for dental stimulation
They’re gentle on the stomach and widely considered safe for dogs when cooked plain.
Chicken: Lean and Protein-Rich
Chicken is one of the most common proteins used in dog diets.
- High-quality protein – supports muscle growth and repair
- Low fat (when skinless) – keeps treats light and healthy
- Rich in essential amino acids
- Highly digestible
Together, green beans and chicken create a balanced, wholesome treat that feels indulgent but is actually incredibly nourishing.
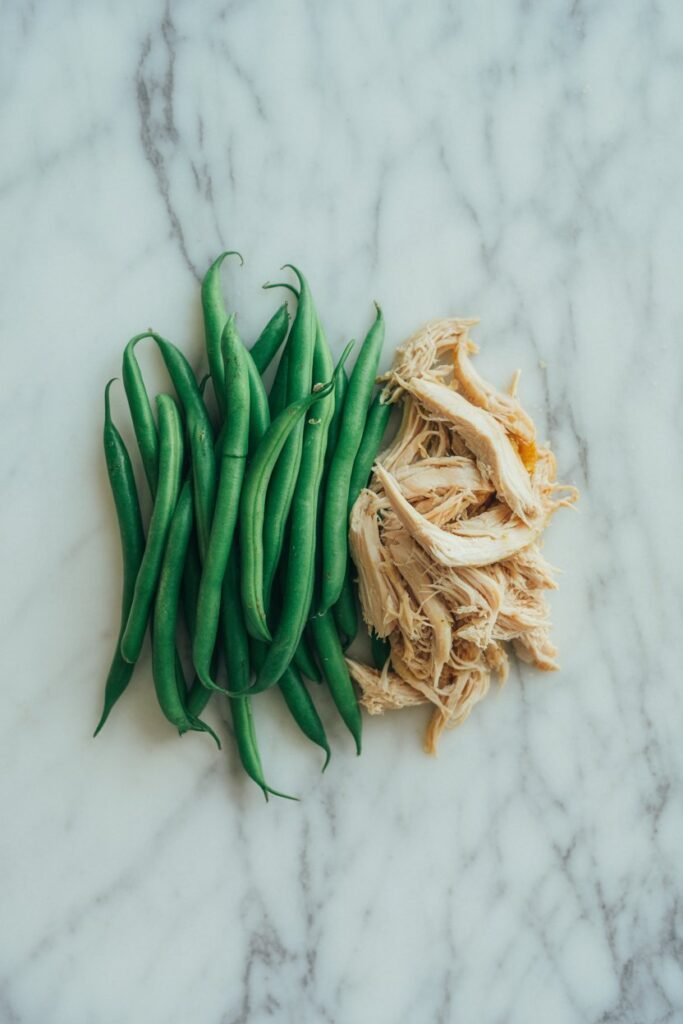
Ingredients You’ll Need
One of my favorite things about this recipe is how simple it is. You don’t need anything fancy just real, wholesome ingredients.
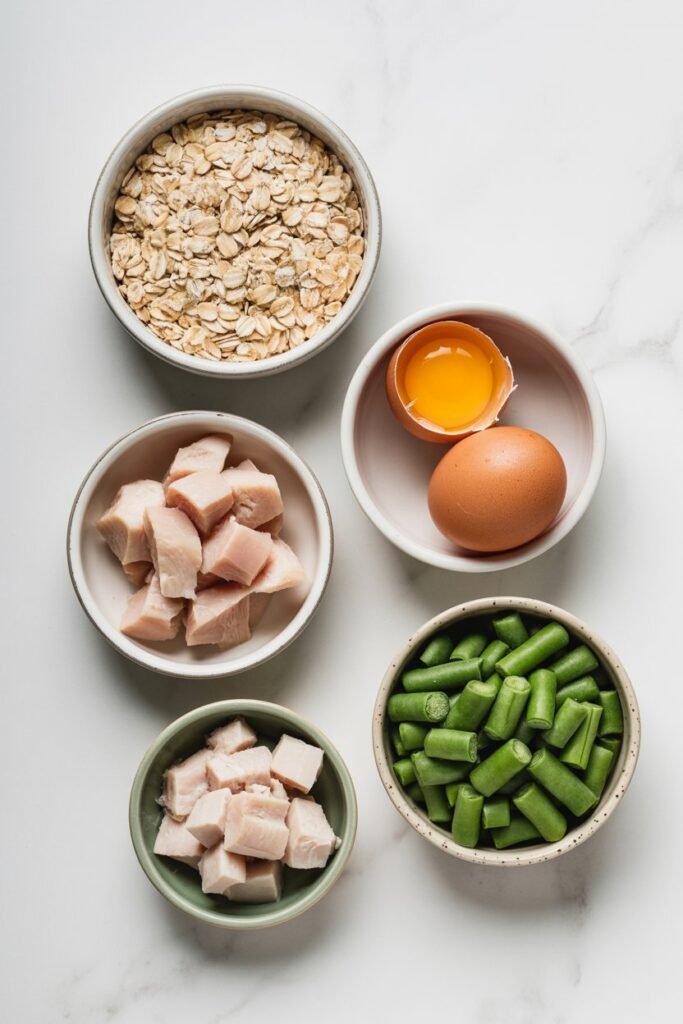
Core Ingredients
- 1 cup cooked chicken (shredded or finely chopped)
- 1 cup green beans (steamed and chopped)
- 1 egg
- 1 cup oat flour (or blended oats)
Optional Add-Ins (for extra goodness)
- 1 tablespoon olive oil
- 1 tablespoon plain pumpkin puree
- A pinch of turmeric (anti-inflammatory boost)
Important:
Always make sure your chicken is plain no salt, seasoning, garlic, or onion.
Step-by-Step: How to Make Green Bean and Chicken Crunchies
This is where the magic happens and trust me, it’s easier than you think.
Step 1: Prep Your Ingredients
Cook your chicken thoroughly and let it cool. Steam the green beans until soft but not mushy.
Chop everything finely. The smaller the pieces, the easier your dough will come together.
Step 2: Blend or Mix
In a mixing bowl (or food processor), combine:
- Chicken
- Green beans
- Egg
Mix until you get a slightly chunky paste.
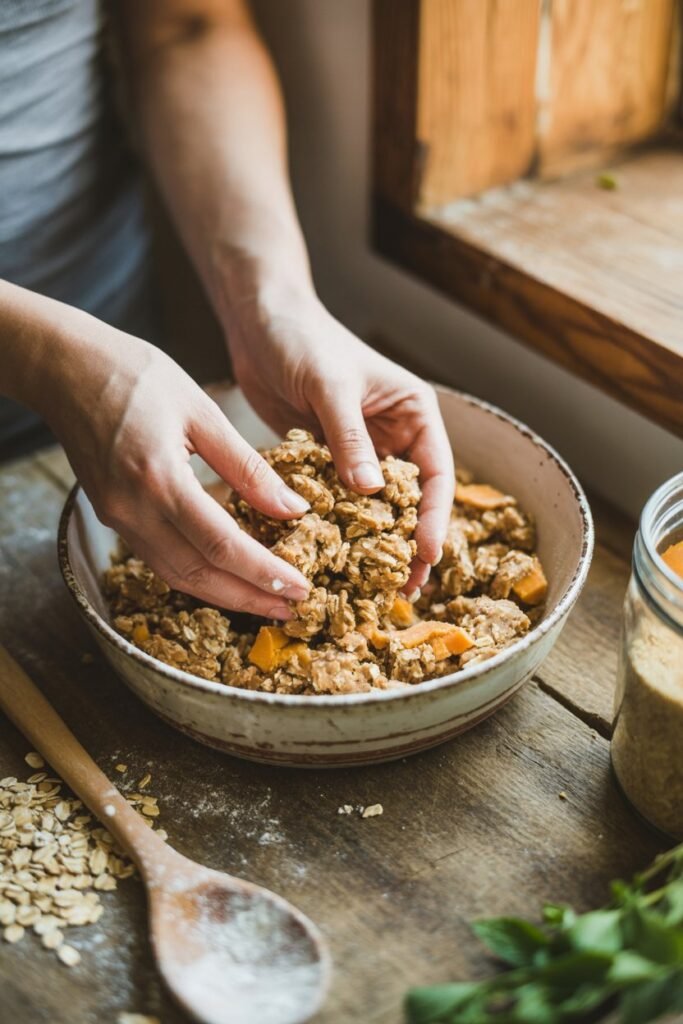
Step 3: Add Flour
Gradually add oat flour until a dough forms.
You’re looking for a texture that’s firm but not sticky something you can roll out easily.
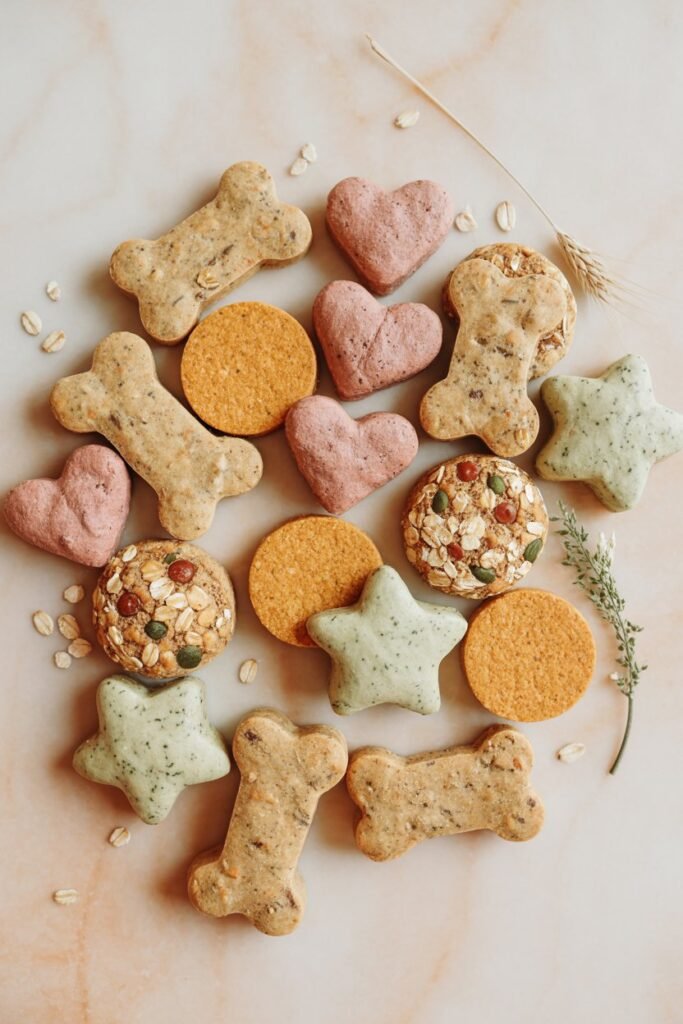
Step 4: Roll and Shape
Roll the dough out on a lightly floured surface.
- Thickness: about ¼ inch
- Use cookie cutters or simply cut into small squares
Step 5: Bake to Perfection
Preheat oven to 350°F (175°C).
Bake for 20–30 minutes depending on thickness.
For extra crunch:
- Turn off the oven
- Leave treats inside for an additional 30–60 minutes
Step 6: Cool Completely
Let them cool fully before serving. This helps them firm up and develop that satisfying crunch.
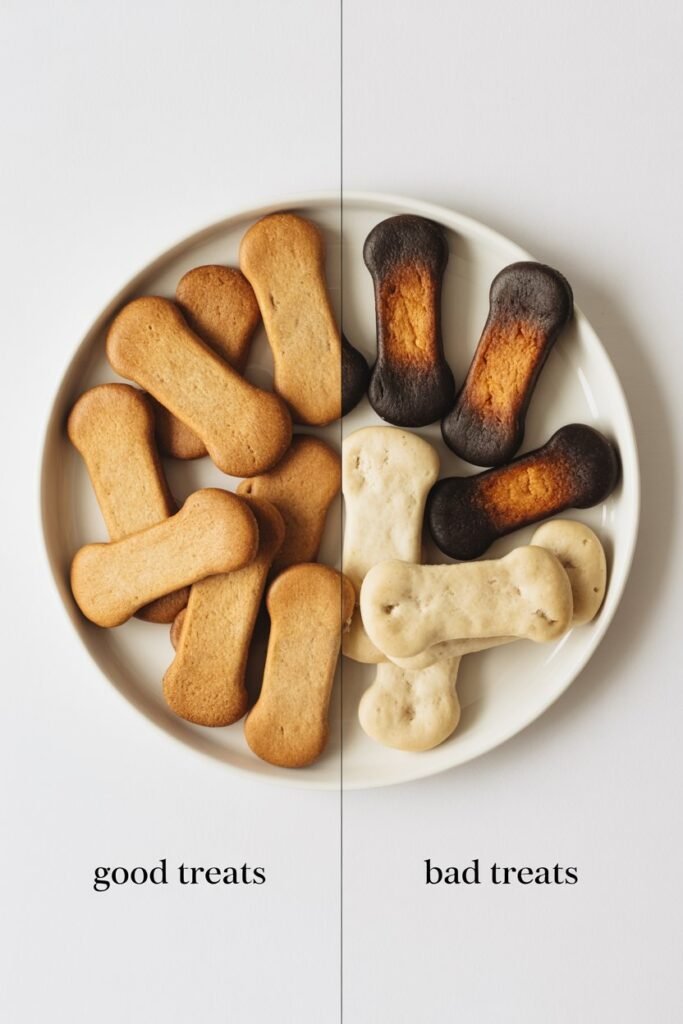
Tips for Getting the Perfect Crunch

Crunchy treats aren’t just satisfying they also help support your dog’s dental health.
Here’s how to get that perfect texture:
- Roll thinner for crispier treats
- Bake longer at a slightly lower temperature
- Let them dry in the oven after baking
- Store uncovered for a few hours before sealing
If your first batch comes out soft, don’t worry it just means they need a little more time in the oven.
How to Store Your Homemade Dog Crunchies
Storage is so important, especially since these treats don’t contain preservatives.
Short-Term Storage
- Store in an airtight container
- Keep at room temperature for up to 3 days
Refrigeration
- Lasts up to 1 week in the fridge
- Keeps them fresh and safe
Freezing
- Store for up to 3 months
- Just thaw before serving
I personally love making a big batch and freezing half it saves so much time later.
Portion Sizes and Feeding Guidelines
Even healthy treats should be given in moderation.
General Rule
Treats should make up no more than 10% of your dog’s daily calories.
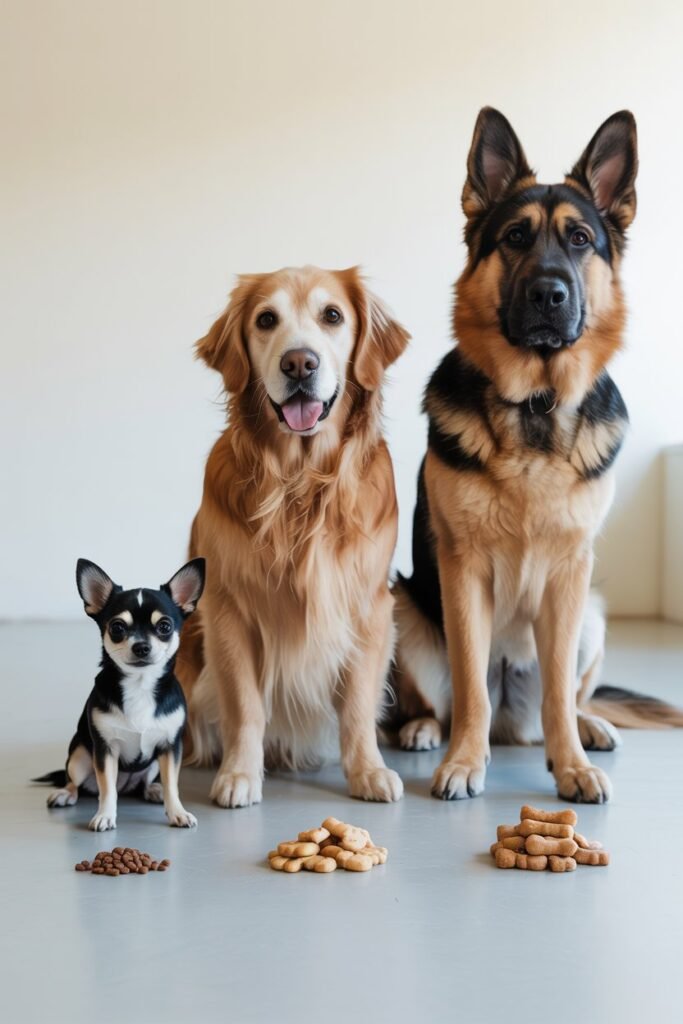
Serving Ideas
- Small dogs: 1–2 pieces
- Medium dogs: 2–4 pieces
- Large dogs: 4–6 pieces
Always adjust based on your dog’s size, activity level, and dietary needs.
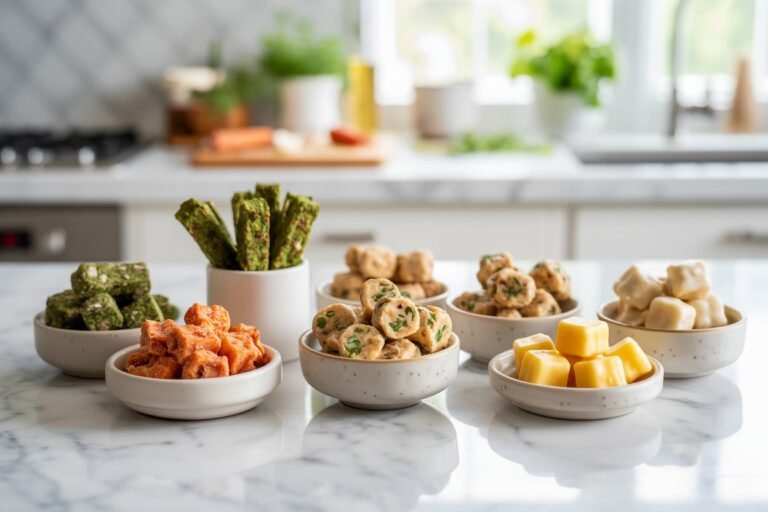
Variations to Keep Things Interesting
Once you’ve made these once, you’ll probably want to experiment and that’s the fun part.
Sweet Potato Twist
Add mashed sweet potato for a softer, slightly sweet flavor.
Carrot Crunchies
Swap green beans for carrots for a different texture and taste.
Cheesy Version
Add a small amount of dog-safe cheese for extra flavor.
Grain-Free Option
Use coconut flour or chickpea flour instead of oat flour.
Common Mistakes to Avoid
Even simple recipes can go wrong here’s what to watch out for:
Overloading Moist Ingredients
Too much moisture = soggy treats.
Not Baking Long Enough
This is the #1 reason treats don’t get crunchy.
Using Seasoned Chicken
Garlic and onion are toxic to dogs always keep it plain.
Skipping Cooling Time
They firm up as they cool don’t rush this step.
Why These Treats Are Perfect for Training
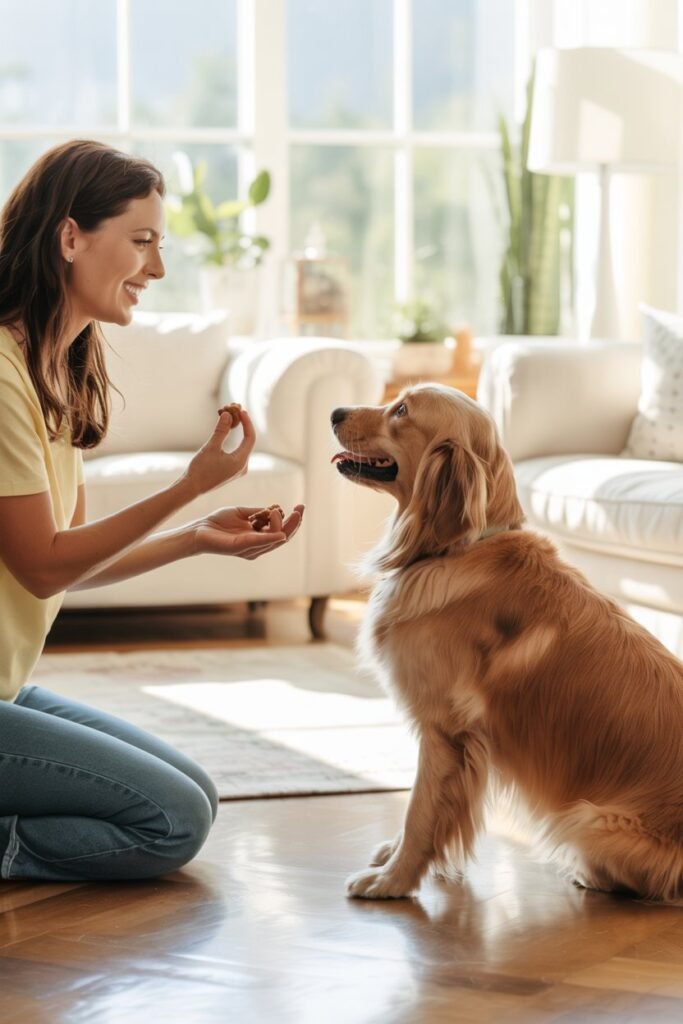
These crunchies aren’t just healthy they’re practical.
- Easy to break into smaller pieces
- High-value due to real meat
- Not greasy or messy
- Dogs love the texture and flavor
They’re perfect for recall training, obedience sessions, or just rewarding good behavior.
A Little Note on Safety
Whenever you introduce a new treat, start slow.
Watch for:
- Allergic reactions
- Digestive upset
- Changes in behavior
If your dog has specific health conditions, always check with your vet first.
Making Treat Time Special
Over time, I realized these treats became more than just food they became part of our routine.
A little reward after a walk.
A crunchy bite after training.
A moment of connection at the end of a long day.
Dogs don’t just eat treats they experience them. And when those treats are made with care, it shows.
Final Thoughts
Green Bean and Chicken Crunchies are one of those recipes that feel simple but deliver so much value.
They’re healthy, affordable, easy to make, and genuinely loved by dogs. Whether you’re just starting your homemade dog treat journey or looking to expand your recipe collection, this is one you’ll come back to again and again.
And the best part?
You’re not just making treats you’re creating something meaningful for your dog. Something nourishing. Something made with love.