7 DIY Dog Projects That Look Expensive But Are Cheap
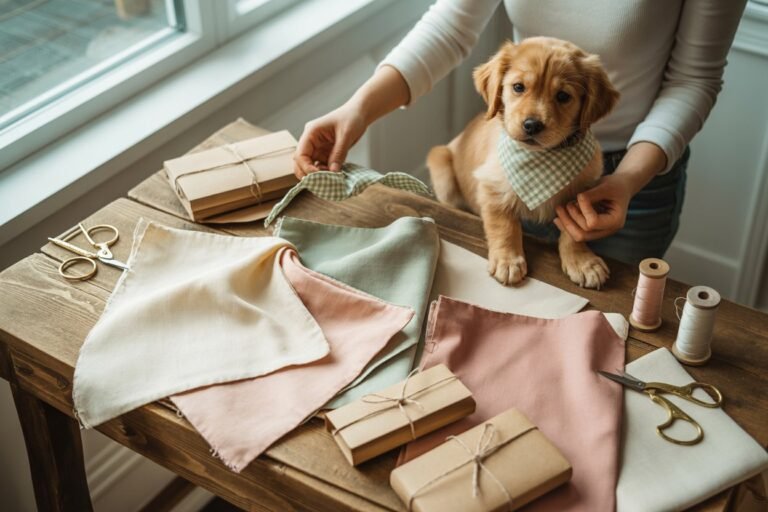
Creating a beautiful, cozy, and stylish space for your dog doesn’t have to cost a fortune. In fact, some of the most stunning pet setups you see online are secretly made from budget-friendly materials and a little creativity.
If you’ve ever admired those aesthetic dog corners on Pinterest plush beds, chic feeding stations, minimalist toy storage you might assume they’re expensive.
But the truth? Many of them are DIY projects you can recreate at home using affordable items (yes, even from Amazon).
This guide walks you through 7 gorgeous DIY dog projects that look high-end but cost surprisingly little. Each one is beginner-friendly, stylish, and designed to elevate both your dog’s comfort and your home’s aesthetic.
Lets get started on this 7 DIY Dog Projects That Look Expensive But Are Cheap
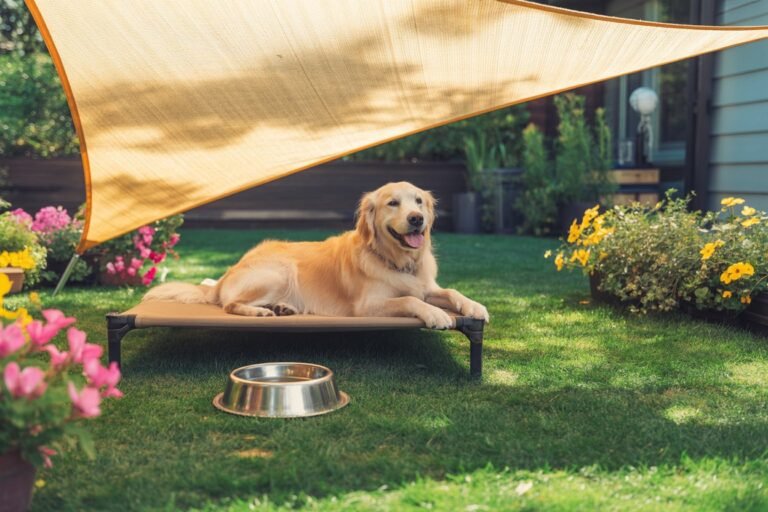
1. Elevated Wooden Dog Bed (Luxury Minimalist Style)
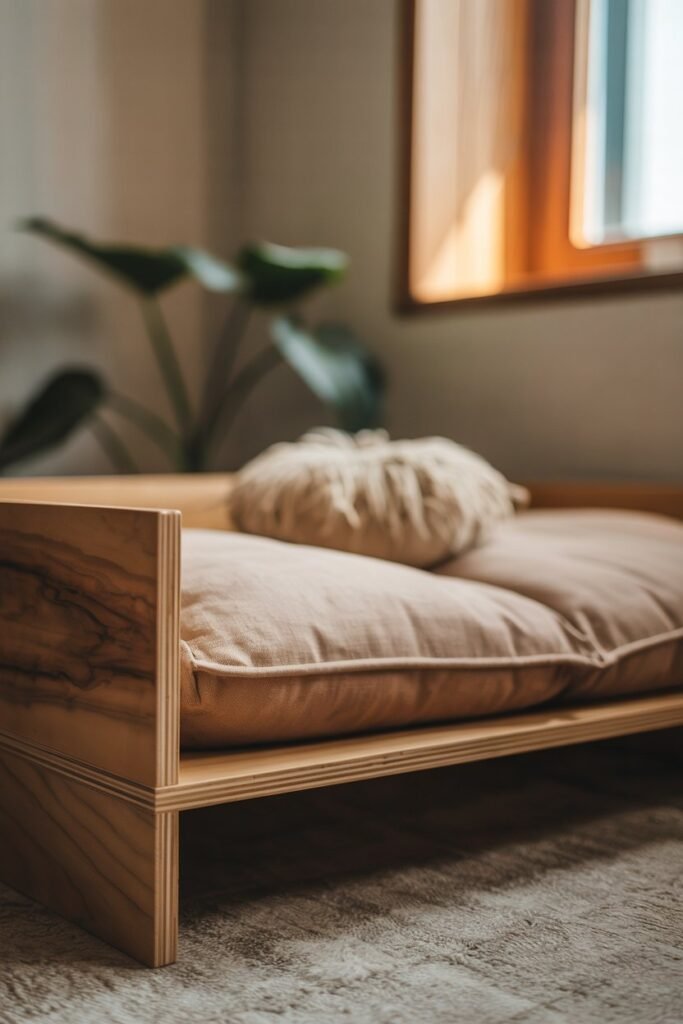
Why it looks expensive
Clean lines, neutral tones, and raised designs instantly give that “designer furniture” feel.
What you’ll need (Amazon-friendly):
- Wooden crate or pre-cut wood panels
- Furniture legs (hairpin or tapered wood legs)
- Foam cushion or memory foam pad
- Staple gun + fabric (linen or faux fur works beautifully)
- Screws + drill
How to make it:
- Build the base
Attach your wood panels into a simple rectangular frame. - Add the legs
Screw in furniture legs this instantly elevates the look (literally and aesthetically). - Create the cushion
Wrap foam in soft fabric and staple underneath. - Style it
Add a neutral blanket or a small name pillow for that boutique vibe.
Pro tip
Stick to beige, cream, or soft grey tones these always read “expensive.”
2. Chic Dog Toy Storage Basket (Hidden Clutter Hack)
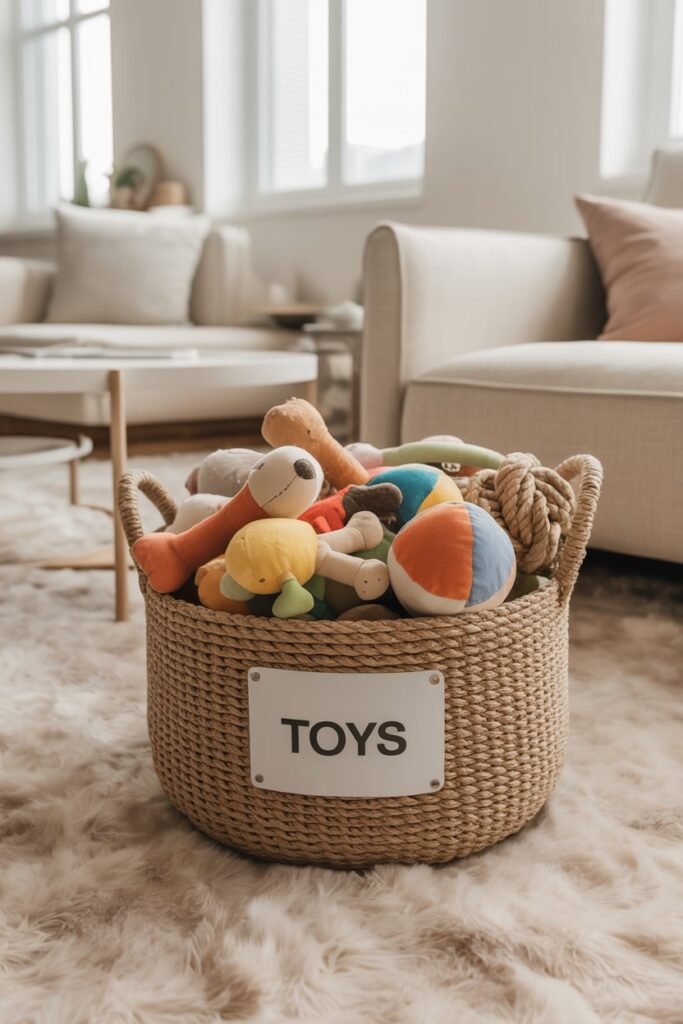
Why it looks expensive
Woven textures + labels = instant home décor upgrade.
What you’ll need:
- Woven basket or storage bin
- Chalk label or wooden tag
- Stencil or vinyl letters
- Fabric liner (optional)
Steps:
- Choose your basket
Look for natural textures like rattan or cotton rope. - Add a label
Write “Toys” or your dog’s name using stencils or vinyl. - Line it (optional)
Adds a polished, boutique finish.
Styling idea
Place it beside your couch or dog bed it blends seamlessly into your living space.
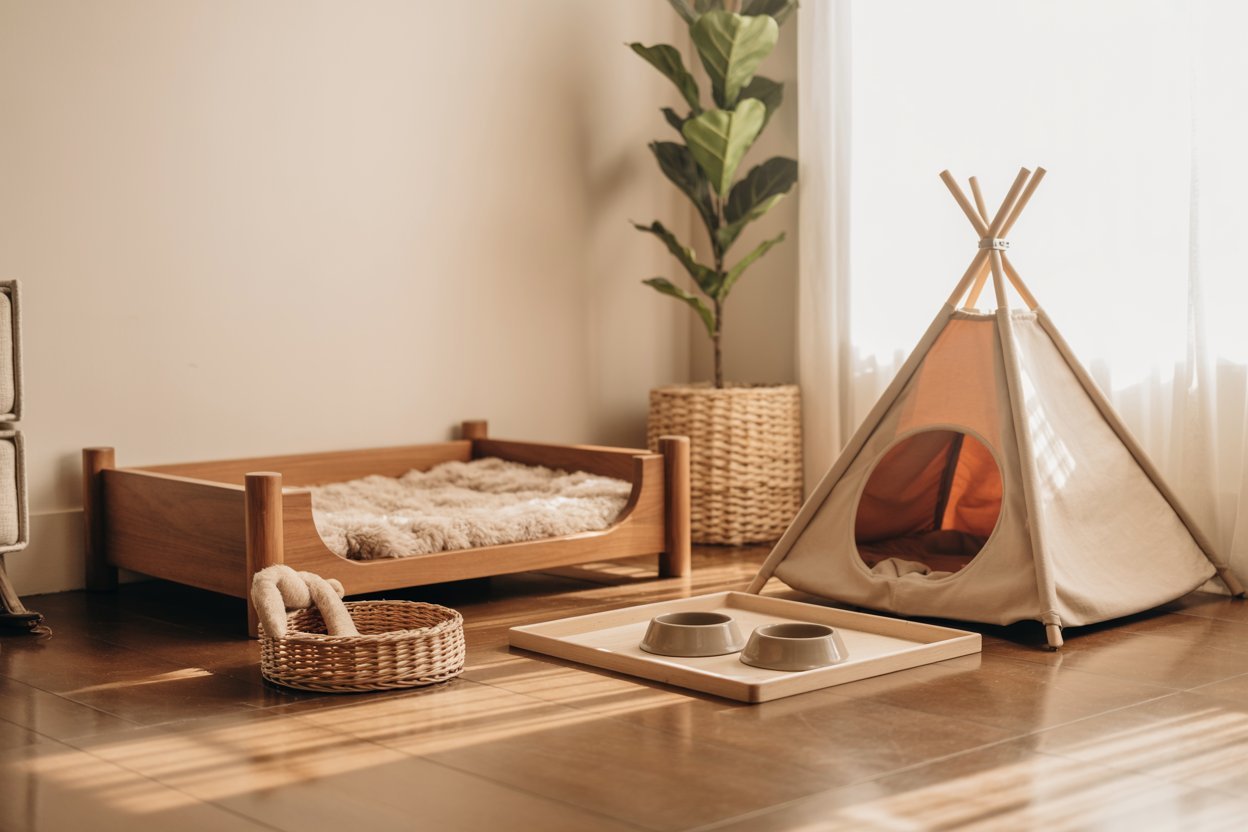
3. Raised Dog Feeding Station (Modern & Functional)
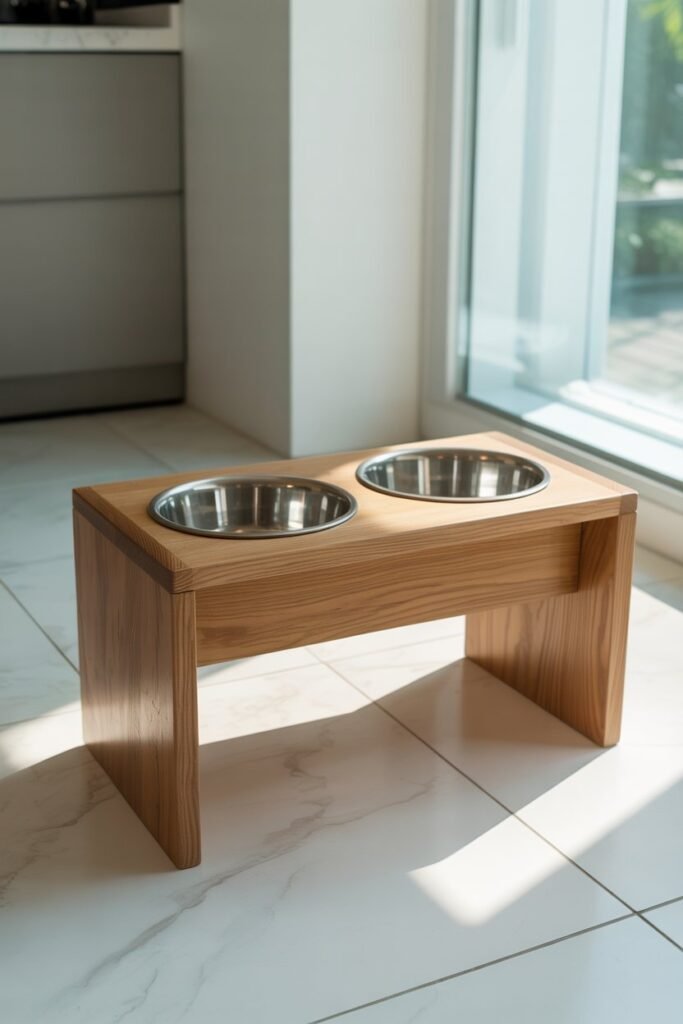
Why it looks expensive
Anything elevated + wood = designer feel.
What you’ll need:
- Wooden board
- Stainless steel bowls
- Hole saw drill attachment
- Sandpaper + wood stain
Instructions:
- Measure your bowls
Trace circles onto the wood. - Cut holes
Use a hole saw to cut out the bowl spaces. - Sand and stain
Smooth edges and apply a rich wood stain. - Insert bowls
They should sit snugly inside.
Bonus
This isn’t just pretty it improves posture for your dog.
4. DIY Dog Teepee (Pinterest-Worthy Cozy Corner)
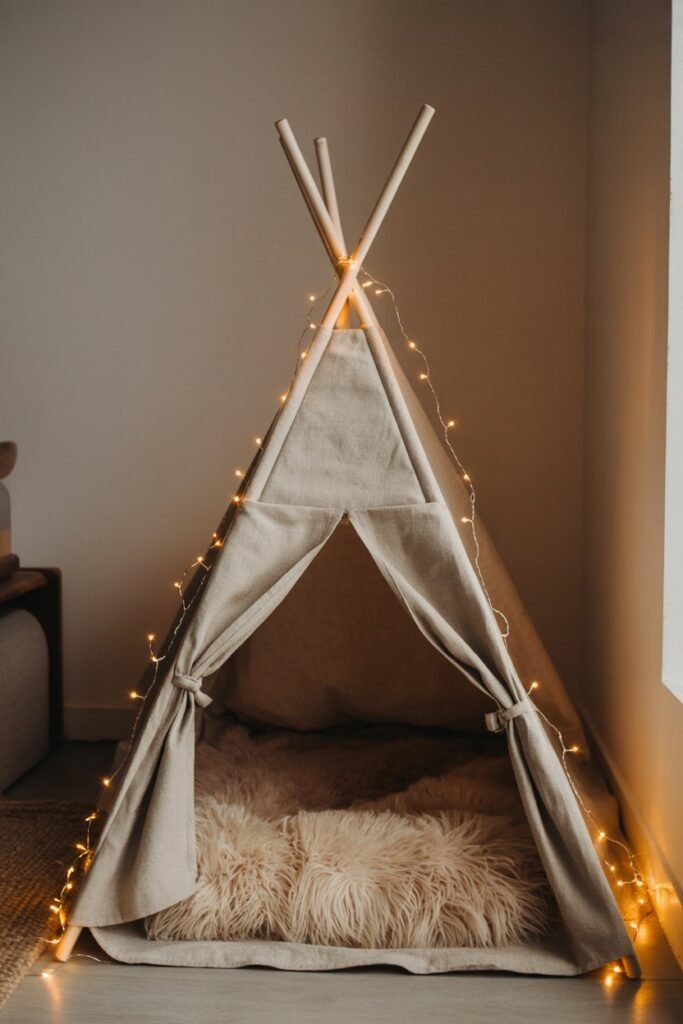
Why it looks expensive
Soft fabrics + structured shape = boutique pet furniture.
Supplies:
- Wooden dowels
- Canvas or cotton fabric
- Rope or leather cord
- Cushion or small mattress
How to make it:
- Create the frame
Tie the dowels together at the top and spread the base. - Attach fabric
Drape and secure fabric around the frame. - Add comfort
Place a plush cushion inside.
Make it extra cute
Add fairy lights or a mini name banner.
5. Personalized Dog Name Wall Sign
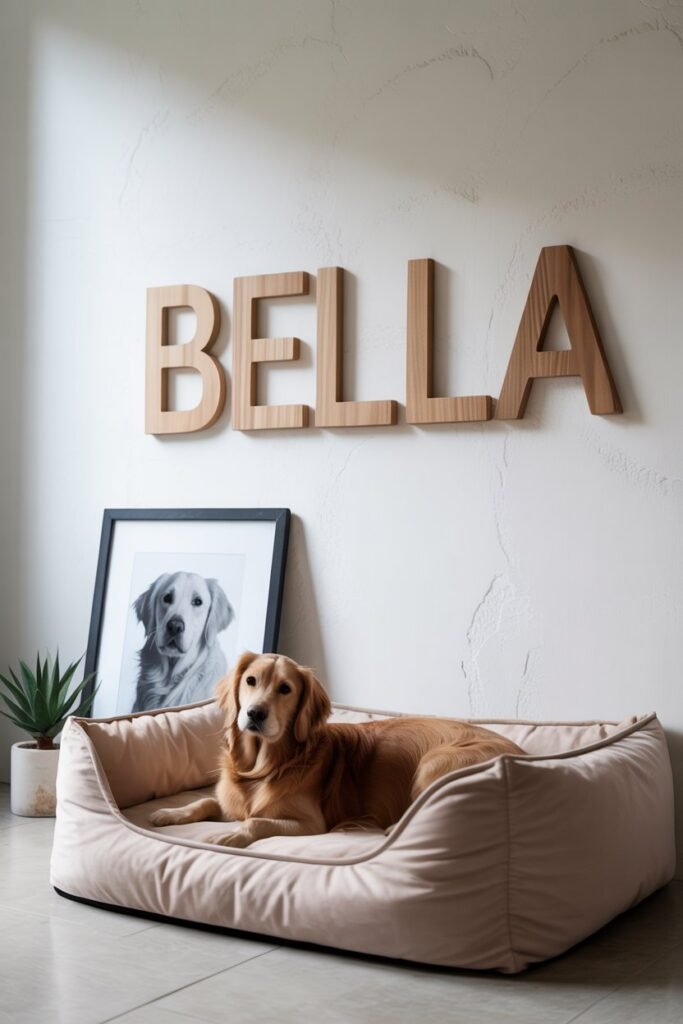
Why it looks expensive
Custom décor always feels high-end and intentional.
Materials:
- Wooden letters or acrylic letters
- Paint or spray paint
- Command strips or wall adhesive
Steps:
- Paint your letters
Stick to neutral or matte black for elegance. - Arrange layout
Plan spacing before sticking. - Mount on wall
Above the dog bed or feeding area works best.
Style tip
Pair with a small framed photo of your dog.
6. Hidden Dog Crate Makeover (Furniture Style)
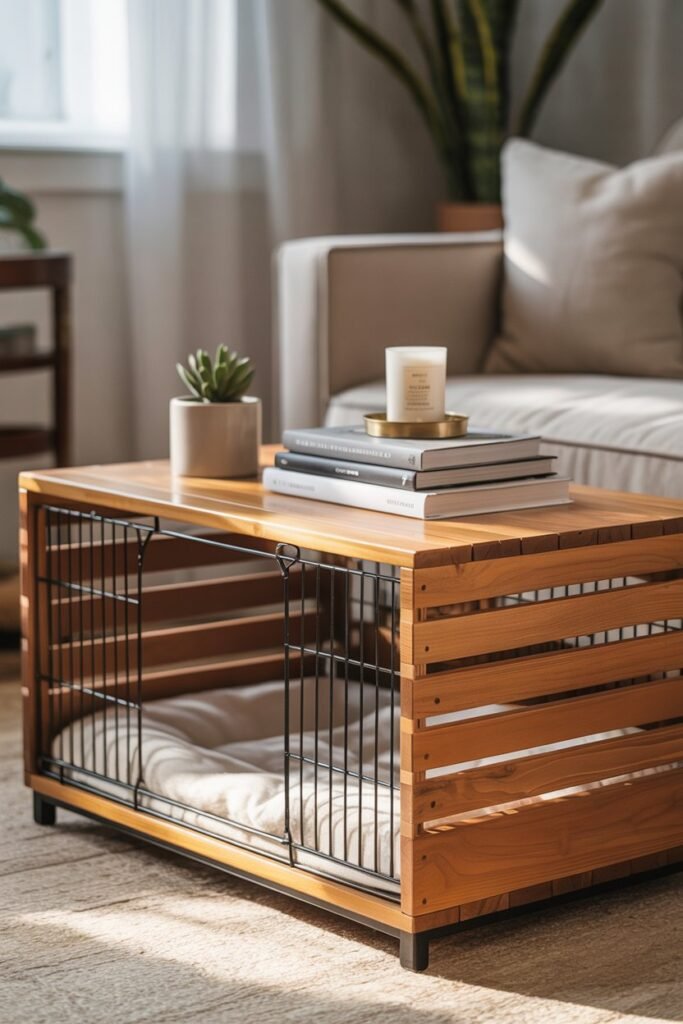
Why it looks expensive
Turning functional items into furniture = designer-level thinking.
What you’ll need:
- Existing wire dog crate
- Wooden panels
- Screws + drill
- Paint or stain
How to do it:
- Measure your crate
Build a wooden frame around it. - Add a top panel
This becomes a side table. - Paint or stain
Match your home décor.
Result
A dog crate that doubles as a chic nightstand or side table.
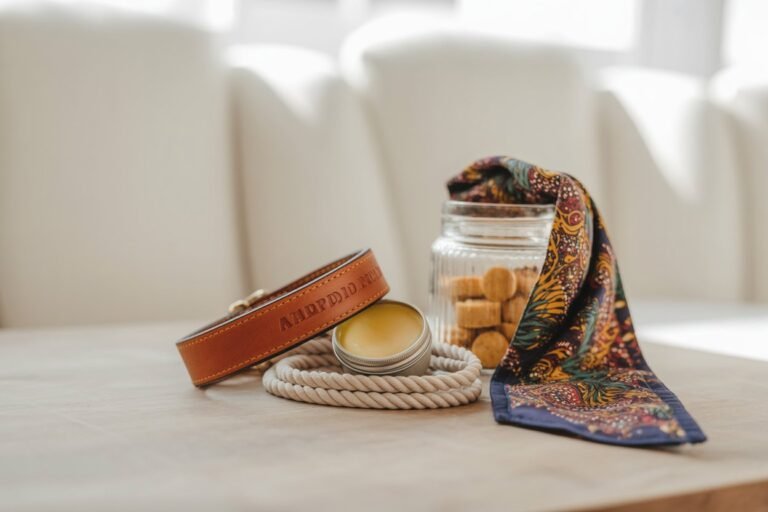
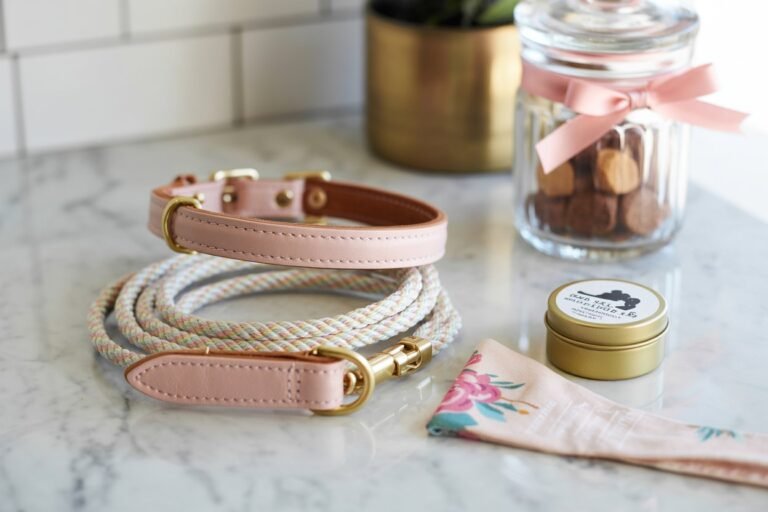
7. DIY Dog Treat Jar (Kitchen Aesthetic Upgrade)
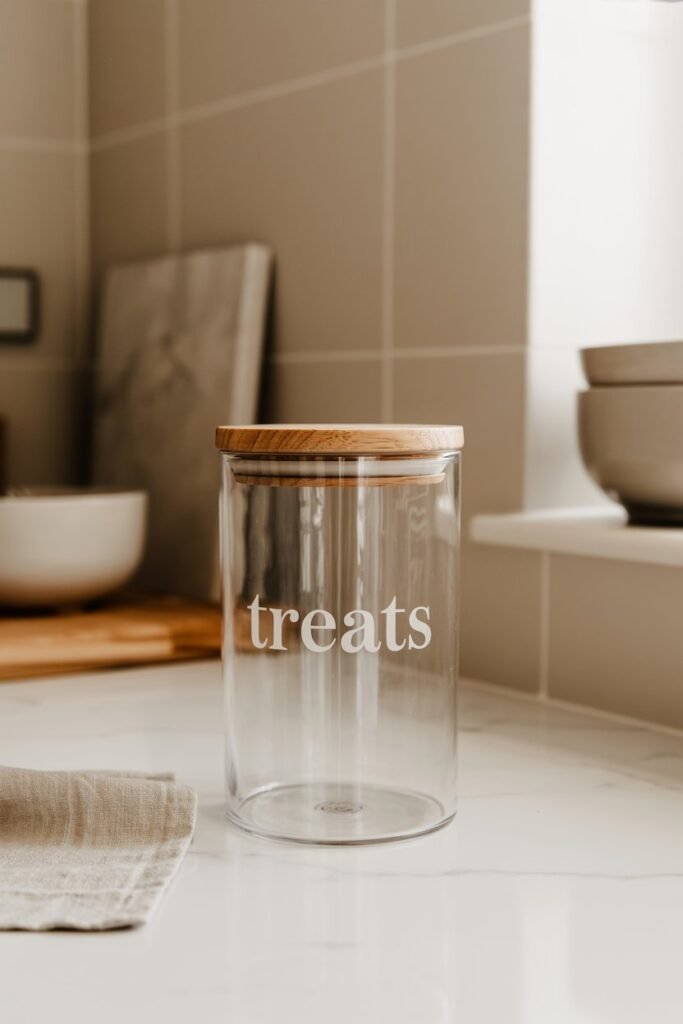
Why it looks expensive
Glass + labels = clean, curated look.
Supplies:
- Glass jar or airtight container
- Vinyl label or sticker
- Wooden lid (optional upgrade)
Instructions:
- Clean your jar
Make sure it’s spotless. - Add label
“Treats” or your dog’s name. - Fill with goodies
Keep it visible on your counter.
Extra touch
Use matching jars if you have multiple pets.
Where to Find Affordable Supplies (Amazon Picks Strategy)
To keep everything budget-friendly:
- Search for “furniture legs set” for beds
- Look up “woven storage basket neutral”
- Use “unfinished wood board” for feeding stations
- Try “canvas fabric by the yard” for teepees
- Search “vinyl letter stickers” for labeling
These keywords help you find affordable materials that still look premium.
Final Thoughts
A beautiful dog space isn’t about how much you spend it’s about how you style it.
With just a few affordable materials and a little creativity, you can transform everyday items into pieces that look straight out of a luxury pet boutique. These DIY projects not only save money but also add a personal, loving touch to your dog’s space.
And honestly? That’s what makes them truly priceless.