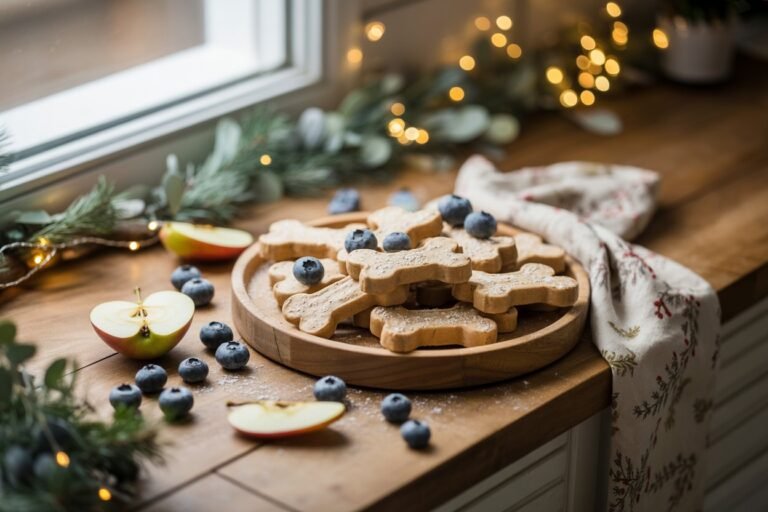
Homemade Apple and Banana Dog Treats
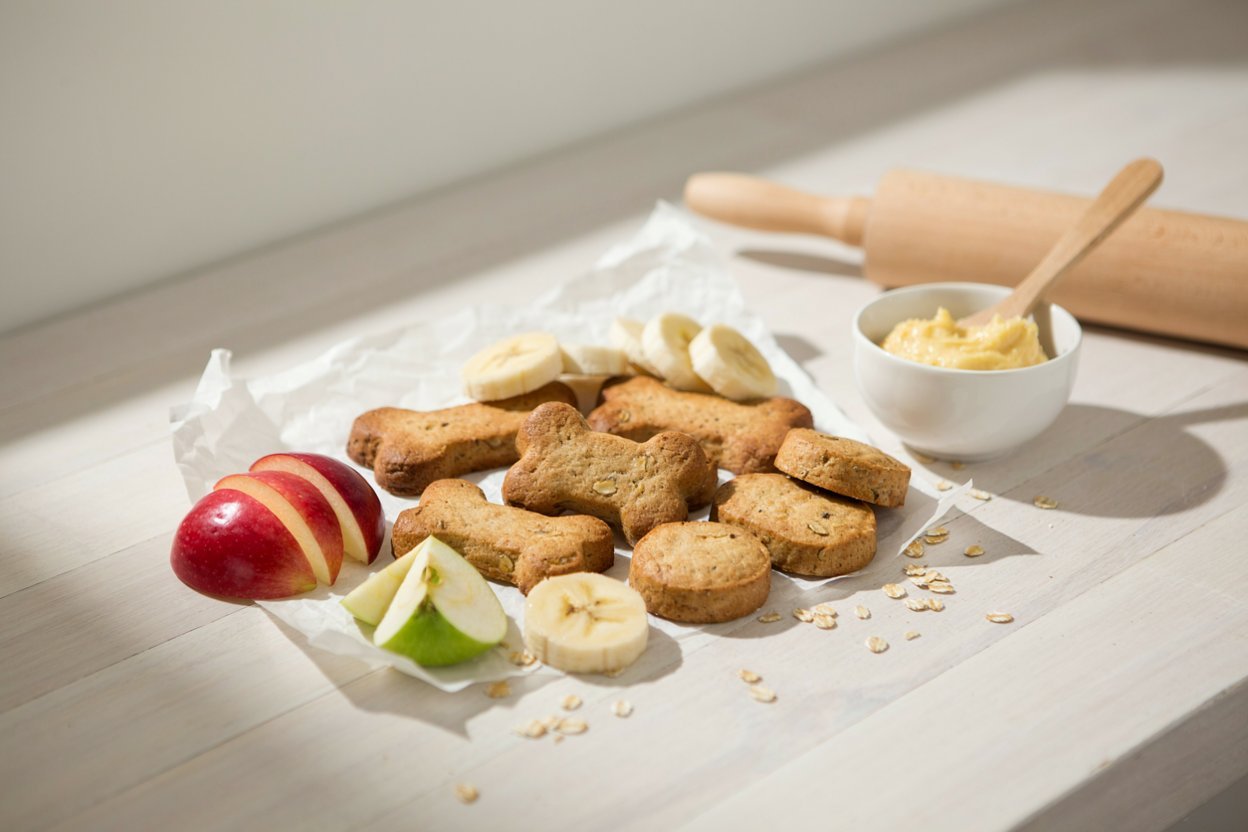
I love making homemade treats when I can keep the ingredients simple and still give my dog something exciting.
These apple and banana dog treats are one of those recipes I come back to because they use everyday ingredients, are easy to prepare, and make the kitchen smell wonderful while they bake.
The natural sweetness from the fruit gives these treats plenty of flavor without needing complicated ingredients. If you are looking for a simple homemade snack for your dog, this is a lovely recipe to try.
Why Make Homemade Apple and Banana Dog Treats?
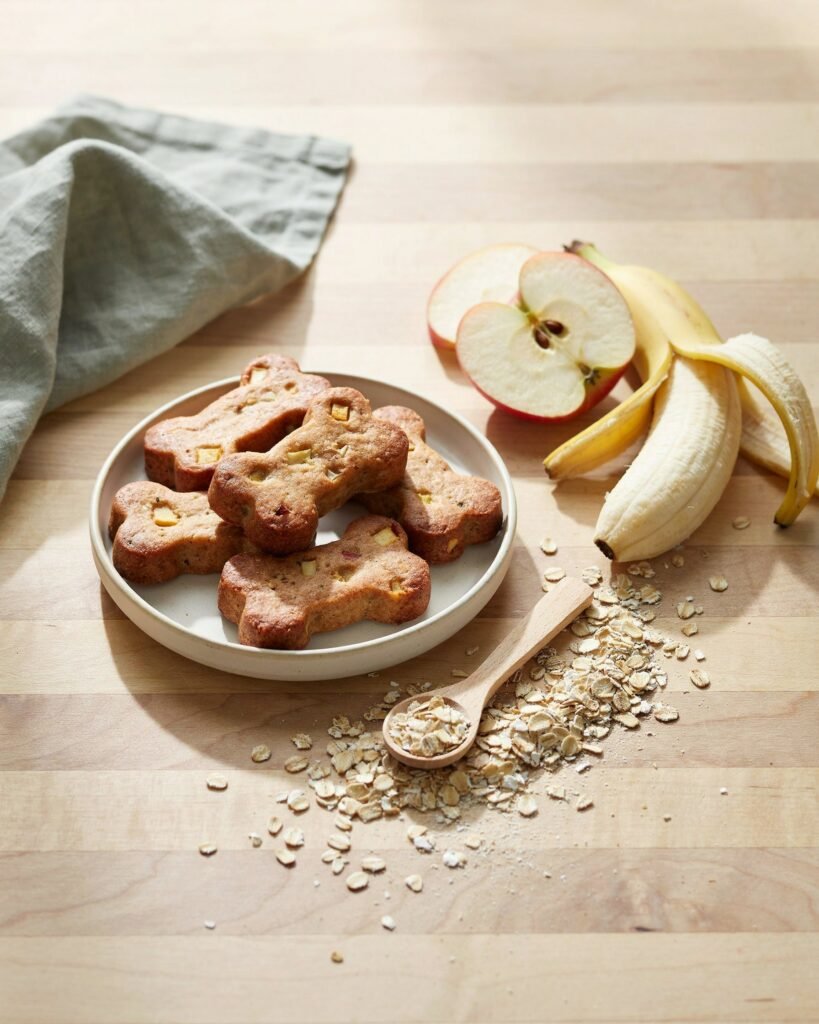
Making treats at home gives me a little more control over what goes into my dog’s snack bowl. Instead of reaching for a packaged treat every time, I can make a small batch using ingredients I already have in the kitchen.
Apples and bananas can both be suitable treats for dogs when served appropriately and in moderation.
Apples provide fiber and vitamins, while bananas contain nutrients such as potassium, vitamin B6, and vitamin C. However, both fruits contain natural sugars, so these treats should be considered an occasional snack rather than a replacement for your dog’s regular, complete diet.
I especially like this recipe because it does not require fancy baking skills. If you can mash a banana, chop an apple, and mix a few ingredients together, you can make these treats.
Are Apples Safe for Dogs?
Yes, apples can be a dog-friendly treat when prepared correctly.
The most important part is preparing the apple properly before adding it to the recipe. Always remove the core, stem, and seeds. Apple seeds contain compounds that can be harmful in sufficiently large amounts, while the tough core and stem can create choking or digestive concerns.
I prefer to peel the apple for homemade treats, although the peel itself is not generally the main safety concern. Removing it can simply make the finished treats softer and easier to digest for some dogs.
For the best texture, chop the apple into very small pieces. Large chunks can make the dough difficult to shape and may be harder for smaller dogs to manage.
Can Dogs Eat Bananas?
Bananas can also be offered to dogs in moderation. They contain potassium, vitamin B6, vitamin C, fiber, and other nutrients, but they are naturally higher in sugar than some other fruit options.
For this reason, I would not make these treats an unlimited snack. A few small pieces can be enough, especially for smaller dogs.
Always peel the banana before using it. Banana peels are not considered toxic, but they can be difficult for dogs to digest.
Ingredients You Will Need
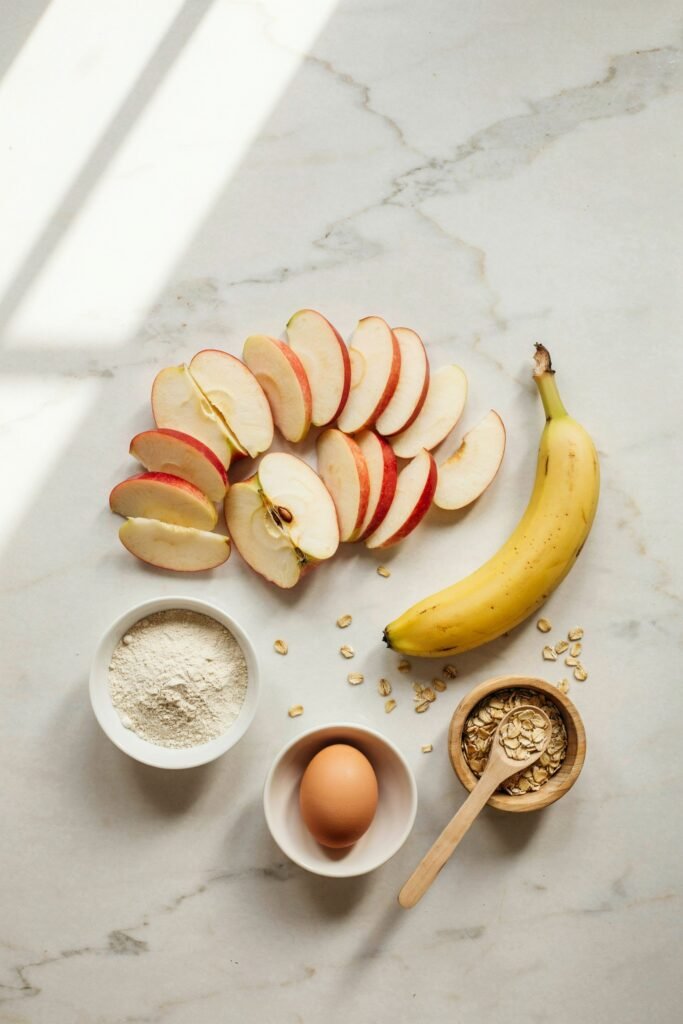
One of the best things about these homemade dog treats is how simple the ingredient list can be.
Apples
Use a fresh apple and remove the seeds, stem, and core completely. Chop the flesh into very small pieces.
Banana
Choose a ripe banana that is soft enough to mash easily. A ripe banana also adds natural sweetness and helps bring the dough together.
Oat Flour
Oat flour gives the treats structure while keeping the recipe simple. You can use ready-made oat flour or blend plain oats into a fine flour.
Egg
An egg helps bind the ingredients together and gives the treats a firmer texture after baking.
Water, If Needed
Depending on the size of your banana and the moisture in your apple, you may need a small amount of water to bring the dough together. Add it gradually rather than pouring in a large amount at once.
How to Make Apple and Banana Dog Treats
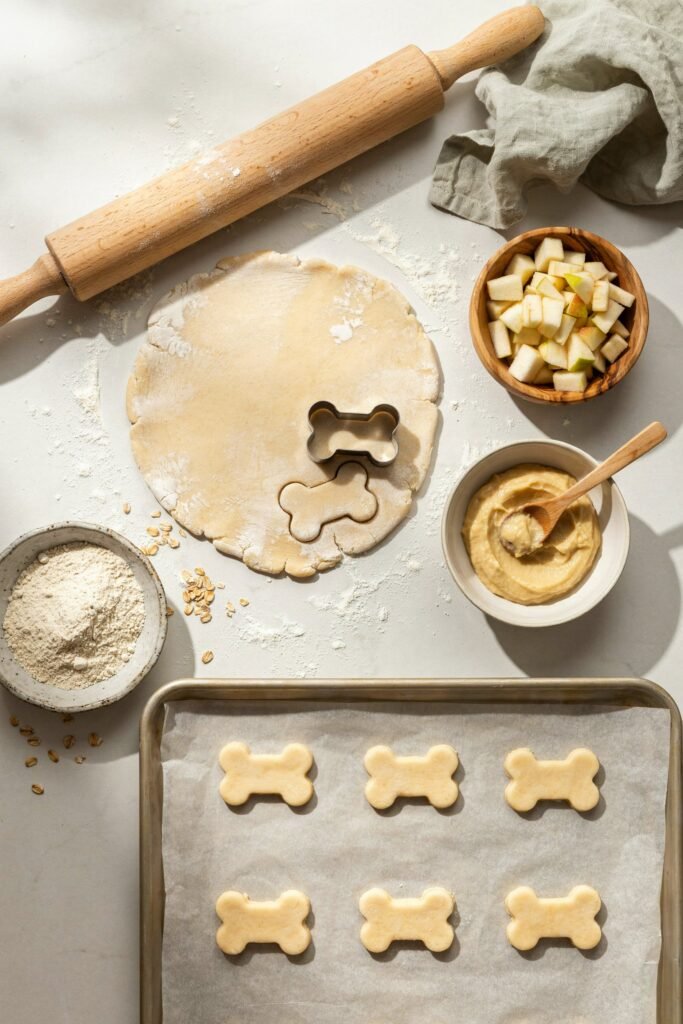
Step 1: Prepare the Apple
Wash the apple thoroughly and remove the stem, core, and all seeds.
Cut the apple into very small pieces. If your dog is small, you can chop the pieces particularly finely so they blend easily into the dough.
Set the prepared apple aside.
Step 2: Mash the Banana
Peel the banana and place it in a mixing bowl.
Mash it thoroughly with a fork until it becomes mostly smooth. A few tiny pieces are perfectly fine, but I prefer not to leave large chunks because they can make the dough harder to roll.
Step 3: Add the Egg
Crack the egg into the mashed banana and mix until everything is combined.
The mixture will look soft at this stage, which is completely normal.
Step 4: Add the Oat Flour
Gradually add the oat flour while stirring.
The dough should eventually become thick enough to handle. If it feels extremely sticky, add a little more oat flour. If it seems too dry and crumbly, add a tiny amount of water.
The goal is a soft dough that can be rolled without sticking excessively to your hands or work surface.
Step 5: Fold in the Apple
Add the finely chopped apple and gently mix it through the dough.
Try to distribute the apple pieces evenly so each treat gets a little bit of fruit.
Step 6: Roll Out the Dough
Lightly flour your work surface with a little oat flour and place the dough on it.
Roll the dough to approximately 1/4-inch thickness.
You do not need perfectly uniform dough. Homemade treats are supposed to look homemade, and your dog certainly will not complain if one is slightly bigger than another.
Step 7: Cut the Treats
Use a small cookie cutter to cut the dough into shapes.
Bone-shaped cutters are cute, but you can use circles, hearts, stars, or any small cutter you already have.
Place the pieces on a parchment-lined baking sheet, leaving a little space between them.
Step 8: Bake
Bake the treats in a preheated oven until they are cooked through and lightly firm.
The exact baking time can vary depending on the thickness and size of your treats, so keep an eye on them toward the end of baking.
For a firmer, crunchier treat, allow them to bake a little longer at a suitable temperature, being careful not to burn them.
Step 9: Cool Completely
This is one step I never like to rush.
Remove the treats from the oven and allow them to cool completely on a wire rack before giving one to your dog.
They will continue to firm up as they cool.
Read No-Bake Peanut Butter & Oatmeal Dog Treats – 3-Ingredient Healthy Bites
Helpful Tips for Making the Best Treats
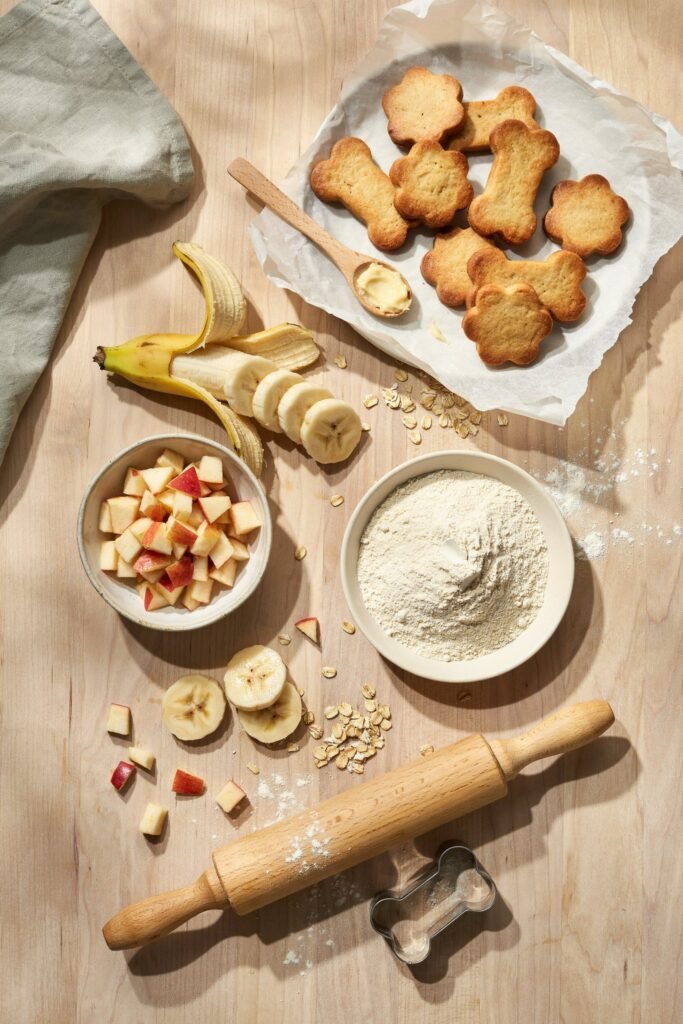
Keep the Apple Pieces Small
Small pieces distribute better throughout the dough and make the treats easier to shape.
Do Not Add Sugar
The banana and apple already provide natural sweetness. There is no reason to add table sugar, syrup, honey, or other sweeteners.
Avoid Spices and Flavorings
You do not need extra flavorings to make these treats appealing. Keep the recipe simple and avoid ingredients that are unsafe for dogs.
Watch the Dough Texture
Homemade dough can vary depending on the size and ripeness of your banana.
If your dough is sticky, add oat flour gradually.
If it becomes too dry, add a tiny amount of water.
Make Smaller Treats for Training
If you want to use these for training, cut the dough into tiny pieces instead of making large cookies. Small treats allow you to reward your dog without giving a large amount of food at once.
How Many Apple and Banana Treats Can Dogs Have?
There is no single portion that works for every dog.
Your dog’s size, age, activity level, health, and normal diet all matter. Treats should remain a small part of the overall diet rather than becoming a major source of daily calories.
A commonly used veterinary nutrition guideline is to keep treats to around 10% or less of a dog’s daily calorie intake.
Because these treats contain fruit and natural sugars, moderation is especially important.
For a small dog, one small treat may be plenty. A larger dog may be able to have a little more, but that does not mean treats should be unlimited.
If your dog has diabetes, food sensitivities, a prescription diet, digestive problems, or another medical condition, check with your veterinarian before introducing new homemade treats.
How to Store Homemade Apple and Banana Dog Treats
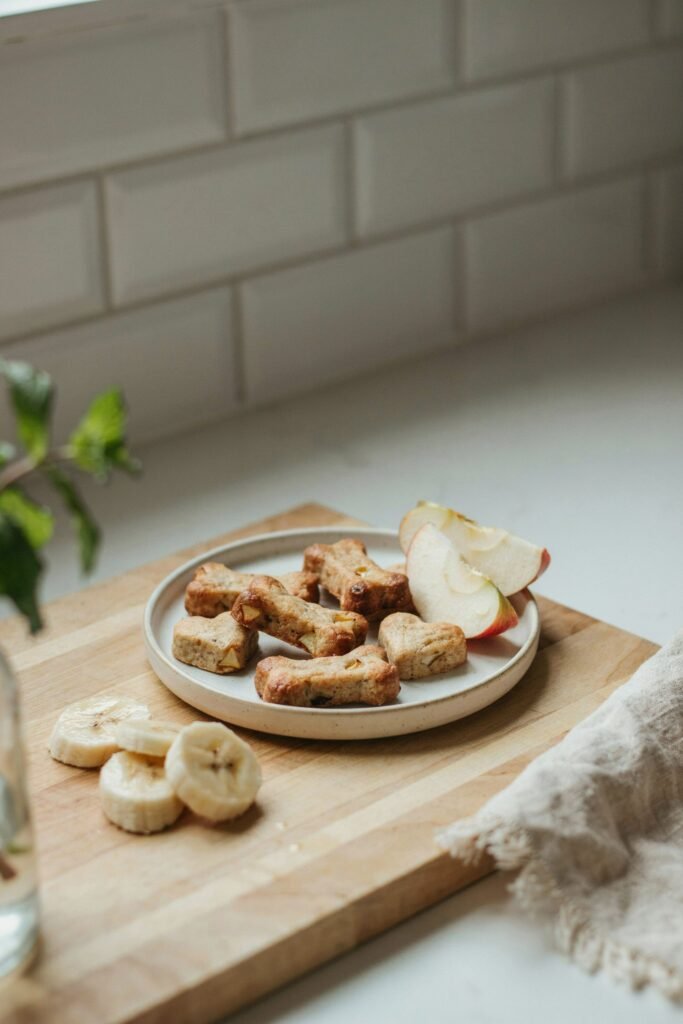
Once the treats have cooled completely, place them in an airtight container.
Because homemade treats do not contain the preservatives found in many commercial products, I prefer to make relatively small batches.
For longer storage, you can freeze the treats in a freezer-safe container or bag. Separate layers with parchment paper if necessary so they do not stick together.
When you want to serve one, take it out and allow it to thaw appropriately before giving it to your dog.
Always check homemade treats for changes in smell, appearance, or texture and discard them if they show signs of spoilage.
Can Puppies Eat Apple and Banana Treats?
Puppies can generally enjoy small amounts of dog-safe fruits such as apples and bananas, but introducing any new food should be done gradually.
Start with a very small amount and watch for digestive problems or signs that your puppy does not tolerate the ingredients well. Apples should always have their seeds, stem, and core removed.
For very young puppies, puppies with sensitive stomachs, or puppies following a special diet, it is a good idea to ask your veterinarian before adding homemade treats.
Ingredients I Would Never Add
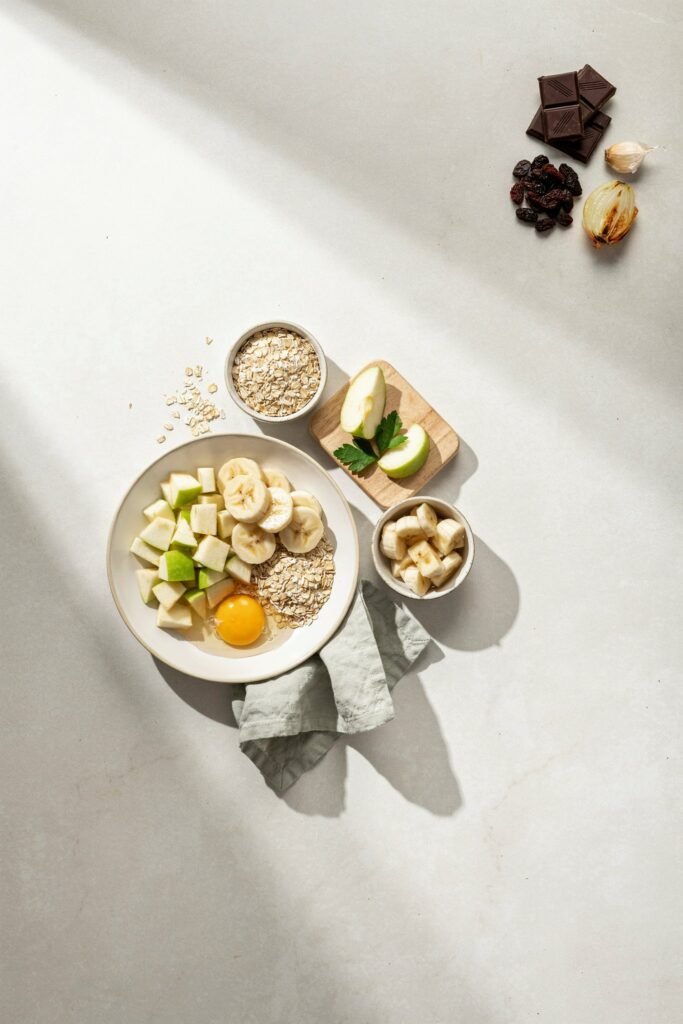
Keeping homemade dog treats simple is one of the easiest ways to avoid accidentally adding something inappropriate.
Do not add ingredients such as:
- Chocolate
- Grapes or raisins
- Onions or garlic
- Artificial sweeteners such as xylitol
- Excessive salt
- Highly sugary toppings
- Apple seeds, stems, or cores
Grapes and raisins are particularly important to avoid because they can cause serious toxicity in dogs.
If you are experimenting with a homemade recipe, always check an ingredient’s safety for dogs before adding it.
Why I Love This Recipe
What makes these apple and banana dog treats special to me is how uncomplicated they are.
You do not need a long shopping list, expensive equipment, or advanced baking skills. The recipe is also flexible enough to make different sizes depending on how you plan to use the treats.
I can make smaller pieces for training, slightly larger cookies for an occasional snack, or even freeze a portion of the batch for later.
Most importantly, homemade treats give me another simple way to make treat time feel special without making the recipe unnecessarily complicated.
Frequently Asked Questions
Can I use any type of apple?
You can use a dog-safe fresh apple, but always remove the seeds, stem, and core before preparing it.
Can I use an overripe banana?
Yes, a ripe banana works particularly well because it is soft and easy to mash. Just avoid using fruit that has spoiled or developed mold.
Do I need to peel the apple?
Not necessarily, but peeling can give the treats a softer texture. The most important preparation step is removing the seeds, stem, and core.
Can I make these treats smaller?
Absolutely. In fact, smaller treats can be useful when you want to use them as occasional training rewards.
Can I freeze them?
Yes. Once the treats have cooled completely, store them in a suitable freezer-safe container and thaw individual portions as needed.
Are these treats suitable as a meal replacement?
No. These are treats, not a complete and balanced dog food. Your dog’s main diet should provide the nutrition they need, while treats should remain a small part of their overall intake.
Final Thought
I love recipes like these because homemade dog treats do not have to be complicated to be special. A ripe banana, a fresh apple, and a few simple ingredients can become a batch of treats your dog will happily look forward to.
Just remember to prepare the fruit carefully, keep portions sensible, and introduce new foods gradually. Once everything is baked, cooled, and stored, you have an easy homemade snack ready for training sessions, special moments, or simply a little extra treat during the day.
And honestly, watching your dog get excited when they realize you made something just for them is one of the sweetest parts of baking at home.
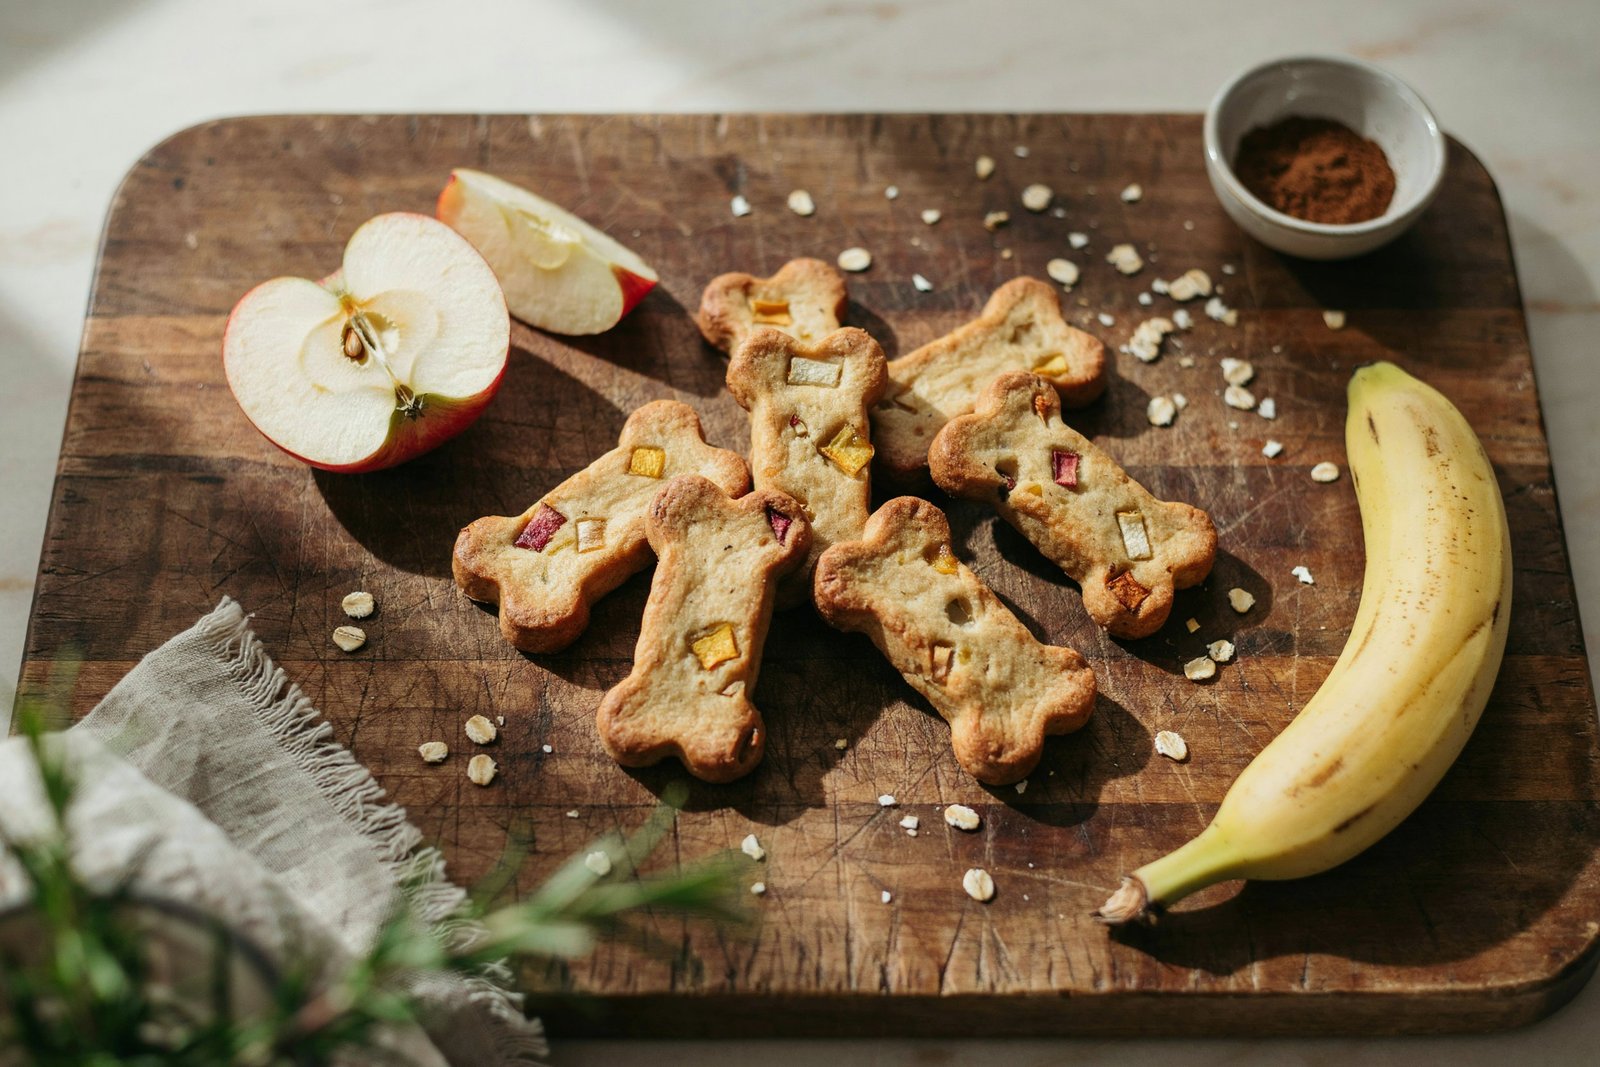
Homemade Apple and Banana Dog Treats
Ingredients
Equipment
Method
- Prepare the apple — Wash the apple thoroughly and remove the stem, core, and all seeds. Chop into very small pieces and set aside.
- Mash the banana — Peel the banana and mash thoroughly with a fork in a mixing bowl until mostly smooth.
- Add the egg — Crack the egg into the mashed banana and mix until combined.
- Add the oat flour — Gradually stir in the oat flour until the dough thickens enough to handle. Add more flour if too sticky, or a tiny amount of water if too dry and crumbly.
- Fold in the apple — Add the finely chopped apple and gently mix through, distributing it evenly.
- Roll out the dough — Lightly flour your surface with oat flour and roll the dough to about ¼-inch thickness.
- Cut the treats — Use a small cookie cutter to cut shapes. Place on a parchment-lined baking sheet with a little space between each.
- Bake — Bake in a preheated oven until cooked through and lightly firm, watching closely toward the end since timing varies with size and thickness.
- Cool completely — Cool fully on a wire rack before serving — they continue to firm up as they cool.