Tuna and Cheese Cat Treats
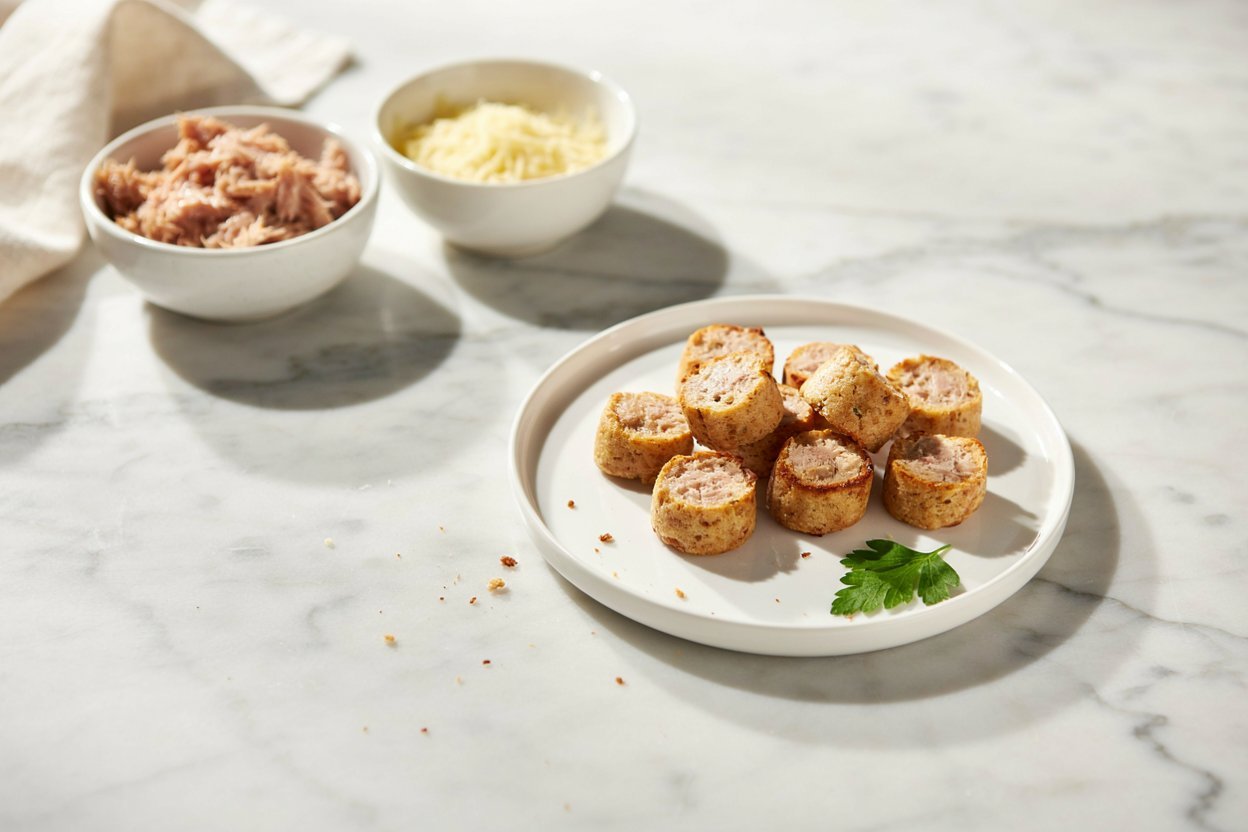
I love making homemade treats for cats because you can keep the ingredients simple while still creating something they get genuinely excited about.
These tuna and cheese cat treats are one of those recipes that are easy to prepare and perfect for a little reward.
The combination of savory tuna and cheese gives these crunchy bites an irresistible smell as they bake.
Whether you are rewarding good behavior, adding variety to treat time, or simply spoiling your feline friend, this recipe is a simple homemade option worth trying.
Why Make Homemade Tuna and Cheese Cat Treats?
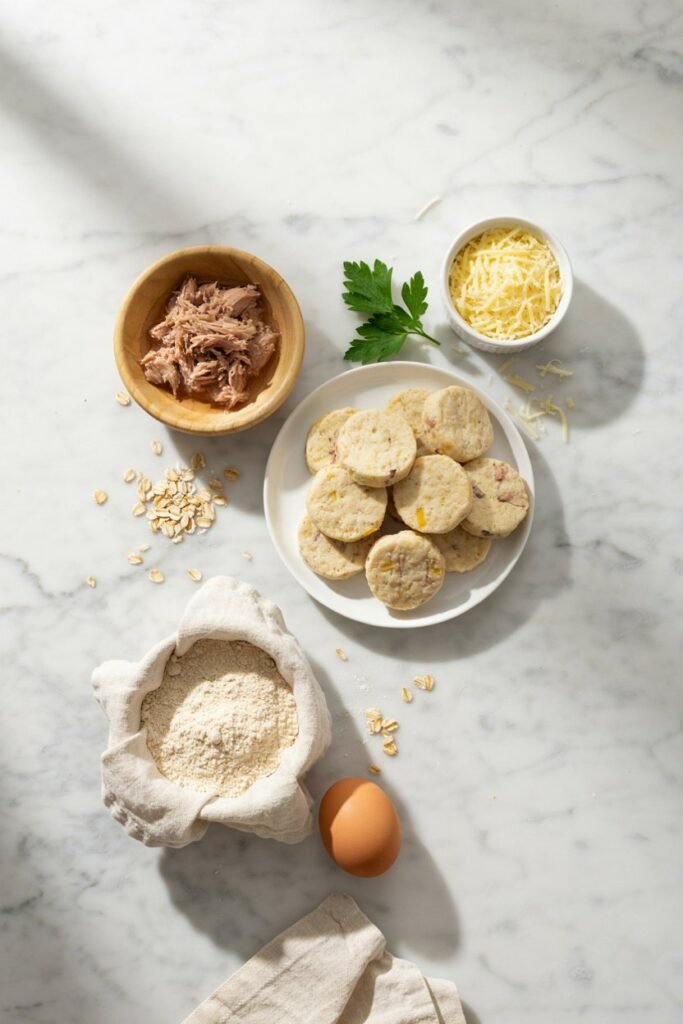
Store-bought cat treats can certainly be convenient, but making treats at home gives you much more control over what goes into them. You can choose simple ingredients, avoid unnecessary flavorings, and adjust the size of each treat to suit your cat.
Tuna and cheese also make a flavorful combination that many cats enjoy. Tuna provides a strong savory aroma, while a small amount of cheese adds flavor and helps give the treats a pleasant texture.
These treats are best thought of as an occasional snack rather than a replacement for your cat’s regular complete and balanced food.
Homemade treats can also be useful when you want to make small portions. Instead of having a large bag of treats sitting around, you can prepare a small batch and store the extras for later.
Ingredients You Will Need
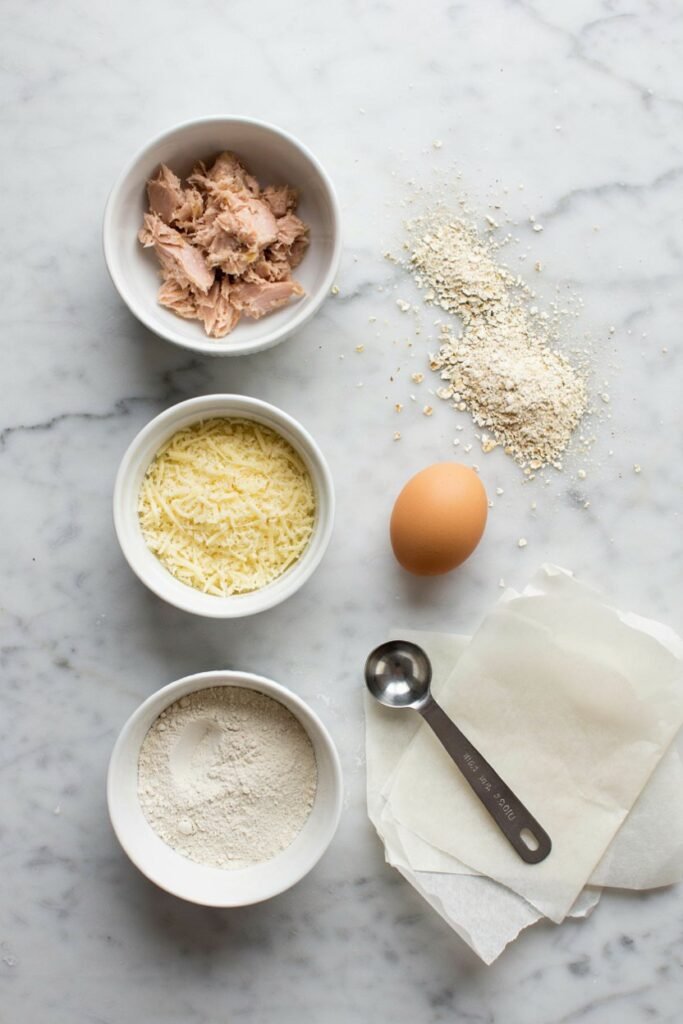
Here is what you need to make these simple tuna and cheese cat treats.
1. Tuna
Use plain tuna packed in water rather than tuna packed in oil whenever possible.
You will need:
- 1 small can of tuna in water, drained well
- About 80 to 100 grams of drained tuna
Avoid tuna prepared with added salt, spices, onion, garlic, sauces, or other seasonings.
2. Cheese
Use a small amount of plain cheese.
You will need:
- ¼ cup finely grated mild cheese
A mild cheddar can work well, but the quantity should remain modest because many cats do not digest large amounts of dairy particularly well.
3. Egg
You will need:
- 1 egg
The egg helps bind the ingredients together and gives the finished treats a firmer texture.
4. Flour
You will need:
- ½ cup plain oat flour
Oat flour can be made by blending plain rolled oats into a fine powder.
You can add a little more flour if the dough is too wet to handle.
5. Water
You may need:
- 1 to 2 tablespoons water
Only add water if necessary. Tuna can contain different amounts of moisture, so the exact amount needed will vary.
Equipment
You do not need complicated kitchen equipment for this recipe.
You will need:
- Mixing bowl
- Fork or potato masher
- Measuring cups and spoons
- Baking sheet
- Parchment paper
- Rolling pin or clean glass
- Small cookie cutter, knife, or pizza cutter
- Wire cooling rack
How to Make Tuna and Cheese Cat Treats
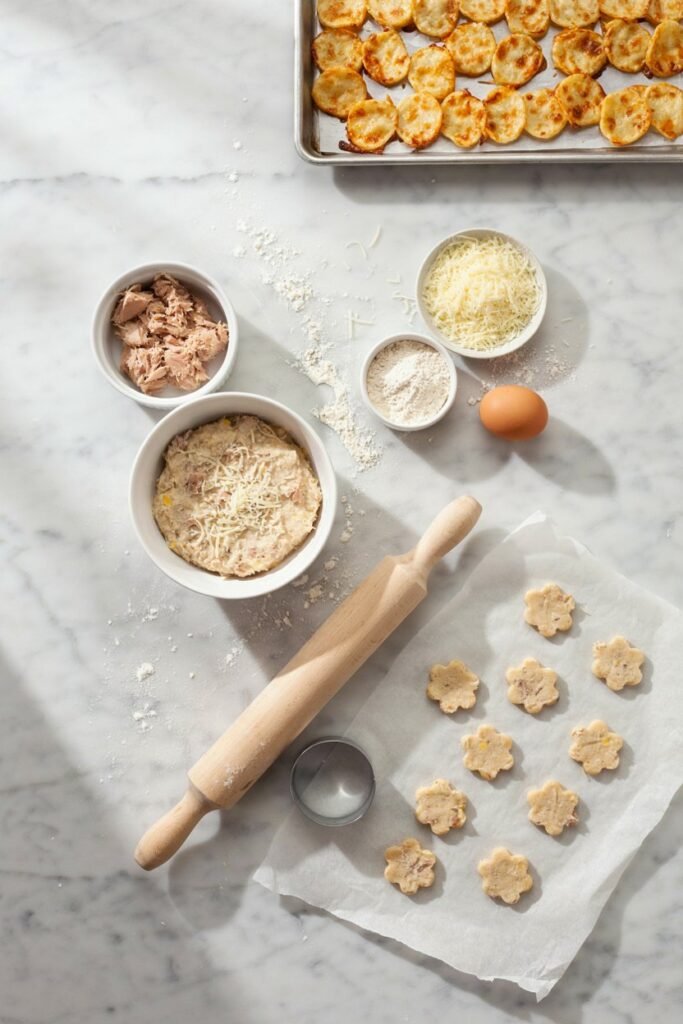
Step 1: Prepare the Tuna
Start by opening the tuna and draining it thoroughly.
This step is important because excess liquid can make the dough too wet. Once drained, place the tuna in a mixing bowl.
Use a fork to break the tuna into very small pieces.
You want the tuna to be evenly distributed throughout the dough rather than leaving large chunks.
Step 2: Add the Egg
Crack one egg into the bowl with the tuna.
Mix everything together with a fork until the tuna and egg are reasonably well combined.
The mixture may look wet at this stage, which is completely normal.
Step 3: Add the Cheese
Add the finely grated cheese.
Stir until the cheese is distributed evenly through the tuna mixture.
Grating the cheese finely helps it blend into the dough and prevents large pieces from separating while you are shaping the treats.
Step 4: Add the Oat Flour
Gradually add the oat flour.
Do not dump all of it into the bowl at once. Adding it gradually makes it easier to judge the consistency of the dough.
Mix after each addition.
The mixture should eventually become thick enough to form a soft dough.
If it still feels excessively wet, add a small amount of additional oat flour.
If the dough seems unusually dry or crumbly, add water one teaspoon at a time.
Step 5: Form the Dough
Once the ingredients are combined, gently knead the mixture until it forms a cohesive dough.
You do not need to knead it for a long time.
The goal is simply to make sure the ingredients are evenly incorporated.
If the dough sticks heavily to your hands or work surface, sprinkle on a little more oat flour.
Step 6: Roll Out the Dough
Place a sheet of parchment paper on your work surface.
Put the dough on the parchment and flatten it gently.
Roll the dough to approximately ¼ inch thick.
The treats can be made thinner if you want a crunchier texture, but avoid making them extremely thin because they can become overly hard after baking.
Step 7: Cut the Treats
Use a small cookie cutter to cut the dough into bite-sized shapes.
Small circles, squares, hearts, or simple fish-shaped cutters can work nicely.
You can also use a knife or pizza cutter to make small squares if you do not have a cookie cutter.
Place the pieces on a parchment-lined baking sheet.
Leave a little space between them, although they should not spread very much during baking.
Step 8: Bake the Treats
Preheat your oven to 350°F (175°C).
Bake the treats for approximately 12 to 18 minutes, depending on their thickness and size.
Keep an eye on them toward the end of the baking time.
The treats should become firm and lightly golden around the edges.
Because homemade ovens vary, the first batch is a good opportunity to determine the exact baking time that works best for your oven.
Step 9: Cool Completely
Remove the baking sheet from the oven and allow the treats to cool.
Transfer them to a wire rack once they are firm enough to handle.
Let them cool completely before giving one to your cat.
Freshly baked treats can be softer while warm and become firmer as they cool.
Read Shredded Chicken Thigh & Pumpkin Mash: A Simple, Nutritious Cat Meal
How to Get the Best Texture
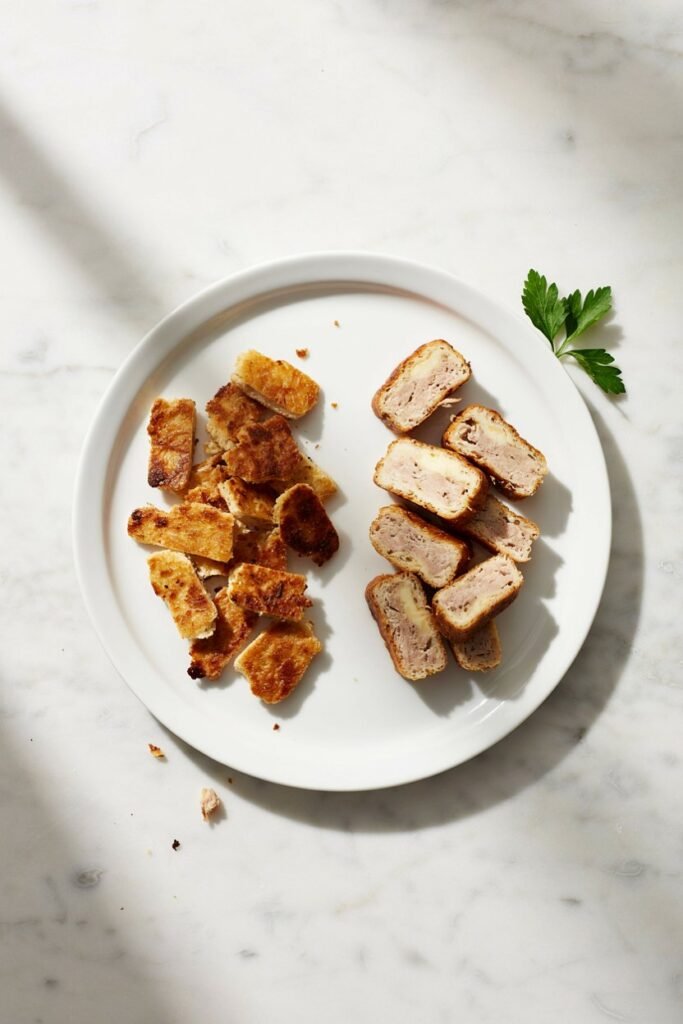
The final texture depends on how thick you roll the dough and how long you bake the treats.
For a firmer, crunchier treat, roll the dough slightly thinner and allow the treats to bake until they are completely set.
For a somewhat softer treat, make them slightly thicker and avoid overbaking.
Regardless of the texture you choose, the treats should be small enough for your cat to comfortably eat.
How Many Treats Should You Give Your Cat?
Treats should remain a small part of your cat’s overall diet.
A useful general guideline is to keep treats to no more than about 10% of your cat’s daily calorie intake, with the rest coming from nutritionally complete cat food.
Because cats vary in age, size, activity level, and health needs, the appropriate amount can differ from one cat to another.
Start with a small piece, especially if your cat has never tried homemade treats before.
If your cat has a medical condition, food allergy, dietary restriction, or is on a veterinarian-prescribed diet, check with your veterinarian before introducing homemade treats.
Can Cats Eat Tuna?
Cats can eat tuna as an occasional treat, but tuna should not become the main part of their diet.
Commercially prepared cat food is formulated to provide the nutrients cats need. Plain tuna alone does not provide a complete and balanced feline diet.
For this reason, these tuna treats should be used as occasional rewards rather than as a meal replacement.
It is also important to use plain tuna without added seasonings.
Never add onion, garlic, spicy sauces, or other ingredients that may be unsafe for cats.
What Kind of Cheese Is Best?

A small amount of mild cheese works best for this recipe.
Finely grated cheddar is one simple option.
However, cheese should be used sparingly. Many adult cats have limited ability to digest lactose, and too much dairy can cause digestive upset.
If your cat has previously reacted poorly to dairy products, skip this recipe or use a veterinarian-approved alternative rather than assuming that a small amount will be suitable.
Can Kittens Eat These Treats?
Very young kittens have different nutritional needs from adult cats.
Their primary diet should be an appropriate kitten food designed to support growth and development.
If you have a young kitten, ask your veterinarian whether homemade treats are appropriate before introducing them.
For adult cats, these treats can be offered occasionally as part of a balanced feeding routine.
Storage Instructions
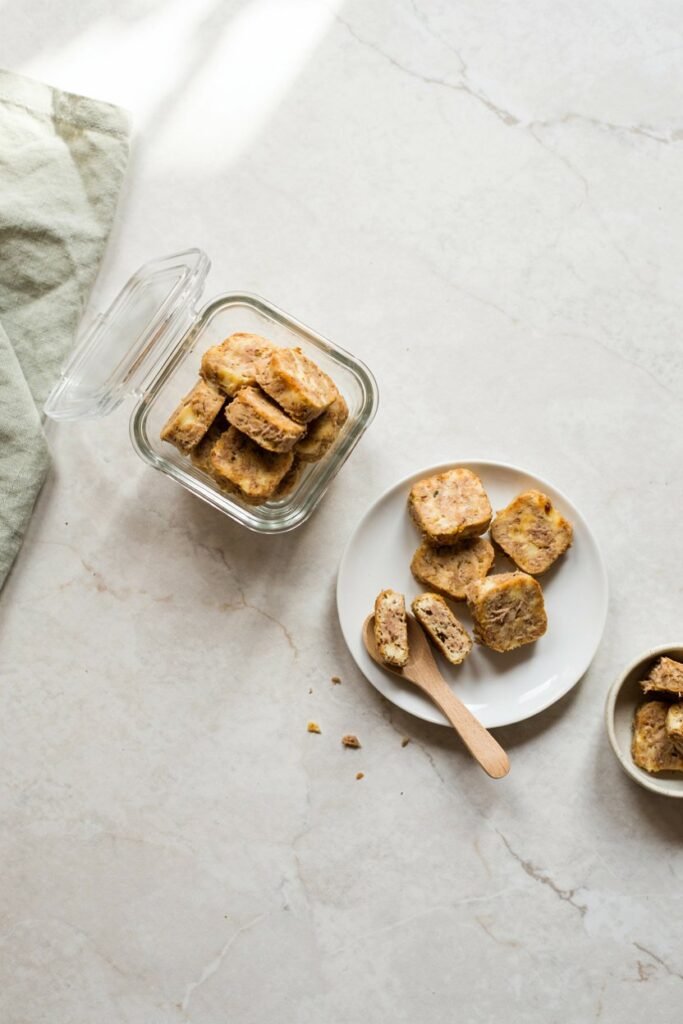
Allow all of the treats to cool completely before storing them.
Place them in an airtight container and keep them refrigerated.
Because these treats contain tuna, egg, and cheese, refrigeration is a sensible storage method rather than leaving them at room temperature for extended periods.
For the best quality, make a small batch and use it within several days.
You can also freeze the baked treats for longer storage.
Place them in a freezer-safe container or bag, separating layers with parchment paper if necessary.
When you want to serve one, allow it to thaw completely in the refrigerator before giving it to your cat.
Always discard treats that develop an unusual smell, visible mold, or other signs of spoilage.
Helpful Tips for Making These Treats
Drain the Tuna Well
Excess liquid can make the dough difficult to shape. Take a moment to drain the tuna thoroughly before mixing.
Grate the Cheese Finely
Small cheese pieces distribute more evenly throughout the dough and help create a consistent texture.
Keep the Treats Small
Cats do not need large treats. Small pieces are easier to portion and can make the batch last longer.
Avoid Seasonings
Your cat does not need salt, pepper, garlic, onion, chili, or other seasonings in homemade treats.
Keeping the recipe simple is the safest approach.
Watch the First Batch
Ovens vary, so check the treats near the end of the recommended baking time.
If they begin browning too quickly, they may need less time in your oven.
Can You Make the Treats Without a Cookie Cutter?
Absolutely.
A cookie cutter is only useful for making uniform shapes.
You can simply roll the dough into a thin sheet and cut it into tiny squares with a knife or pizza cutter.
You can also pinch off tiny pieces and flatten them by hand.
The important thing is not the shape but the size and consistency of the treats.
Why Your Cat May Love These Treats
Tuna has a naturally strong aroma that can be particularly appealing to cats.
The cheese adds another savory element, while the baked dough gives the treats a different texture from ordinary wet food.
Homemade treats can also become useful during positive-reinforcement training. For example, you can offer a very small piece after grooming, nail trimming, carrier practice, or another experience your cat is learning to tolerate.
Keep training portions small so the calories from treats do not add up quickly.
A Simple Homemade Treat for Special Moments
Making homemade cat treats does not have to involve a long ingredient list or complicated techniques.
These tuna and cheese treats use a handful of straightforward ingredients and can be prepared in one bowl. Once the dough is mixed, you simply shape it, bake it, and allow the treats to cool.
I especially like recipes like this because they give you the opportunity to prepare something special while still keeping the ingredients simple.
Just remember that homemade treats are meant to complement your cat’s normal diet, not replace it.
Final Thoughts
These homemade tuna and cheese cat treats are an easy way to give your feline friend a special snack using simple ingredients you can recognize. The recipe is straightforward, the dough is easy to shape, and the finished treats can be portioned into small bites for occasional rewards.
For the best results, use plain tuna, keep the cheese quantity modest, avoid all potentially harmful seasonings, and store the finished treats properly. Most importantly, introduce any new treat gradually and pay attention to how your cat responds.
With a little preparation, you can have a homemade batch ready for those moments when your cat deserves an extra-special reward.